How to Create an Outdoor Tinkerspace for Kids: Tips, Ideas, and Rules
/Tip on how to start small and keep it simple, along with ideas for materials to include. Create a magical space for your kids to play.
Read MoreTip on how to start small and keep it simple, along with ideas for materials to include. Create a magical space for your kids to play.
Read MoreTired of threats and bribes that don't work? Discover four practical strategies to get your children to cooperate without the power struggles. Learn how connecting, respecting their time, involving them in decisions, and seeing things through their eyes can transform your daily parenting struggles into moments of connection.
Read MoreThis simple under-bed LEGO tray gives your child a dedicated play space that can slide away when not in use. Perfect for keeping LEGO projects intact and floors clear of painful plastic bricks!
Materials Needed:
4'x4' piece of plywood (base)
12' of 1x2 wood (for borders) - will be cut into:
Two 4' pieces
One 46.5" piece (3' 10.5")
Wood glue
Short flat-head screws
Drill with bit for pilot holes
2-3 drawer handles
Plastic sliders or felt pads
Assembly Instructions:
Step 1: Prepare the Base
Start with your 4'x4' piece of plywood. Sand any rough edges if necessary.
Decide which side will be the front (open side with no border).
Step 2: Prepare the Border Pieces
Cut your 1x2 wood into:
Two 4' pieces (for the sides)
One 46.5" piece (3' 10.5") for the back
Note: The shorter piece (46.5") will fit between the two side pieces, creating a U-shaped border.
Step 3: Attach the Border Pieces
Apply wood glue along the edge of the plywood where the borders will go.
Position the two 4' pieces along the sides.
Position the 46.5" piece across the back, between the two side pieces.
Drill pilot holes through the 1x2 pieces into the plywood.
Secure with flat-head screws (ensure they don't protrude through the bottom).
Step 4: Add Sliders
Flip the tray over.
Attach plastic sliders to the bottom corners and middle areas.
If using felt pads, consider adding a dab of glue for better adhesion.
Step 5: Attach Handles
Decide on handle placement - two handles on the front edge or two on the sides and one in the middle.
For younger children, a single handle in the middle may be easier to use.
Drill pilot holes and attach handles with screws that won't protrude through the plywood.
Tips
Choose higher quality plywood for a smoother surface and fewer splinters.
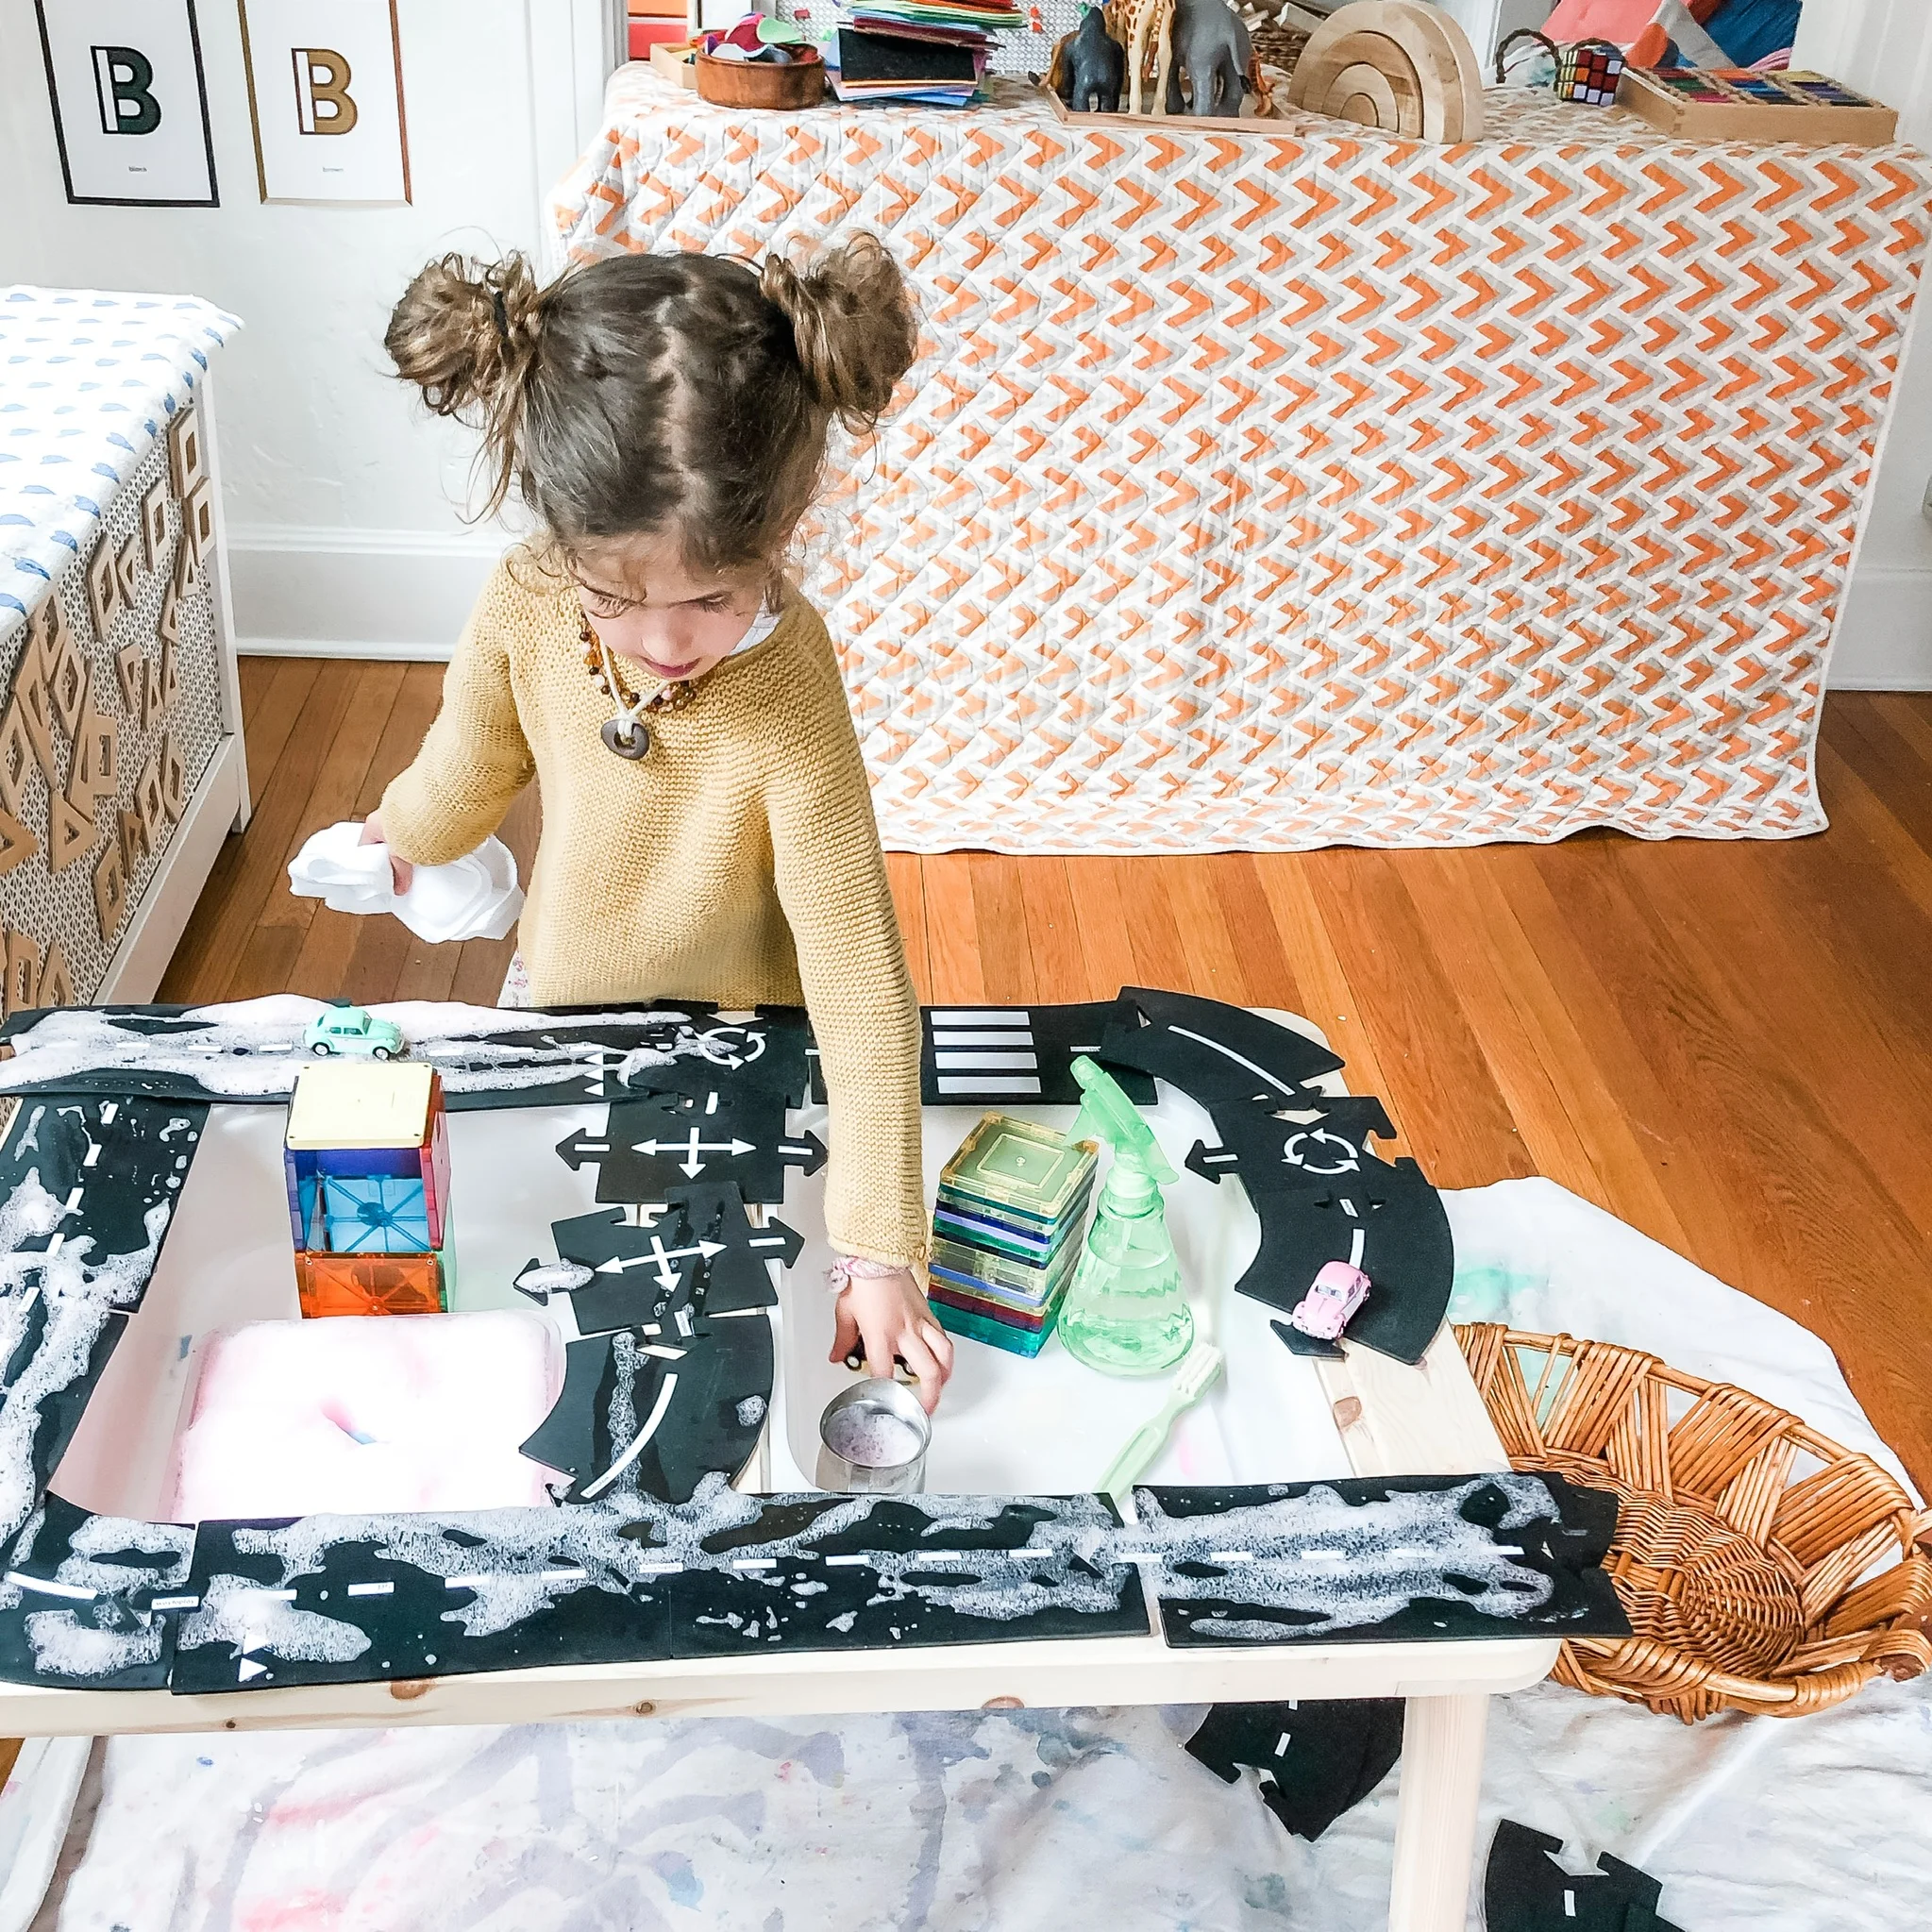
The open front allows vehicles and other toys to roll on and off the tray.
Measure twice, cut once!
Consider painting or sealing the wood for durability and appearance.
Enjoy your new LEGO workspace that keeps projects intact and floors free of stray pieces!
Attach handles with screws that won't protrude through the plywood.
If you don’t want to DIY the tray, try using an XL oil drip pan under the bed. Make sure the measurements fit, and get it as big as you can fit it.
This tray is 47 x 29.3 x 1.6
Puppy Dress / Staplestein Rainbow / Rainbow Peg Dolls / Expert Tree Climber T-Shirt
Swim Trunks / Floral Bikini / Natives / 6 Playsilks
Tub Works Kids Bath Potions / Luggy Basket / Let’s Make Rabbits / Acrylic Gem Cubes
Personalized Rainbow Craft Kit / Hollow Blocks / See Ya Suitcase / Kids Umbrella
Piggy Paint / Spring Playdough Jars / Cuddle Twins Lovies / Spring Sneakers
Today's blog post discusses the power of words of affirmation in parenting. It emphasizes the importance of recognizing and verbalizing positive qualities in our children and how it can build their self-esteem and self-image.
Read MoreDiscover the magic of soap foam with this easy recipe and how-to guide. Keep kids of all ages entertained with this versatile and non-messy sensory material. Perfect for indoor playtime during the cold winter months or for a relaxing bathtime experience.
Read MoreIf you have a child who constantly seeks attention and feedback, you might think they’ll never play independently. Try these simple tips…
Read MoreA simple way to make those homemade Valentine’s Day cards.
Read MoreDon't let the word "collage" intimidate you - all you need are some scraps, scissors, and glue to start. The results are worth every minute.
Read MoreEasy, inexpensive Valentine activity.
Read MoreIf you want to create a home that is filled with play and creativity, the key is to let your child know how much you value the time and effort they spent playing.
Read MoreFeeling Like a 'Bad Parent'? Here's Why You're Not - and One Simple Trick to Boost Your Kid's Independence
Read MoreA few reasons our knee-jerk reactions to getting kids to cooperate won’t work, and what to do instead…
Read MoreHow to handle transitioning back to school and all of the emotions that come along with it.
Read MoreDo you want to get your child talking about his or her school day?
Read More5 simple strategies to encourage independent play for toddlers, helping them build confidence and creativity while giving you some much-needed me-time. Learn how to foster independence with easy-to-implement tips.
Read More