LOOSE PARTS LANDSCAPE
/Here is your clickable resource for everything Nate used to create this landscape. Some of these are affiliate links, thank you for supporting The Workspace for Children.
It’s Spring Break over here, so there is no school this week. The kids and I made a list of things we would want to do with our time and NYC was high on the list. We are very lucky to live a short train ride away (about 50 min.) so that made it an easy YES.
We had loose plans to take the train to NY Penn Station, walk to Madison Square Park, play and eat lunch, and then head to the Math Museum. But… the day was too beautiful to spend inside. Here’s how it all went down.
The big kids walked to the train station and Sloane scootered. She is six, and too old for a stroller. Her tiny little legs have a hard time keeping up with the big kids sometimes. Before we left, we talked about bringing the scooter. We called it her “commuter scooter” and we chatted about how riding a scooter in the city is WAY different than taking runs up and down out street. It’s different because we didn’t wear a helmet, which is usually a non-negotiable. It was different because instead of riding independently, she had to stay right next to me and if she wanted, I would pull her along. It’s so easy to “tow” your child with THIS scooter. Two feet on, and I can easily pull her along and steer.
Sloane’s face when she saw the subway….
We took an 10:38 train in. We got to the station a little early and I let the children each choose lifesavers or gum for the train ride. I know they’d be fine with nothing, but for me, it’s the little things in life, and I like to make our adventures special. We rode the train in and walked across town to Madison Square Park and ate at Shake Shack. The kids had never been there before, and it did not disappoint. Next stop in the plan was to go across the street to Mo Math, The National Math Museum, but the kids asked to go to the playground first. Sure, why not (see me being flexible over here?!)?
The kids played and I sat in the sun, feeling good. I watched them run, squeal and climb, when I suddenly decided that the weather was too perfect to head inside to a museum. Their favorite NYC playground is the one in Union Square but I wanted to try something new. I did a quick Google search and decided on The Ancient Playground in Central Park. I called the kids over and asked them if they still wanted to go to a museum or if they were up for a new adventure. Guess which one they picked?
We headed off to the Subway and hopped on. It didn’t occur to me before, but Sloane had somehow never ridden the Subway! She was mesmerized and it was the absolute cutest thing. Nate and Ruby played their favorite game of “spot the rats” in the tracks while Sloane asked me a billion and one questions about how the subway works. We got on and the train was pretty empty. The kids seriously had the best time holding on and riding the bumps. I fought my inner germ-phobe and went along with it. I am so glad I did. They LOVED it.
It was an easy trip into Central Park and we headed into the playground. Kids were off and running and again, I was sitting on a bench in NYC on this beautiful Spring day. Besides a few hiccups with Sloane, we could’ve stayed for hours, but I know from experience that it is SO important to quit while you are ahead. I knew we still had to get back downtown and get on a train back to Maplewood before the evening commute began. I enticed them with ice cream cones and off we went.
We made it back down to Penn Station and as luck would have it, a train to Maplewood was boarding. Thank goodness, because at that point we were all getting a bit tired. We made it home in one piece and I am so grateful for another adventure in the books.
Here are my quick takeaways:
Front end load. Pack snacks and water, wipes, and layer clothing. Knowing that basic needs are easily met means you can relax.
Follow your child’s lead. We literally went to the city to play at the playground. Could we have done that at home? Sure, but it was way more special this way. The kids had a blast and since they were happy, my job was much easier.
Quit while you are ahead. Remember NOT to stretch them to their limits. It can be tempting to stay when you are having fun, but ending on a high note is so much better.
Have a plan but be flexible. We switched it up today and instead of the museum, we hit up a new playground.
You know your child best. Think about what you will need to do in order to meet their needs and keep them feeling successful. For us, this was bringing along the scooter for Sloane. I knew she’d feel tired and frustrated trying to keep up on foot. The scooter was a total game changer.
Get out of your comfort zone and adventure with your kids! It will not always be as smooth as today was, but it is SO worth it. The adventures that don’t go well are learning experiences for everyone, and they will only make your next adventure easier.
I hope you found this post helpful. If you want to hear more from me, please be sure to subscribe to my blog and join the conversation over on Instagram.
-Lizzie
It’s ok to say no to your children. In fact, it is imperative. It is not your job to keep your children happy all the time. We are bombarded every day by images that portray smiling children surrounded my their young, stylish, doting mothers and fathers. Guess what? It’s not real. At least not all of the time. And it is certainly not the norm. In my opinion, it shouldn’t be.
Setting limits and saying NO is one of the most important things I can do to ensure that my children feel safe and loved. Setting limits and following through, regardless of the tantrum that ensues, is crucial to my ability to raise children that I can trust out in the great big world. Knowing that my children respect my authority and the limits that I have set for them shows me that they will know how to act in the face of danger or during risky play. They will learn to respect their own limits and limits placed on them by the environment.
Let me tell you a story... Last Spring, on one of the first warm days after a long cold winter, I headed out to our local park with my three children to meet up with a bunch of our friends. Needless to say, the park was bustling with nannies, parents, and tons of children. My two older kids took one look at the wet, MUDDY field, and after a quick glance to me for the a-ok, stripped off their socks and shoes and luxuriated in the mud. I mean, they really went at it (Like pigs in you know what). There is a little creek that runs adjacent to the park and they proceeded to run back and forth from the muddy field, to the creek to wash off, and back again. This occupied them and filled them with utter JOY for well over an hour. Upon my instruction, they were careful not to get the mud on any other children or on the climbing equipment where the clean and dry children were playing. My children were able to run and play freely with wet, muddy, bare feet, and still respect the other people at the park. I knew I could trust them to do this because I have been setting firm limits for them since they were babies and they have tested my boundaries every single day. That is their job.
Obviously, the mud play earned them a few strange looks, and I, as their mother, got some SERIOUS stink eye from a few other adults. That's totally okay with me. I am confident in my ability to parent my own children and I realize that my choices might be different from others. As I often say to my children, "Different families, different rules."
I overheard someone say disdainfully, “Those children have no rules.” Well, let me assure you, my children have more rules than most. I believe that it is because of those rules, limits and boundaries, that my children are able to play confidently and freely. They are not afraid of what others think, they are confident in their choices.
A lot of people ask me who cleans up the vast messes that my children occasionally make. People want to know why I am able to allow my children to use real saws and power tools from a young age. People ask me how I get my children to cook for themselves and for one another... and clean up. There is one collective answer to all of these questions....
My expectations are clear and there are consequences when they are not met. Do I sound mean? I know it can come across as harsh, but I assure you, it is love that fuels my decisions. I am not afraid that my children will not think of me as nice. I am not their friend, I am their mom. I am their confident leader who is able to guide them. Part of that guiding is done by setting up clear expectations and limits.
It is because my three children understand what is expected of them that we are able to go on such fun adventures. I am able to let them wander out of my eyesight in the woods because I know that they will come when I call them. I am able to travel with all three of them on my own, because I know that they will pitch in and help me.
Do they listen all the time? NO WAY!
Do they step out of line? ALL THE TIME.
Talk back? Yup.
Dawdle when it is time to get ready. YOU BETCHA.
It is their job to test limits and boundaries and it is my job to be firm and clear about the consequences. Most of the time I use logical consequences. I find that logical consequences work, and make the most sense in our world. Of course, I am not able to do this all of the time. Sometimes I lose my patience and then things turn topsy turvy. There are definitely days where no one is feeling it and we all fall apart. But you know what? That is totally ok. Those are the times we can refer to when we communicate about what works for us as a family and what does not work.
What works in your family? How do you keep your crew in line and also have fun?
I hope you found this post helpful. If you want to hear more from me, please be sure to subscribe to my blog and join the conversation over on Instagram.
-Lizzie
How happy are your kids when you say YES to playing in the mud?
Mine are practically levitating when they see a great mud puddle and they get the nod from me.
I know, I know, it’s wet, A MESS! But you know what? It’s totally worth it. I’ll tell you why.
Playing in mud is FUN. Good old fashioned fun. No phones, no iPads, just kids, nature and squeals of delight.
Playing in the mud is FREE. Do you know any other material that costs nothing, can be used wet, dry and somewhere in between? Oh wait, there’s sand at the beach… But unless you live at the beach, it’s back to good old mud.
Playing in the mud is HEALTHY. Studies show that when children play in the mud they are healthier. It’s totally true. Google it. I dare you.
Mud is readily available. Especially in the Spring when April showers bring… you guessed it! MUD.
Mud can certainly stain. So if it’s warm out, I would strip the kids down to their skivvies or an old bathing suit that you no longer care about. If it’s still cold, we love THESE awesome rain pants from our friends over at Biddle and Bop.
Set limits that you are comfortable with and encourage your children to communicate with you and with one another. Some children like splashing and covering each other and some are much more tentative. Model language for cooperative play before diving in and moderate a discussion among the children about what is and is not allowed. While mud play is certainly exciting and fun, it doesn’t have to be an out of control free-for-all.
Keep a clean towel on hand. Sometimes, a big splash can be uncomfortable or get in the eyes. Having a clean towel on hand makes it easy to recover and get back to playing.
Have a set of mud tools. Old thrifted pots and pans, shovels, and buckets. They are simple to source from thrift stores and enhance the play so much!
A large bin of soapy warm water for when you are all finished. The warm soapy water and rags are for your children to clean up most of the mud before coming inside to bathe. This saves you from having to clean your floors and tub. Trust me, I’ve learned this the hard way.
An empty laundry basket for stripping outside, BEFORE entering the house.
You can absolutely allow mud play WITHOUT A GIANT MESS.
Communicate your limits and set them. Stick to it. Trust me, your children will do basically anything to be allowed to get muddy.
Explain that you know how much fun it is, but also, that in order to do it over and over, it needs to be kept to a level that you are comfortable with.
My favorite phrase when my kids are getting a bit out of control is this: “Make me want to say YES next time. If you listen now, I will want to say yes to mud again and again.” I use this kind of strategy in many situations. It is a skill that you actually can teach with repetition. Remind them afterwards, “Remember when I asked you to stop playing and get cleaned up? You listened, and that made me know we can definitely do this kind of play again!” Also, randomly pepper these anecdotes into your daily conversations. At random times, I’ll remind my children about how much fun we had and WHAT MADE IT WORK. Remind them of how they listened and helped. Remind them of how much fun they had. Children love to be set up for success. Use it to your advantage.
You guys, we had a yelling, screaming morning. It was total chaos. When everyone left, I took a second to breathe and think about how it could’ve gone differently. (Let’s just say…. Sloane was having a six-year-old tantrum and I met her tantrum and raised her one forty-year-old mama tantrum.)
For me, staying present and centered is usually the answer to whatever issue I am struggling with at the moment with one or all three of my kids. Regardless of the context, I know my children are begging me to SEE them and HEAR them. When they are misbehaving or whining or refusing to get dressed…. they want me to be in their struggle. They need me to acknowledge it. This being said, It doesn’t mean we have to bend on the limit that we’ve already set. It does not mean that they don’t have to finish that homework or put on their shoes. It does mean that if we can step out of the immediate chaos of the tantrum and just look our children in the eyes and hug them, even if its only for a minute, it really helps.
You know what else helps? Knowing that it’s not about you or your parenting. Kids need to struggle. They need to tantrum. When we can control our impulse to join the yelling and carrying on, the difference is tremendous. When we can stay calm under the pressure of their emotions, everyone wins.
I am certainly not saying that I’m always capable of this kind of parenting, but when I can muster it up, it REALLY helps. This morning was total chaos in our house. I jumped right into the mess. Next time, I will try harder.
Here’s the thing. Sometimes we all need help. When I need help in the parenting department I often turn to books. I return to the same favorites I’ve read in years past. Even just skimming helps jog my memory and get back in a better head space.
There are so many phenomenal books and podcasts out there. Today I am sharing my personal favorites with you.
My favorite podcast for family related inspiration is The Simple Families Podcast, hosted by Denaye Barahona, P.H.D. (She even interviewed me HERE about choosing great toys!)
Below are the parenting books that i find myself returning to again and again. (The Louise Bates Ames book is just an example. She has an entire series and I LOVE it.)
So, tell me, how do you help yourself when your kids are losing their minds and you are about to lose yours too?
I hope you found this post helpful. If you want to hear more from me, please be sure to subscribe to my blog and join the conversation over on Instagram.
-Lizzie
*some of these are affiliate links. Thank you for supporting The Workspace for Children.
It is Easter Basket season! It seems like everywhere I go, the shelves are stuffed with plastic, once-use toys and huge candy displays with a guaranteed tummy ache. I’ve pulled together some of my favorites to help you narrow down your baskets and avoid those last minute impulse grabs.
You can shop these links (some are aff. links) by clicking below.
Maileg Rabbit-Marcus (B&B)
Candy Lab Pink Sedan (B&B)
Bamboo Kids Toothbrush (B&B)
Civil Engineer Tape (B&B)
Glux Super Putty (B&B)
Those items marked “B&B” are from Biddle and Bop. Use the code “theworkspace” for 10% off your next order.
I hope you found this post helpful. If you want to hear more from me, please be sure to subscribe to my blog and join the conversation over on Instagram.
-Lizzie
I don’t know about you guys, but my kiddos wake up early on the weekends. Last Saturday everyone was up by seven. It was too early to play outside or go anywhere, and I’d already said no to TV. I wanted an activity that would be good for all three children (ages six, nine and eleven) and I really didn’t want to start my weekend with a big mess to deal with. I pulled out our Crayon Clay that was sent to us from The Pencil Grip and set up a tray of our favorite materials. I find that how you approach the set up of any invitation to create actually does matter. Doing a little bit of extra work on the front end really pays off. Sure, I could’ve just opened the box and given them the packets of clay, but then there would’ve been fighting and whining and lots of requests for help.
Right away, Ruby (nine) knew that she wanted to mix the perfect shade of color. At first, she was frustrated. It took some time and string fingers to get that clay to blend. But when it did, it was so good.
Sloane wanted to make a set of circle crayons for a friend. She rolled the clay and then cut out little circles of color. I think they turnout great!
Nate made little a little snail crayon because he loved the idea that it could leave a trail of color.
When they were finished creating, we left the shaped clay on the table to dry and off we went. It dried beautifully (took about 12 hours) and the children now have a new set of crayons!!
This set is my new go-to birthday gift. It’s a great price point, and can be used by such a large range of ages. I am all stocked up! Click the images (affiliate links) below to find out where to get everything!!
I hope you found this post helpful. If you want to hear more from me, please be sure to subscribe to my blog and join the conversation over on Instagram.
-Lizzie
It is so important to let your children view your imperfections. You are teaching them to take risks and try- even if they don’t know what the outcome will be. You are showing them that life is not perfect, nor is it supposed to be. Guess what? They don’t care if the cookies you made for them are a little burned. They are just psyched you made them cookies! Plus, you are teaching them that it’s the thought that counts. An act of kindness does not need to be perfect. Not at all.
Pretend you made it just in time to the school play. Phew! You are there for your kid’s solo. They see you and a smile spills across their face. Do you think they care that your makeup is smudged or that your hair is in a messy mom-bun? Nope. They care that you showed up for them.
So you decided your little one would love a beautiful sensory bin to play with after school. You hop on Pinterest and get to work… only yours turns out a little, um, different than the picture. Guess what? Your kid will love playing with that soapy foam whether it is in Insta-worthy rainbow swirls or one big blob of color. They will still have a really fun time.
It’s lunch time in the school cafeteria. Do you really think your kid cares if his or her lunch is ready to be featured in the next big food blog? NO! They care that you packed them food that they actually like and want to eat. They care that you provided them with lunch money. They care that their tummy is full and that they have energy for the afternoon. Not one thought about your beautifully arranged cucumber slices
LANGUAGE PROMPTS FOR TALKING ABOUT MISTAKES AND IMPERFECTIONS:
Starting when the children were real little, I would point out my mistakes in a positive way:
“Oops! I meant to grab the wipes from upstairs but I forgot. Oh well, moms can forget!”
“We’ve arrived to the park and I left our snacks at home! I wish I had remembered. I’ll have to ask a friend to share with us this time.”
Sometimes, after either I or they made a mistake or something came out less than perfect, I would say, “Is is okay to make mistakes? Is it okay to try something and not have it work out the way you thought it would?” Opening this conversation from a very young age is KEY.
When the children were a bit older, we started having conversations about mistakes we made during the day and how we solved the problem.
“Guess what everyone, I took the dog to the groomer today for her appointment, but when I got there I found out that the appointment was yesterday and I missed it. I was frustrated and so was the groomer. I apologized for wasting her time and rescheduled for next week. Did you make any mistakes today?“
I really want my kids to know that I am not perfect and that they aren’t either. It takes a village and pointing that out is so important. I love to point out when I see them helping someone else or sharing how others help me. Keeping the conversation open and REAL is very important to me in raising my kids.
How do you speak to your children about mistakes?
I hope you found this post helpful. If you want to hear more from me, please be sure to subscribe to my blog and join the conversation over on Instagram.
-Lizzie
I’m that mom that allows her kids to climb the highest tree and scale the rock wall as far as they can comfortably go. I trust them to decide how far they can push themselves and whether or not they can safely get themselves back down to the ground.
Yes, this earns me the side eye sometimes. But here’s the thing- taking healthy risks in childhood allows children the opportunity to get comfortable with the uncomfortable. They are learning their limits and seeing where they can push themselves. We’ve been practicing this way of thinking since they were tiny tots.
If you can get up there yourself, you can get yourself back down. What if they need help? I’ll usually help them by telling the what to do, but I won’t put my hands on them to get them up or down, nor do I allow siblings or friends to lift them up or down when climbing. It is so important for safety that they find their own solid footing.
I won’t lift you up onto anything, if you can’t manage to get there independently then you are not ready to be up there. Like I said above, it is SO important for them to find their own footing for safety reasons. But having them get up on their own is also a great way for even the youngest children to set goals and work towards them. Sure, it can be very frustrating for the youngest sibling to see all the others get up high when she cannot yet do it. But that’s ok. She’s building her frustration tolerance and setting goals for herself. Once she can do it on her own? I love to say things like, “Can you remember when that was too hard for you? Now you are stronger and bigger and you can get up there all by yourself.”
Listen to yourself. Do you feel safe? Are you comfortable? I encourage my children to be risk takers but NOT to be RECKLESS. There’s a huge difference and we talk about it often.
I strongly believe that our children need to learn to evaluate risk by taking risks. The best way to learn is by DOING. How do you feel when your child takes risks? Are you cringing and calling out how worried you are or are you offering constructive support? I know it’s not easy. It’s scary to let them fly. .
I hope you found this post helpful. If you want to hear more from me, please be sure to subscribe to my blog and join the conversation over on Instagram.
-Lizzie
My six year old has letters and numbers on the brain. After a bit of a slow-to-warm-up phase, she’s loving kindergarten. Recently, her class has been learning about skip counting. Sloane has taken it to heart and I hear her skip counting her toys, singing rhymes about skip counting in bed at night and using her fingers to figuring it all out. The other day, as I sat and procrastinated emptying the dishwasher and switching the laundry, an idea popped into my head and a skip counting activity was born.
Table Salt
A Shallow Tray
Cardstock or Index Cards
Black Marker
I had punched a lot of circles last week for another project the were working on, so I pulled those out and labeled each circle with a number from one to fifty.
Then I poured some salt in our tray to make a skip counting base.
I set it all out on the table and left it to see what Sloane would do.
After some initial frustration because she couldn’t locate the numbers she was looking for, it was a hit. She was able to demonstrate a visual representation of skip counting by two’s, five’s and ten’s.
This activity would be a great number sense activity if you added some mini pom-poms for setting up a number line with the corresponding amount of pom-poms. In addition to practicing her skip counting, Sloane enjoyed the sensory aspect of running her fingers through the salt, drawing in the salt and making hand prints. There are lots of great ways to use salt trays to set up an invitation to create. The best part? Salt is a cheap, readily available, and you likely have it in your kitchen pantry. Have you used a salt tray?
Looking for another salt tray activity? Click HERE.
I hope you found this post helpful. If you want to hear more from me, please be sure to subscribe to my blog and join the conversation over on Instagram.
-Lizzie
I love this project because everyone in the family can contribute in some way. It is perfect for a snow day spent at home, or a long afternoon in the summer when you’ve got nothing but time on your hands .
In this particular instance, a large wind storm left us this beautiful branch smack in the middle of the yard. The kids and looked at each other and we knew exactly what to do.
First, we dried out the stick for a few days in the basement where it is dry and hot. This also gets rid of any little bugs that might be hanging out inside.
I threw a big drop cloth on the floor and gathered up our materials. We used yarn, fabric scraps, wire, beads, feathers and anything else the children gathered from our art cabinet.
There really weren’t any directions involved. This was entirely about the process, and it happened to turn out to be so beautiful, that it now lives in our living room. The amazing thing about this stick project is that it has been ongoing for a few years. Whenever we find some fabric, interesting yarn or a bead that we love, one of the children pulls the branch out an adds on to it. There have been many new stick projects started over the years, but for some reason, this one was really magical. Sometimes, I wonder if it has anything to do with the tree that dropped it in our yard.…
How do you use gifts from Mother Earth in your art space?
I hope you found this post helpful. If you want to hear more from me, please be sure to subscribe to my blog and join the conversation over on Instagram.
-LIzzie
Remember last week when I went on my tangent about reading readiness?
I know that Sloane is feeling ready and excited about becoming a reader so I’ve been pulling out lots of sight word activities. You all requested more activity how-to’s and this one couldn’t have been easier.
Here’s the deal…I wrote her words on little index cards, poured our jar of gem letters into a shallow bin, and set it out to see what would happen.
Guess what? She independently practiced her sight words for twenty minutes…didn’t even look up. She got in the zone and I could see her practicing, testing herself, getting frustrated and working through it, and more. All from this one activity that took me about five minutes to pull together. It was a huge win for me. Have you had any wins lately? We all deserve a little celebration for a win. Drop yours below. It does not have to be parenting related! Just tell me your latest win and how good it made you feel.
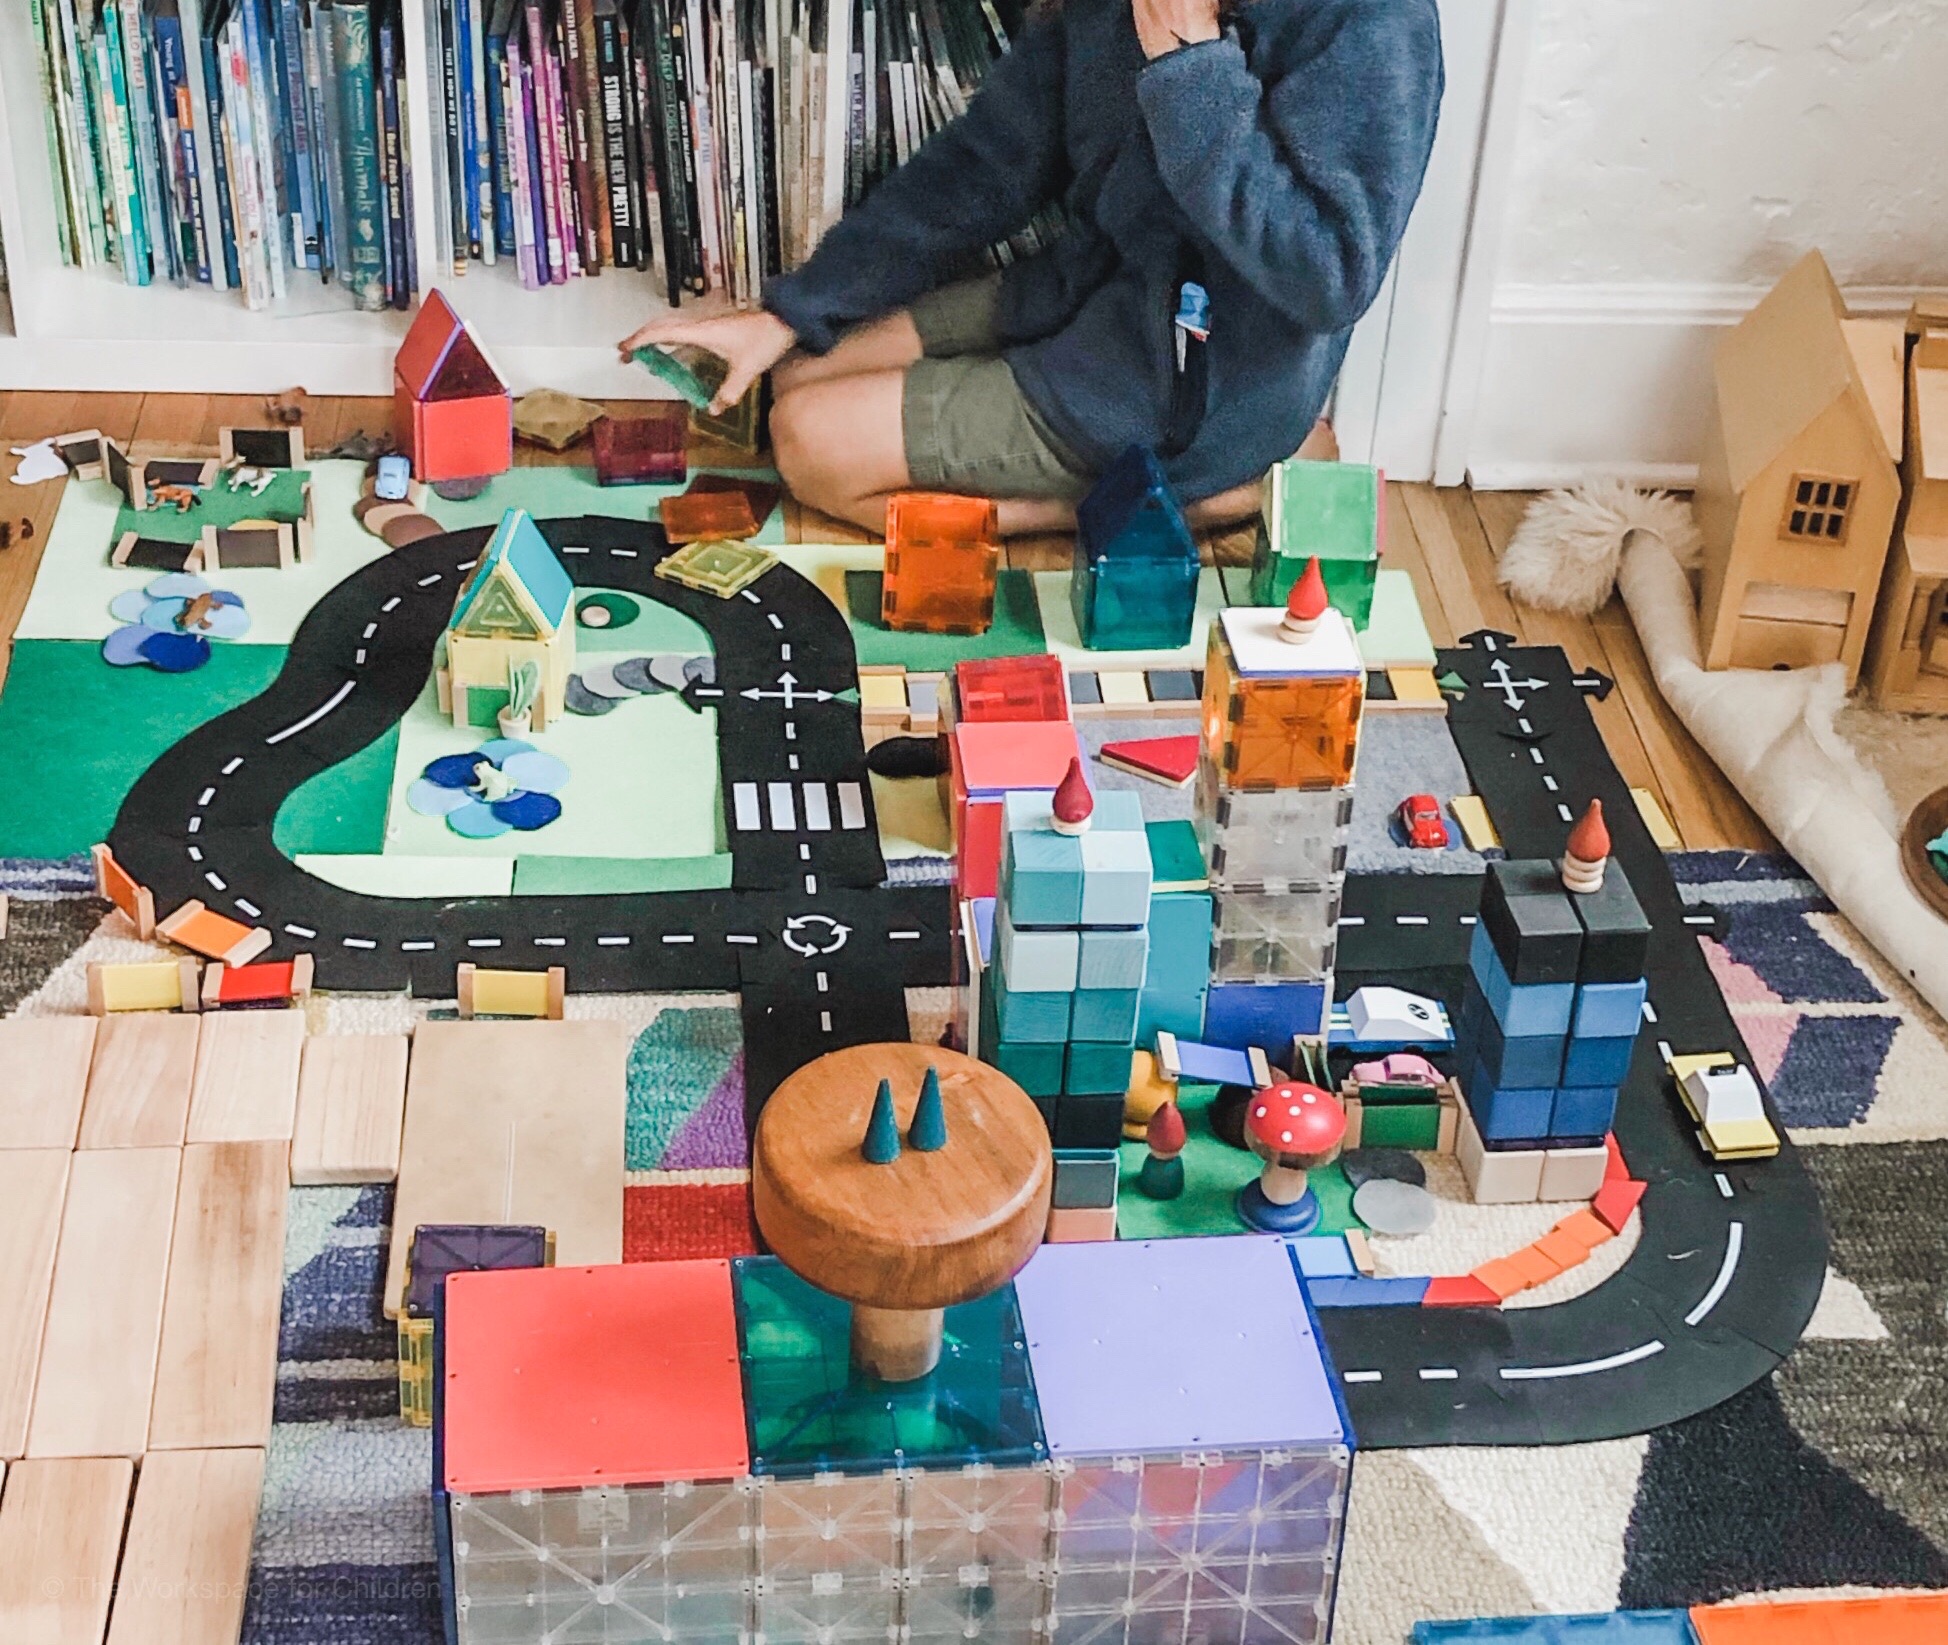
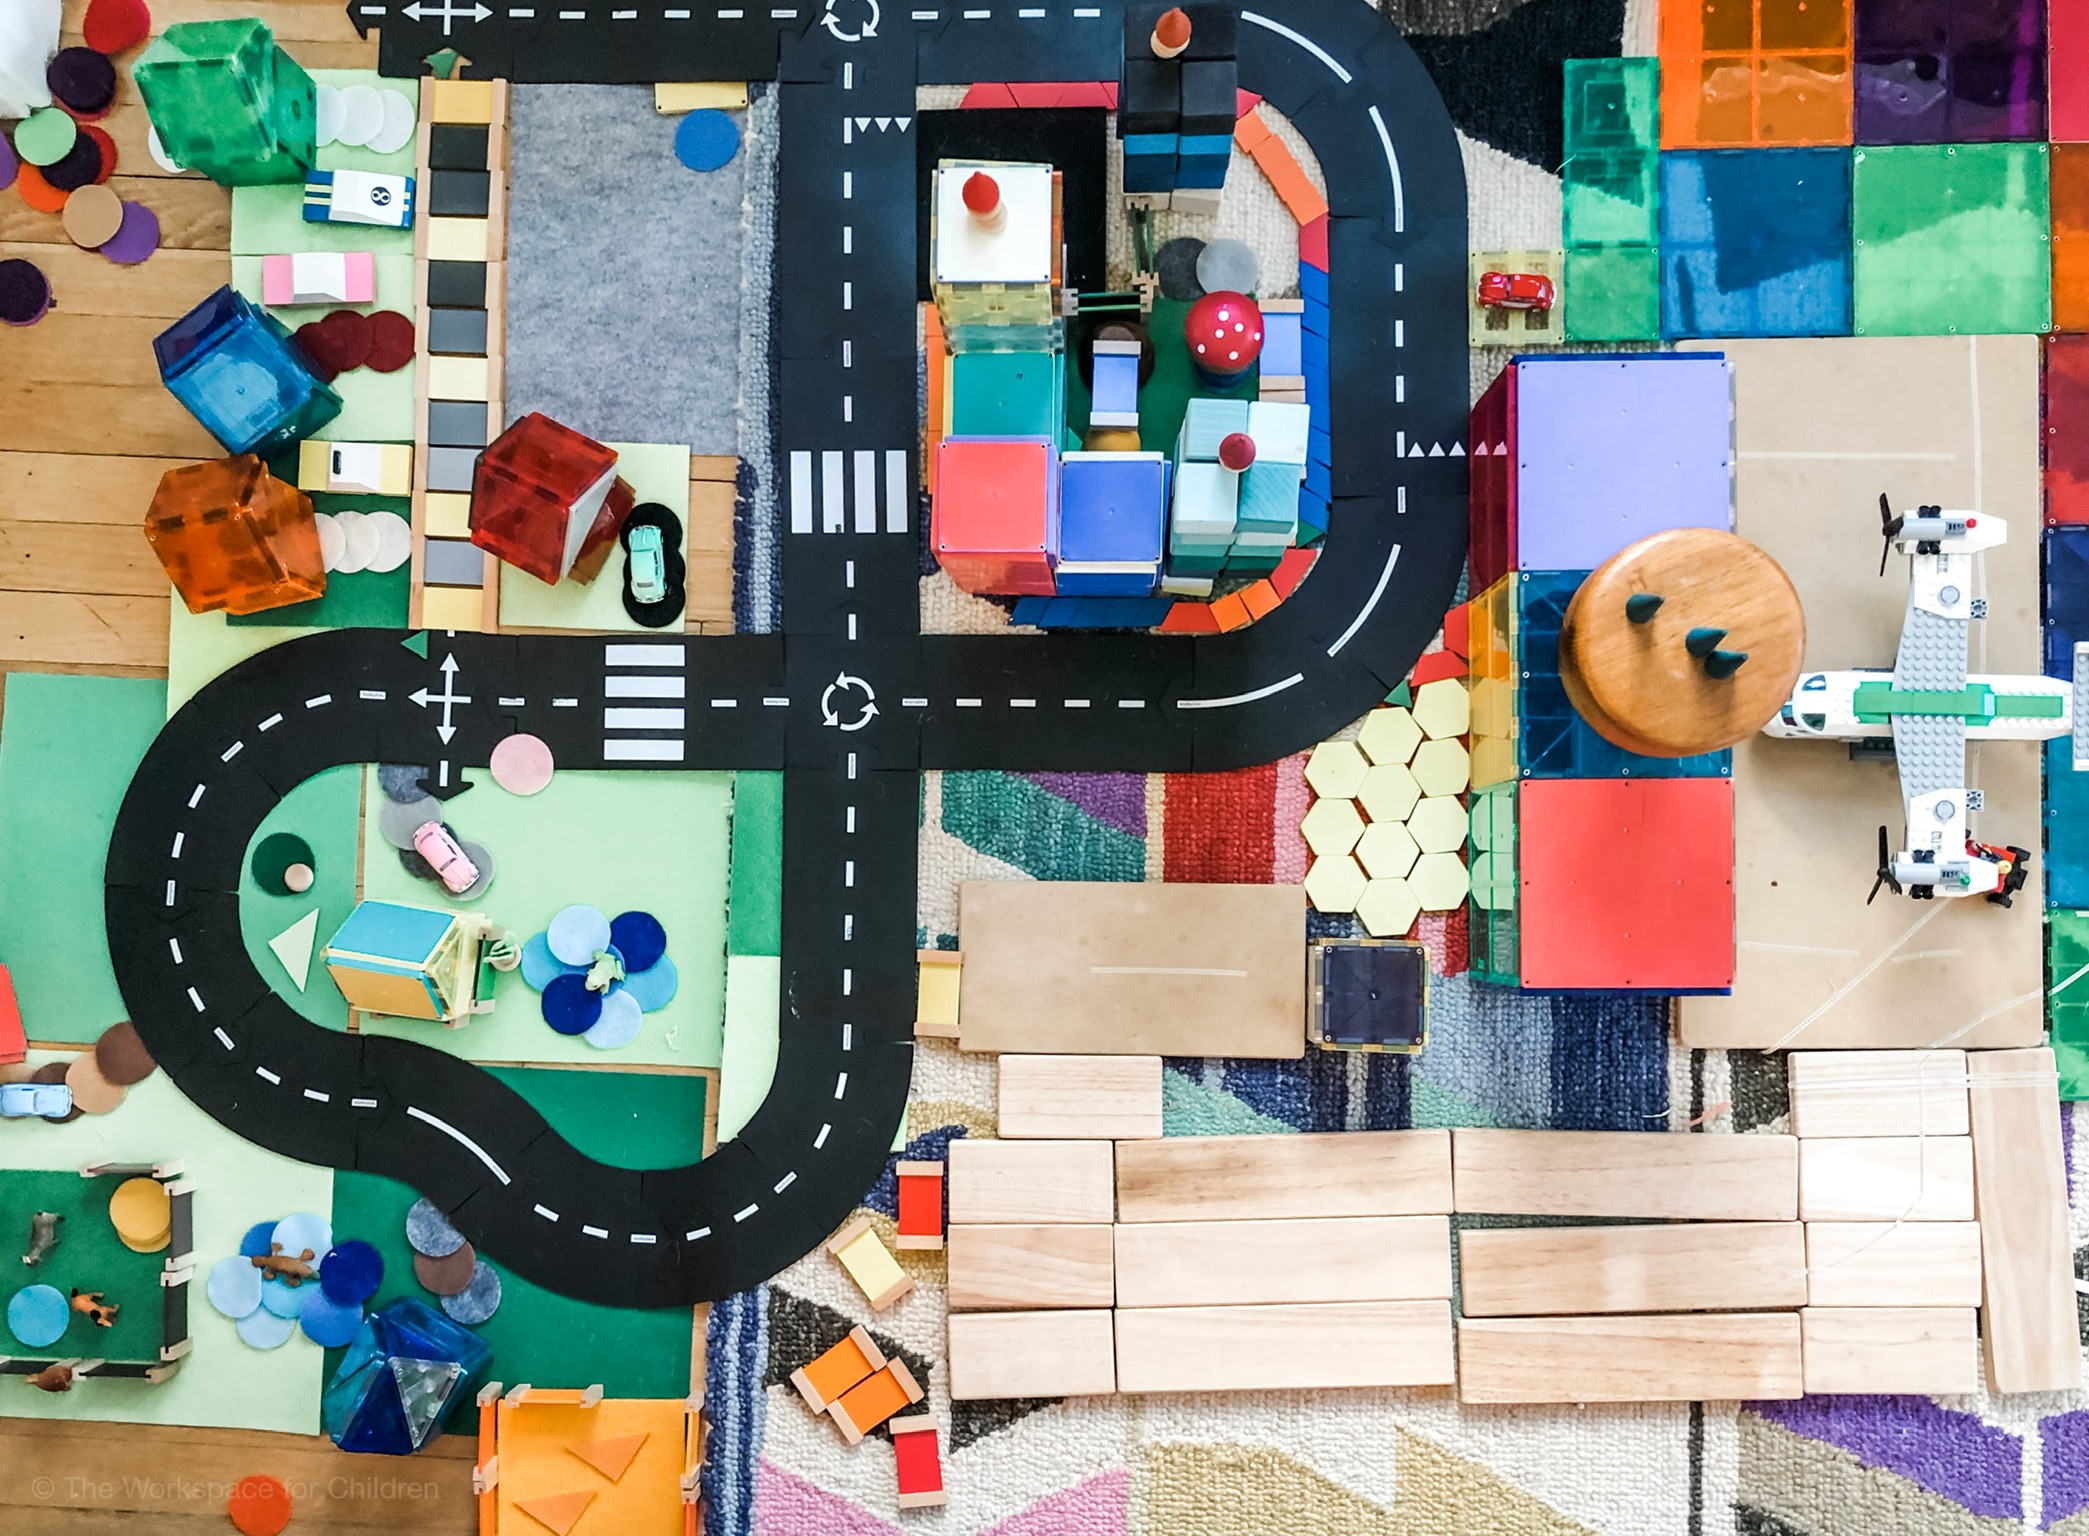
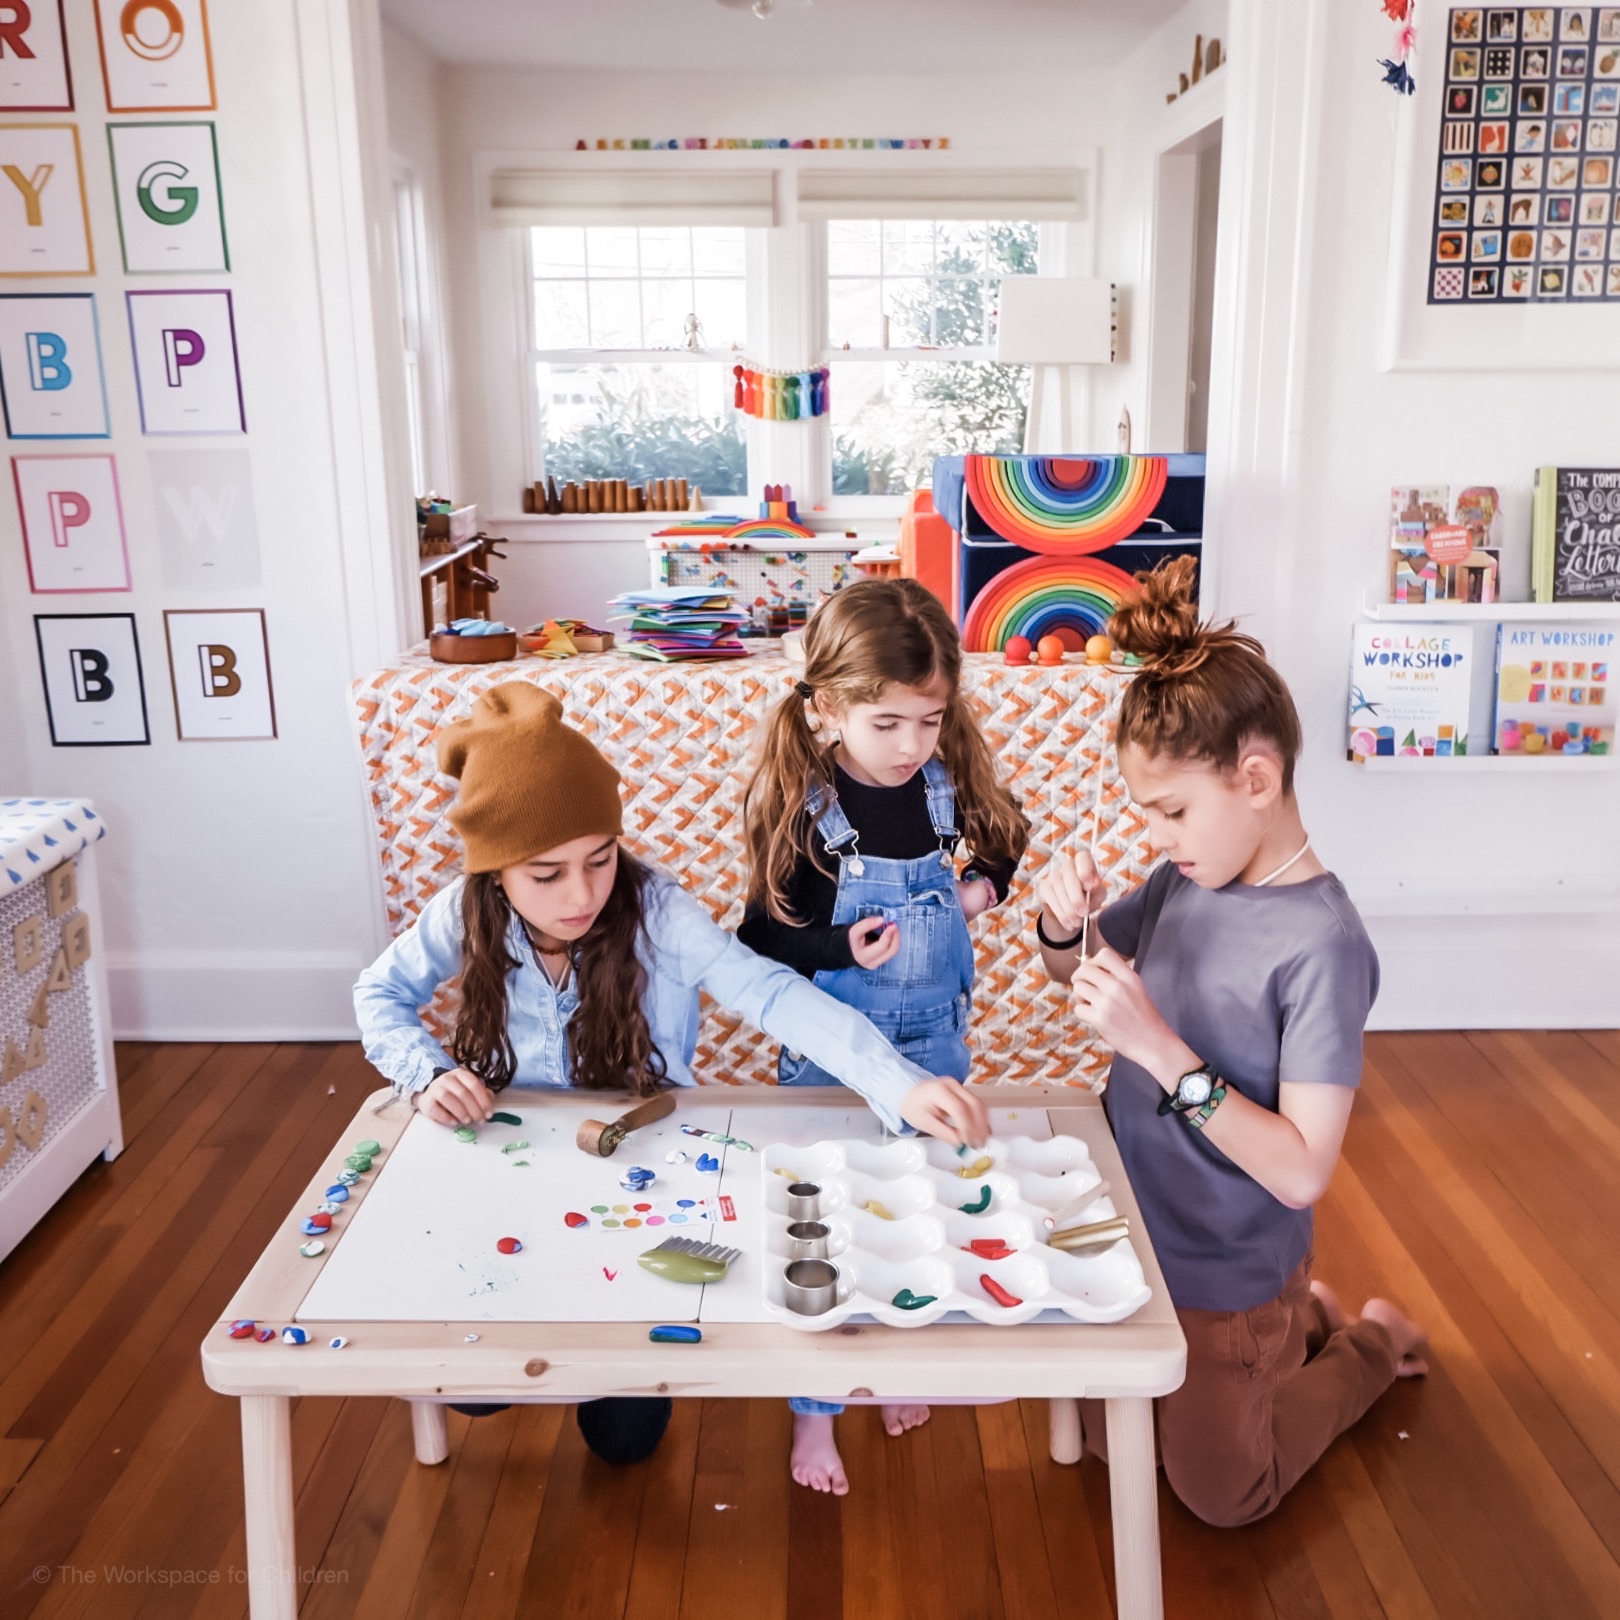
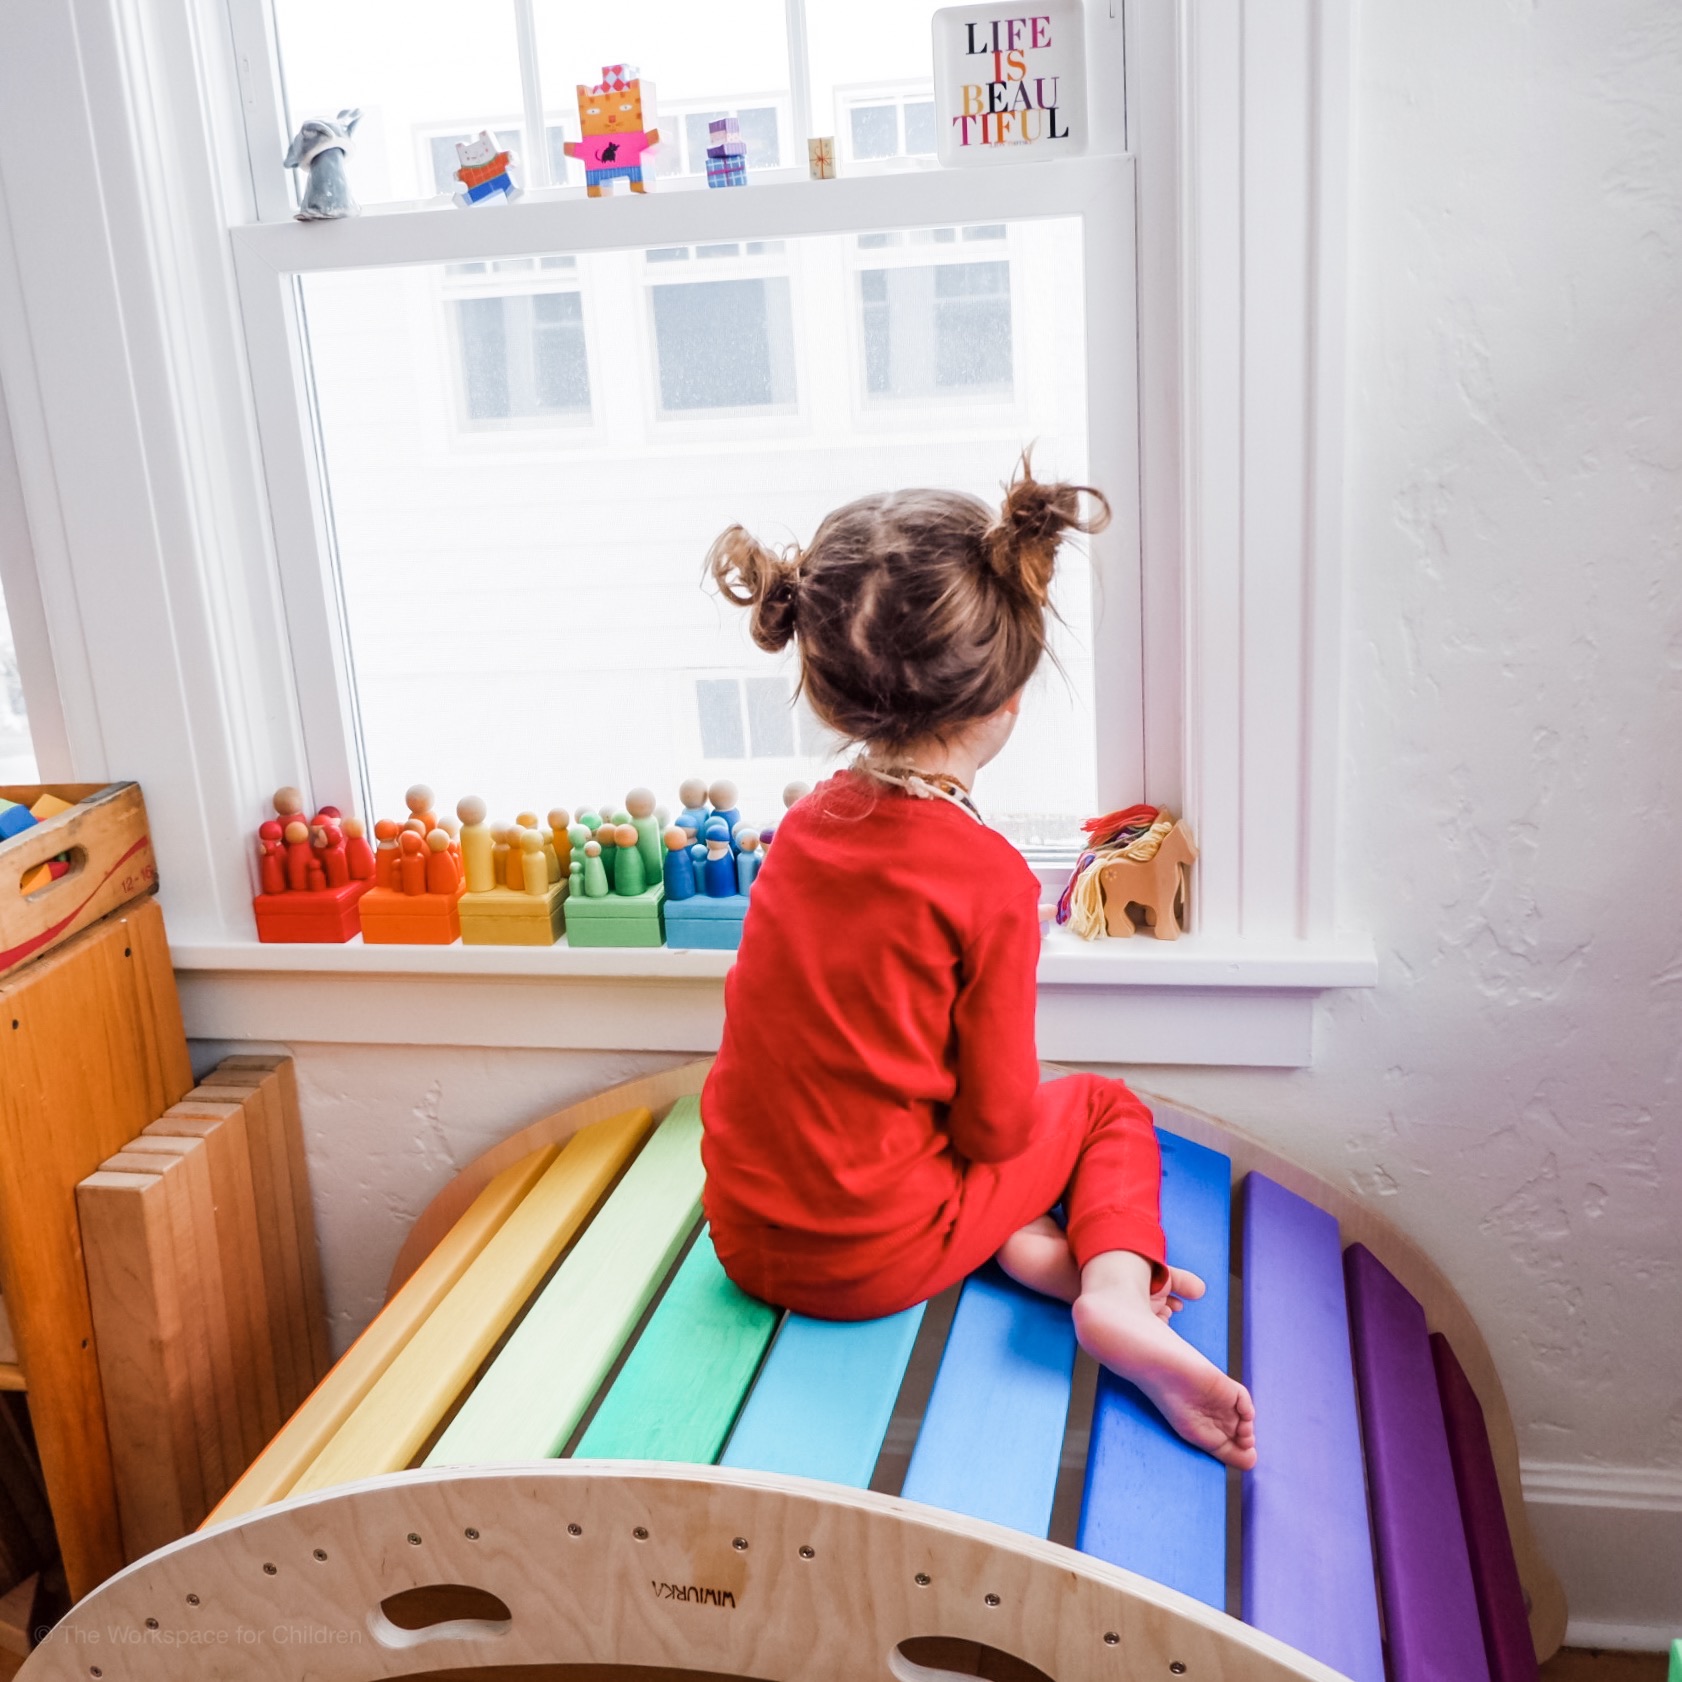
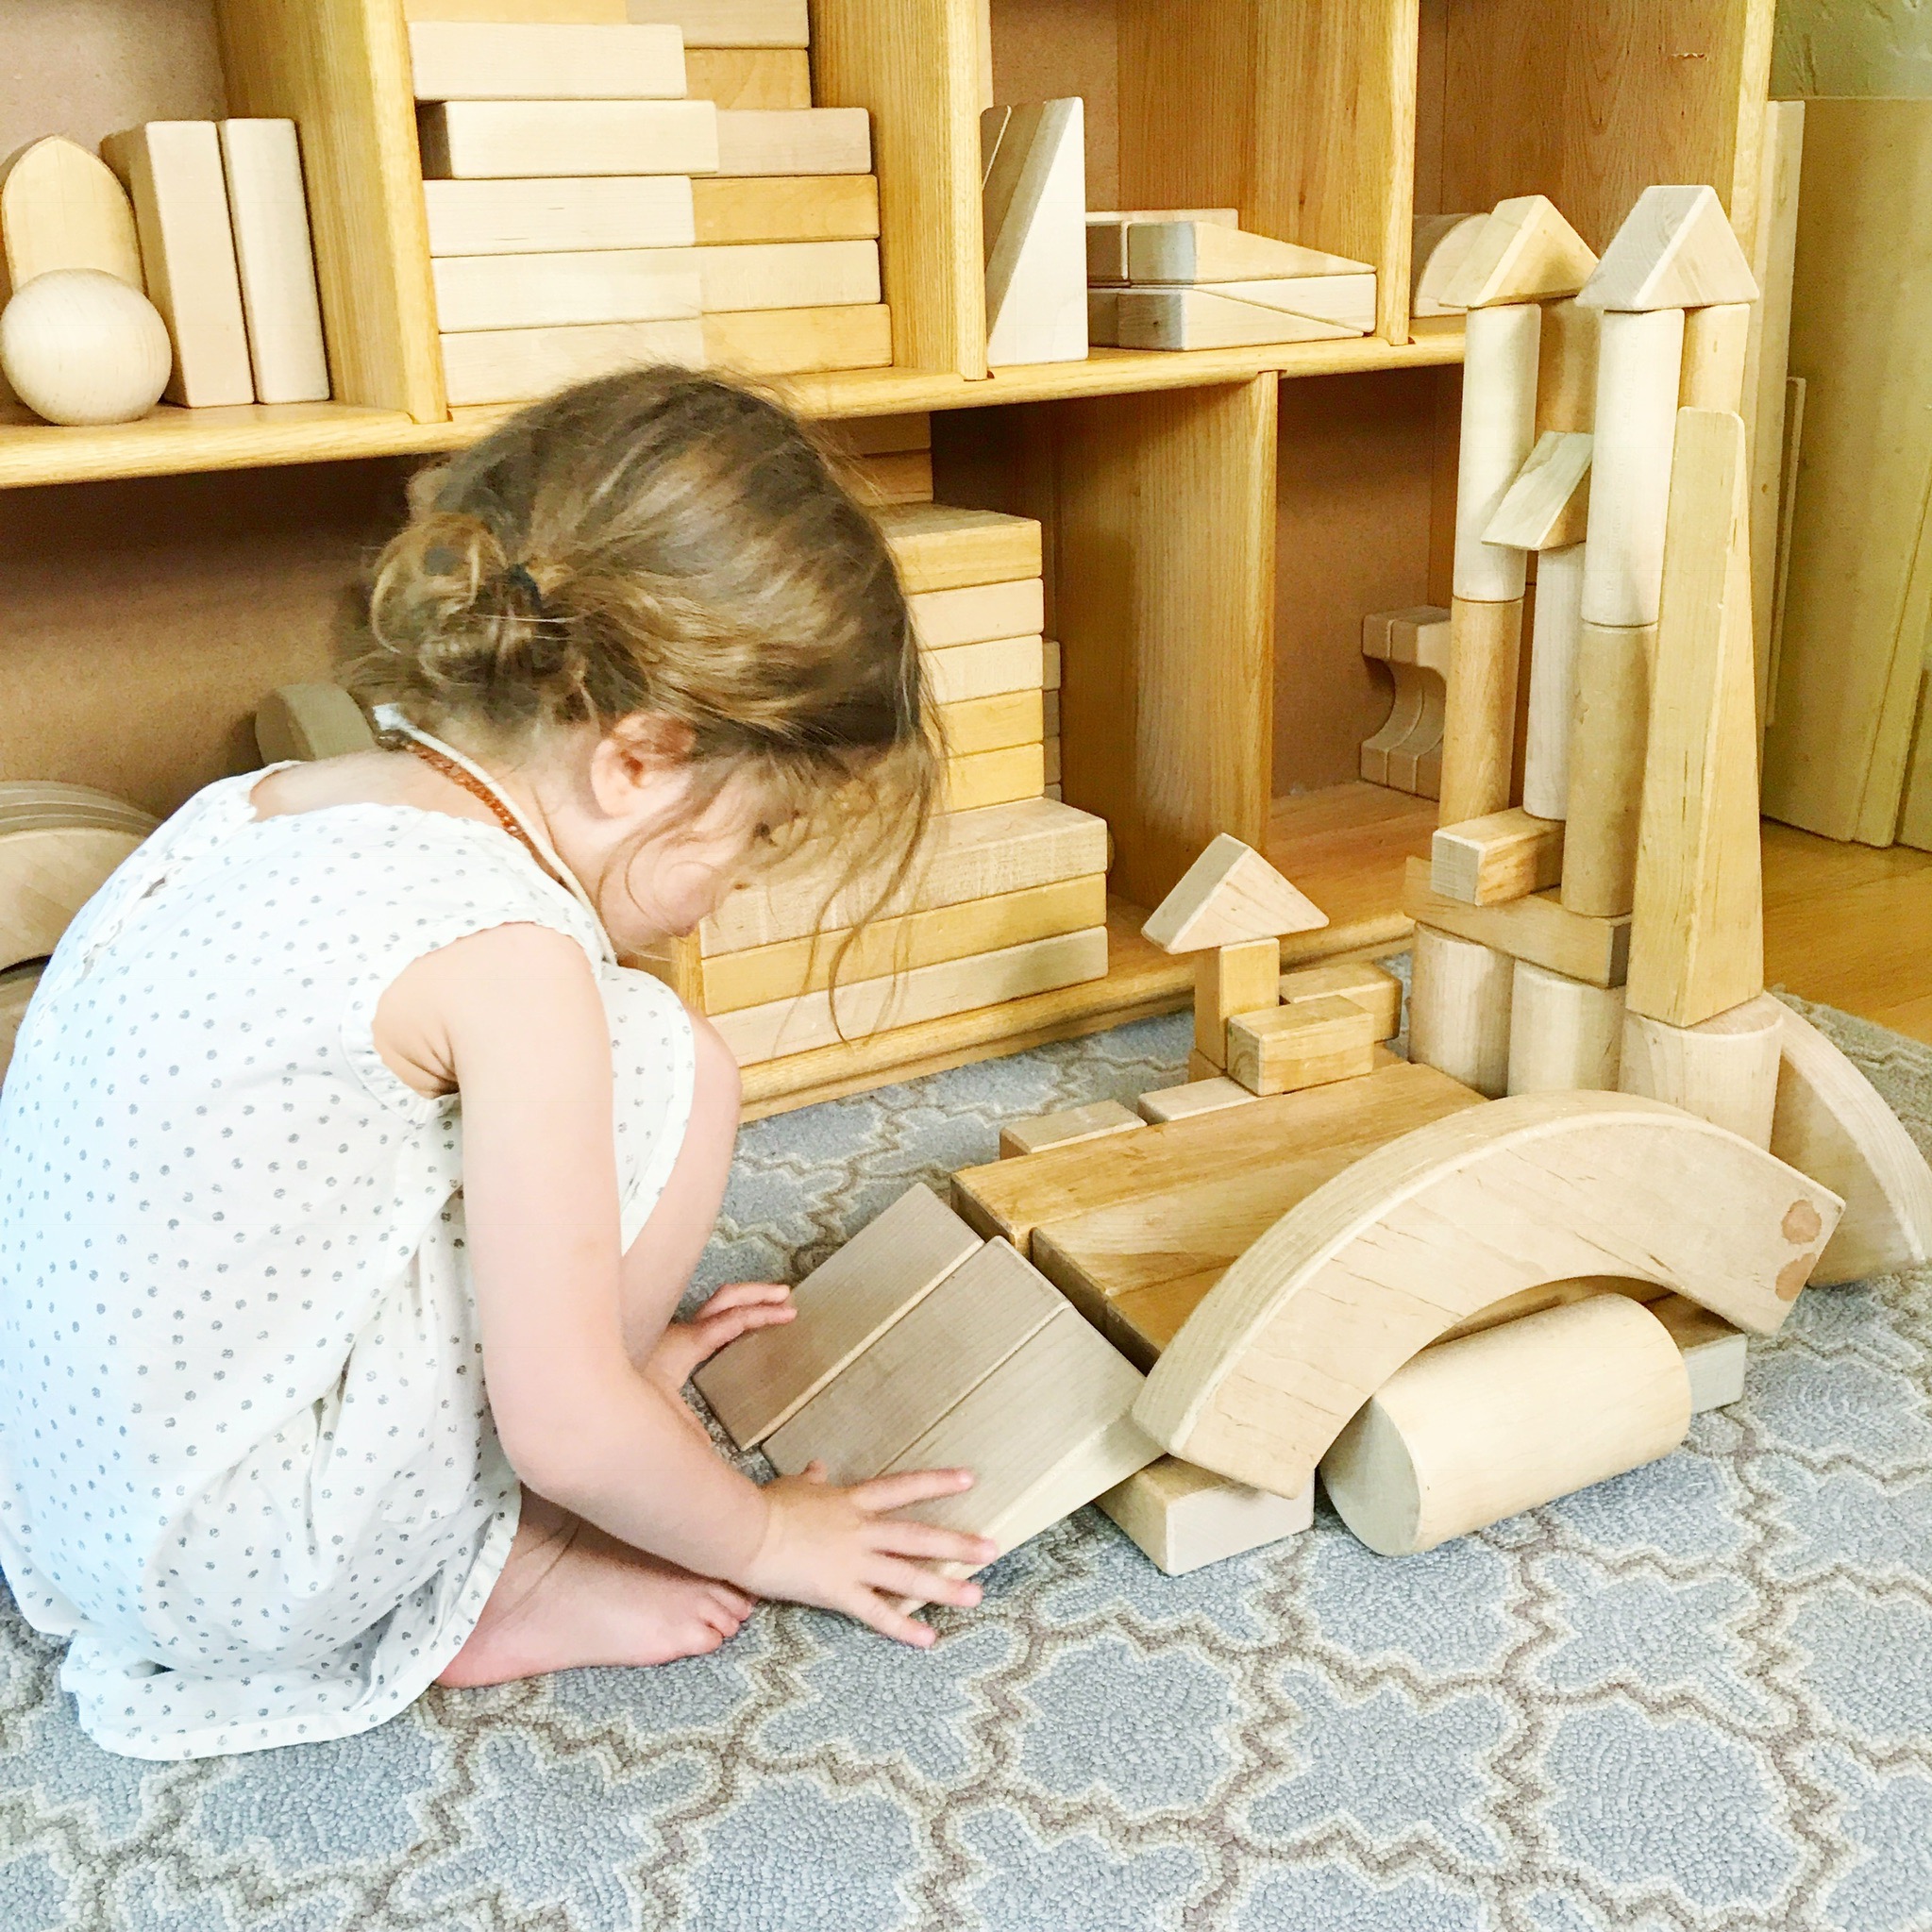
I feel the same way about play as I do about learning to read. I believe that if you are respectful of your child’s need to play and explore at a developmentally appropriate level, you are already WAY ahead of the game when it comes to reading readiness.
First, know that reading and writing readiness is DEVELOPMENTAL. It is different for every child. Like many of you, I need to remind myself this very often. It is so hard not to compare your child to siblings and peers. I’m speaking from my own direct experience. I struggle with this almost daily.
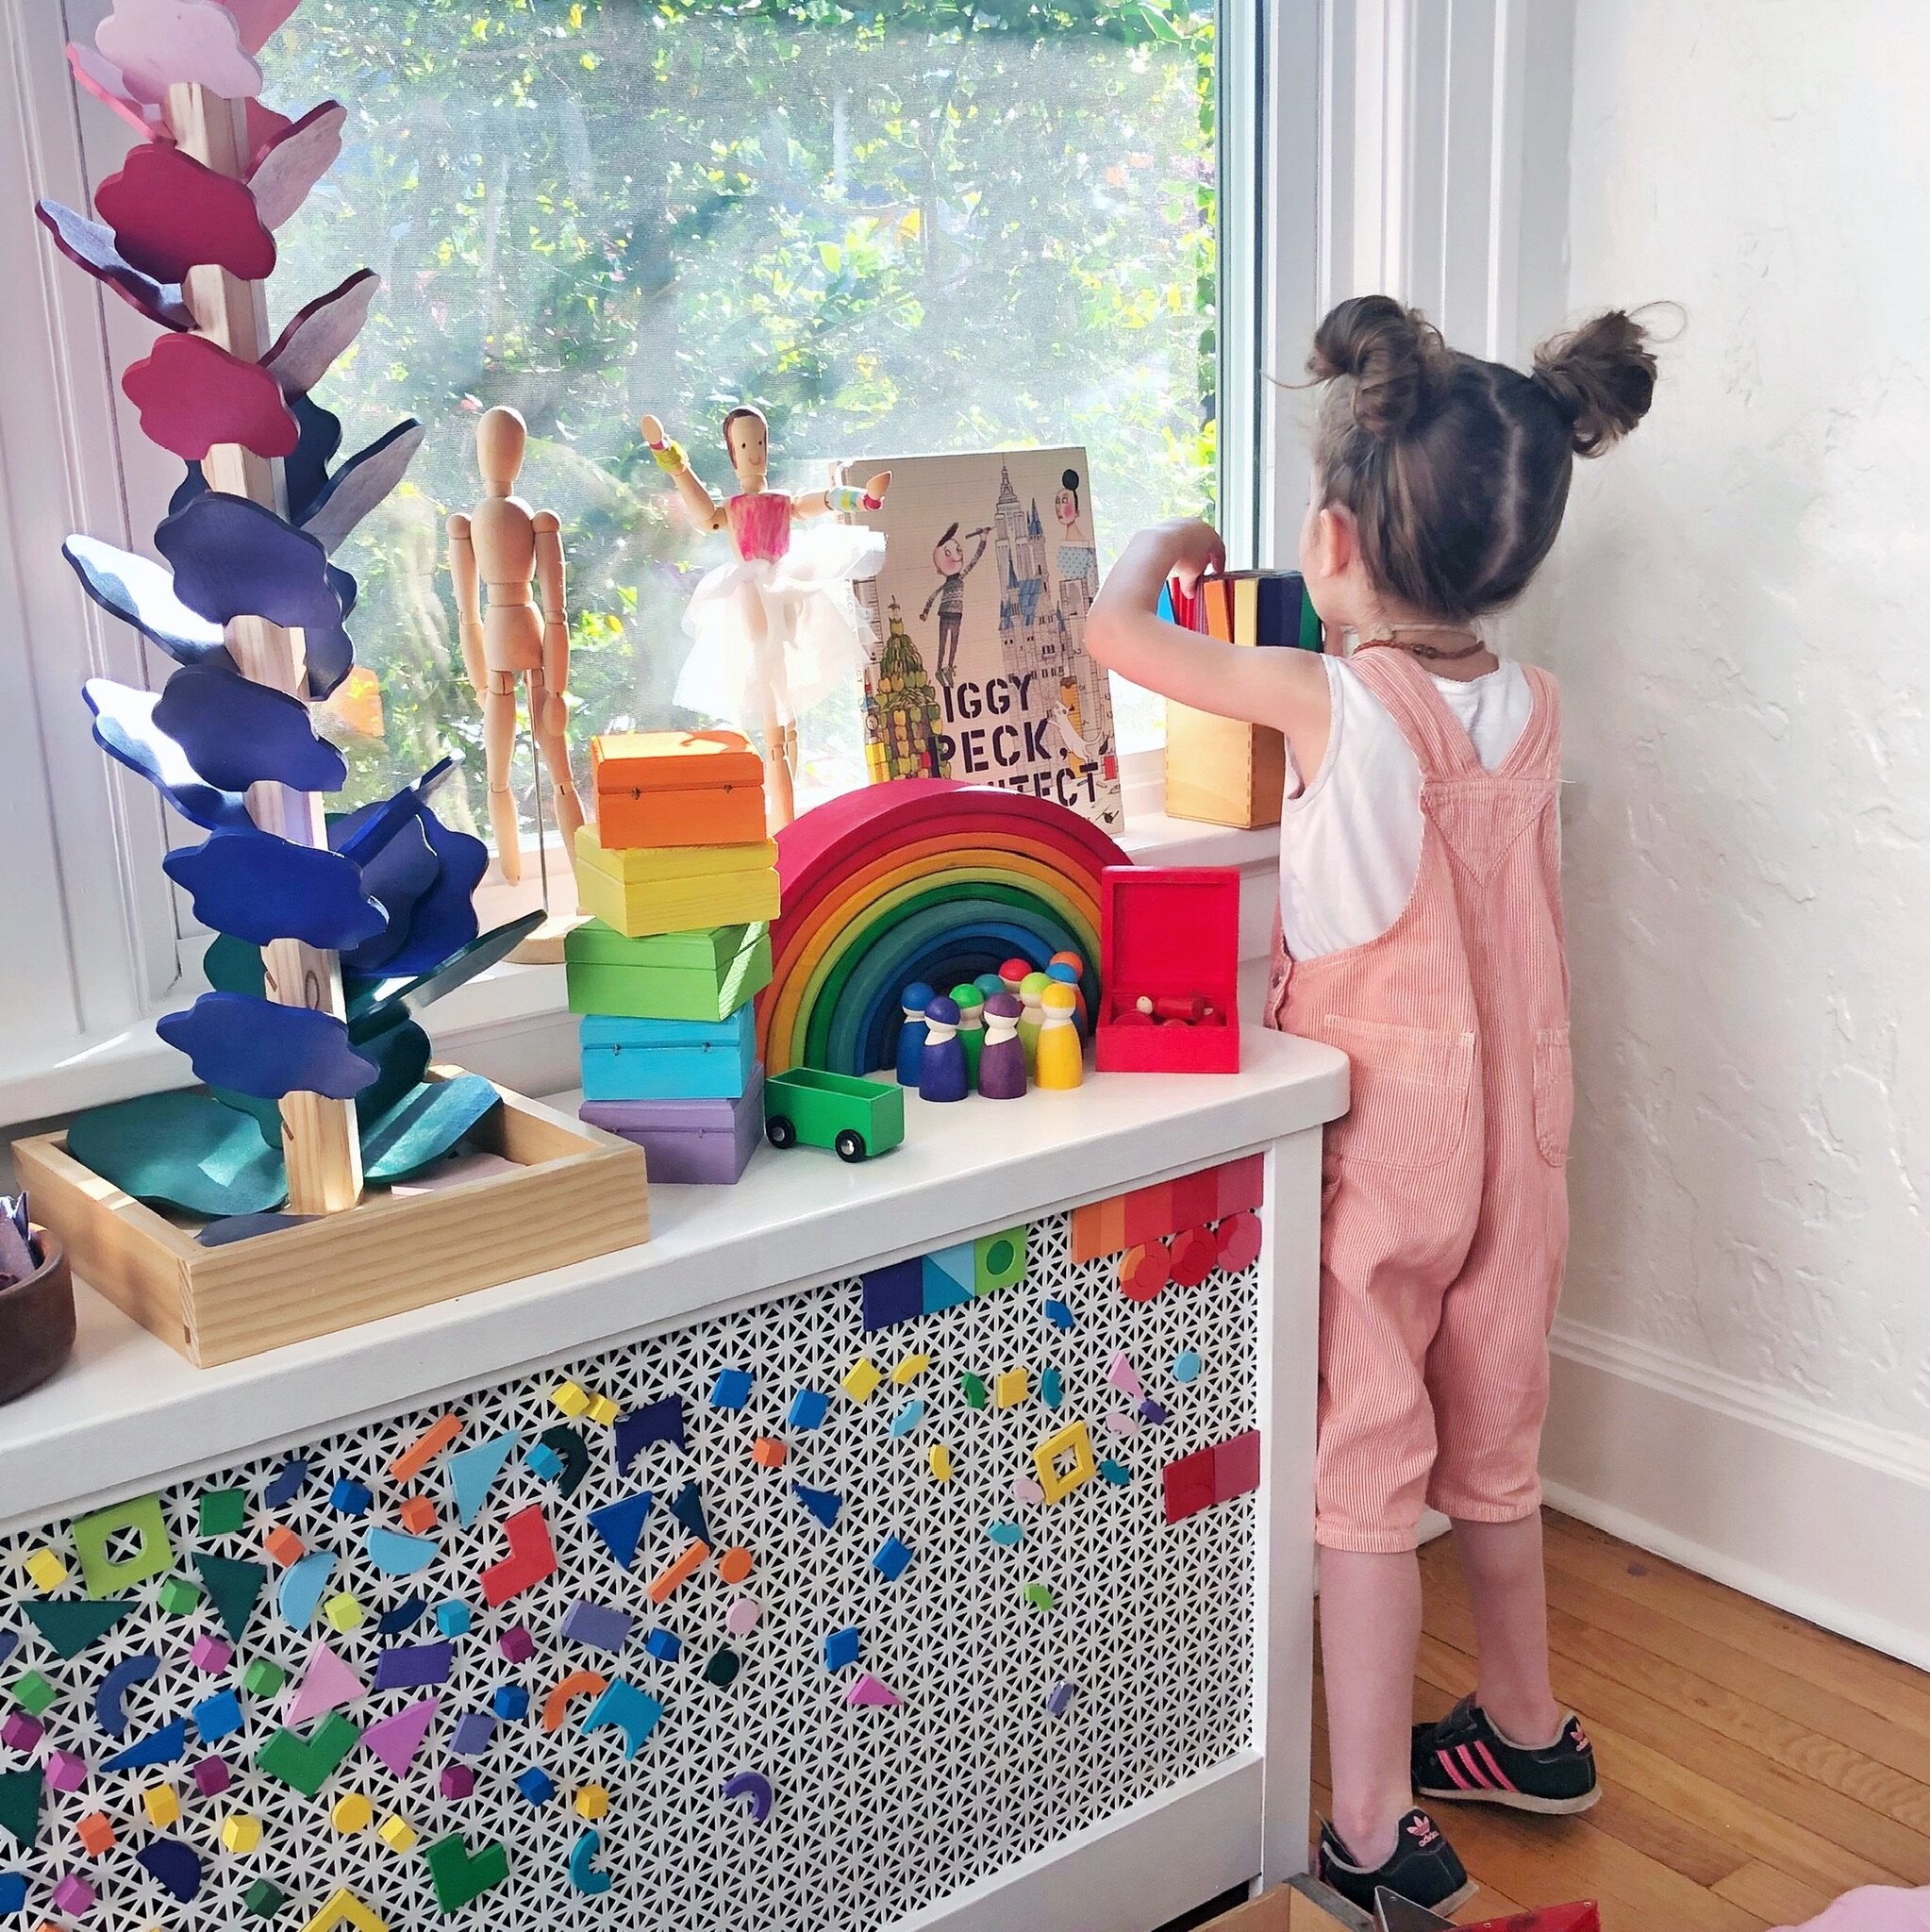
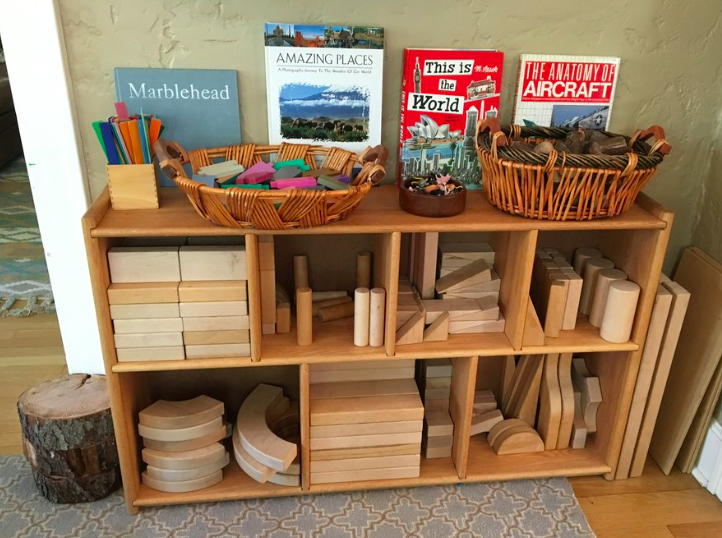
Having a print-rich environment is always a good idea. Lots of books,magazines, signs, and opportunities to see print as meaningful. I bet if you look around your home, you already have this. See? Told you that you are already ahead of the game!
Show your child that his or her words matter. This means writing down what they say, listening carefully when they are telling you a story, or when they want to sing you a song. For little babies, this includes sounds and verbalizations.
Sing! Lots of us sing to our little babies, but then we begin to feel silly as they get older. Don’t stop singing! Make up funny songs, silly words, or even sing what you are about to do. All of this word play is tremendously helpful in growing our children up to be confident learners.
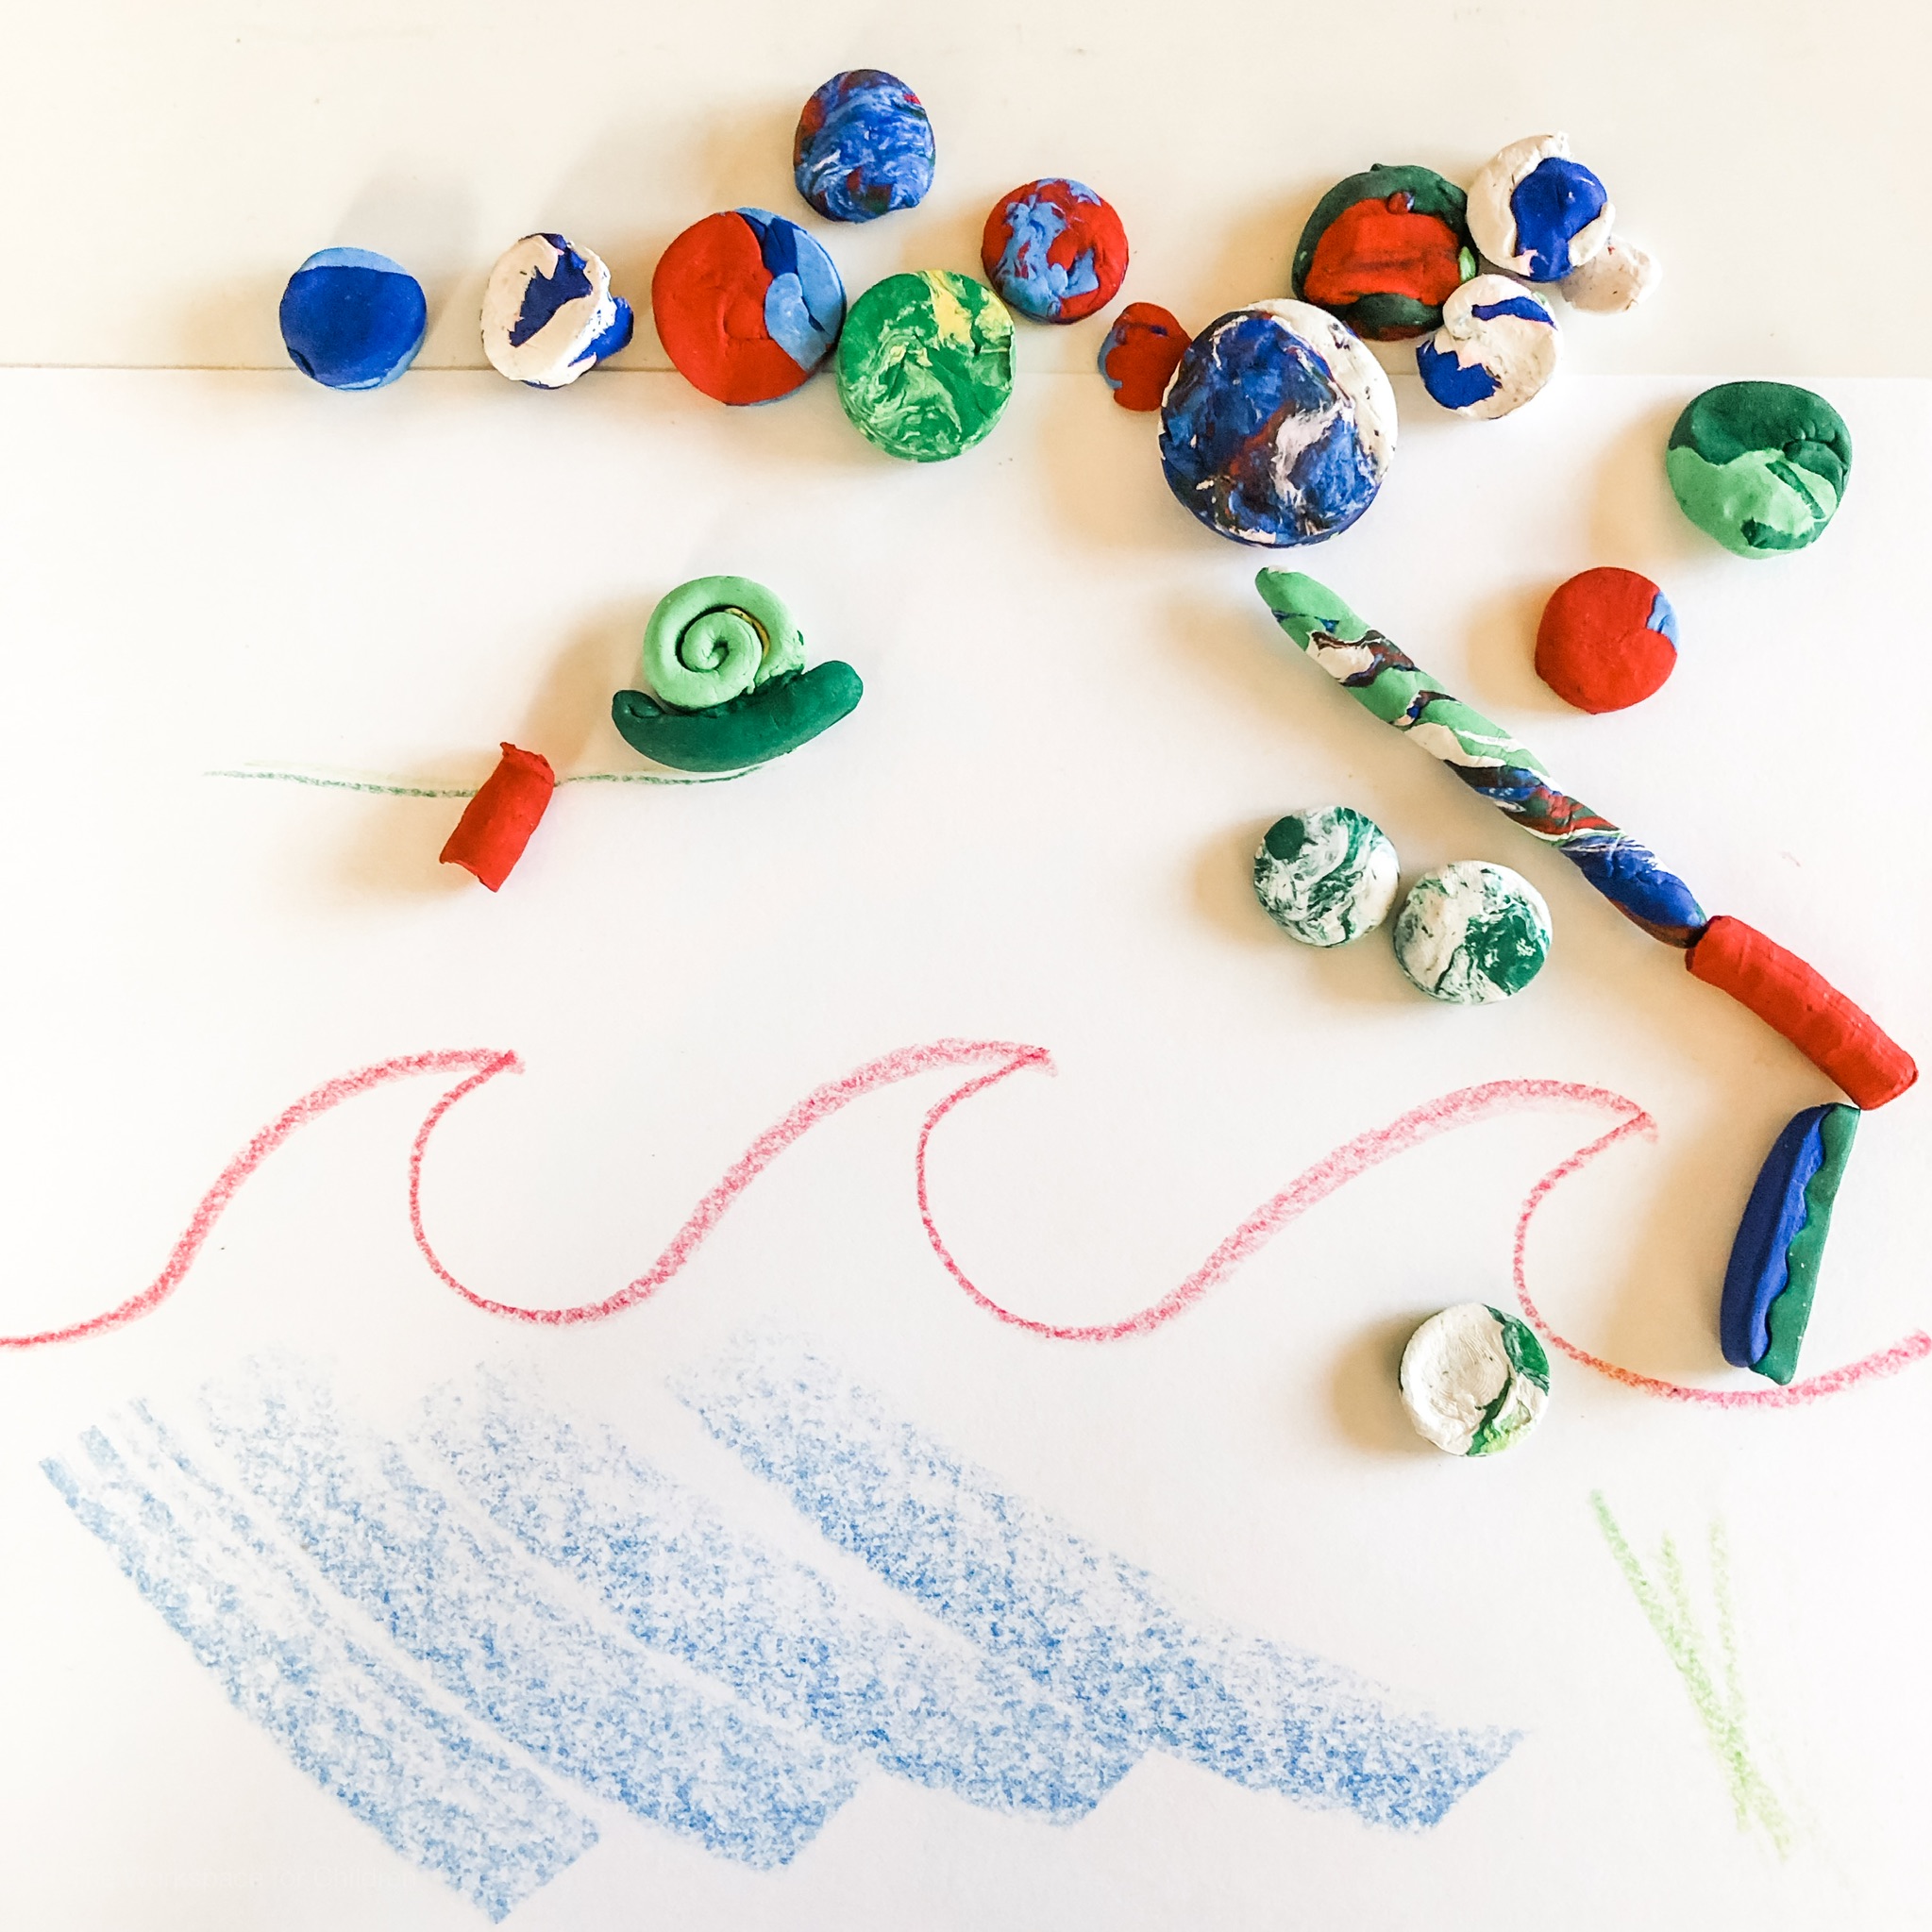
Show your child that his or her mark making, scribbling, invented spelling matters. Do this by turning your entire attention to their work. Listen and look. Do not put your own spin on it, just listen and nod encouragingly. Instead of asking what they drew, just notice details aloud and then see what THEY say about their work. Listen carefully.
Show your child that YOU read and write every day. Think out loud when you are writing. Model your thinking. Get in the habit of doing this (it feels super weird at first but is a real game changer with all kinds of learning with children).
Write and draw what they say. When they are telling you a long story, made up or true, grab a pencil and let them watch you write it all down. They can revisit it later. Maybe they will even illustrate it. Don’t make it hard though, or you’ll never do it. Any old scrap of paper will do.
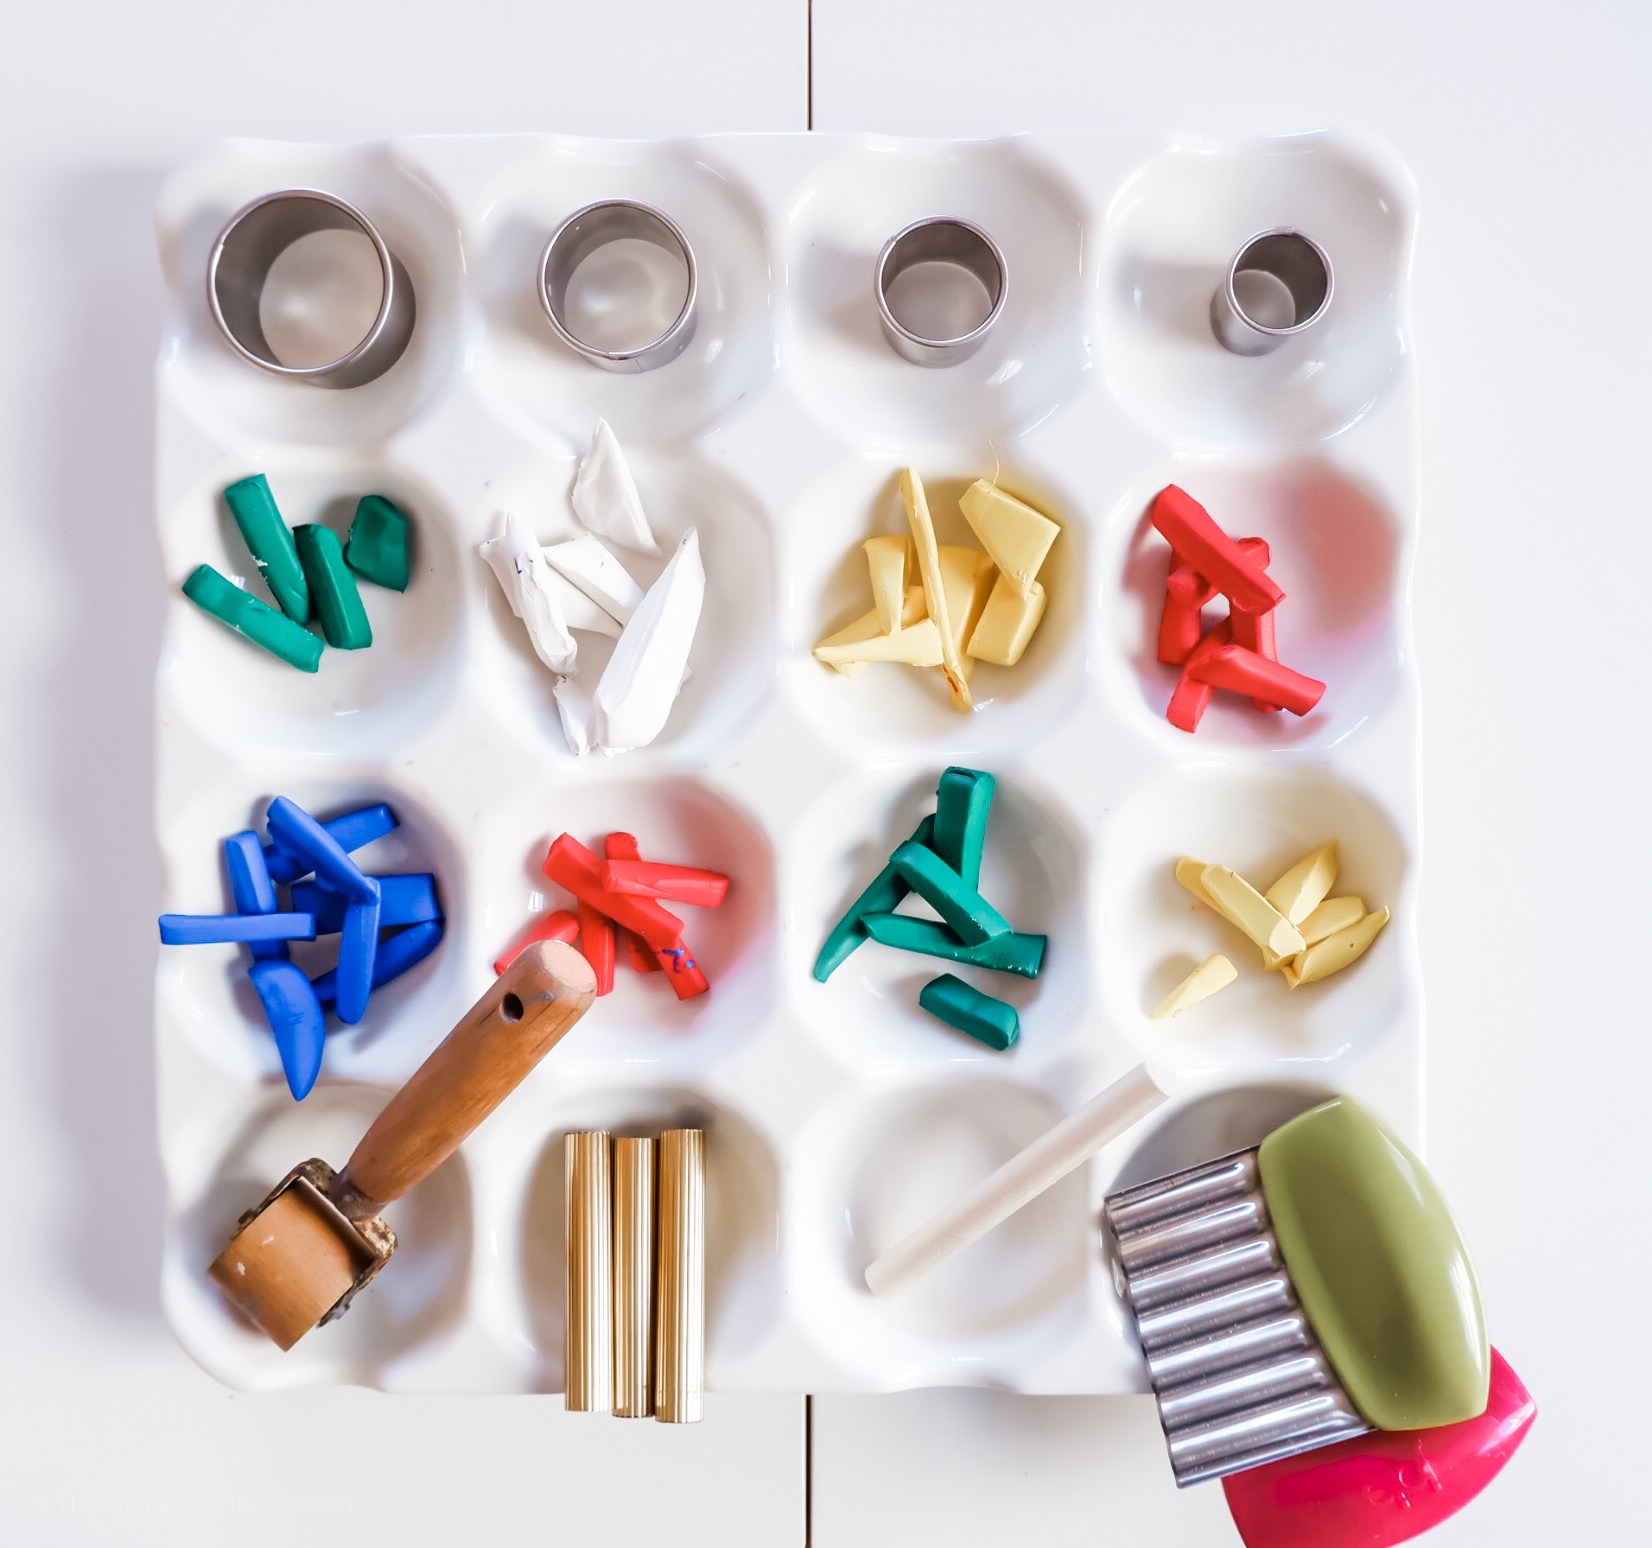
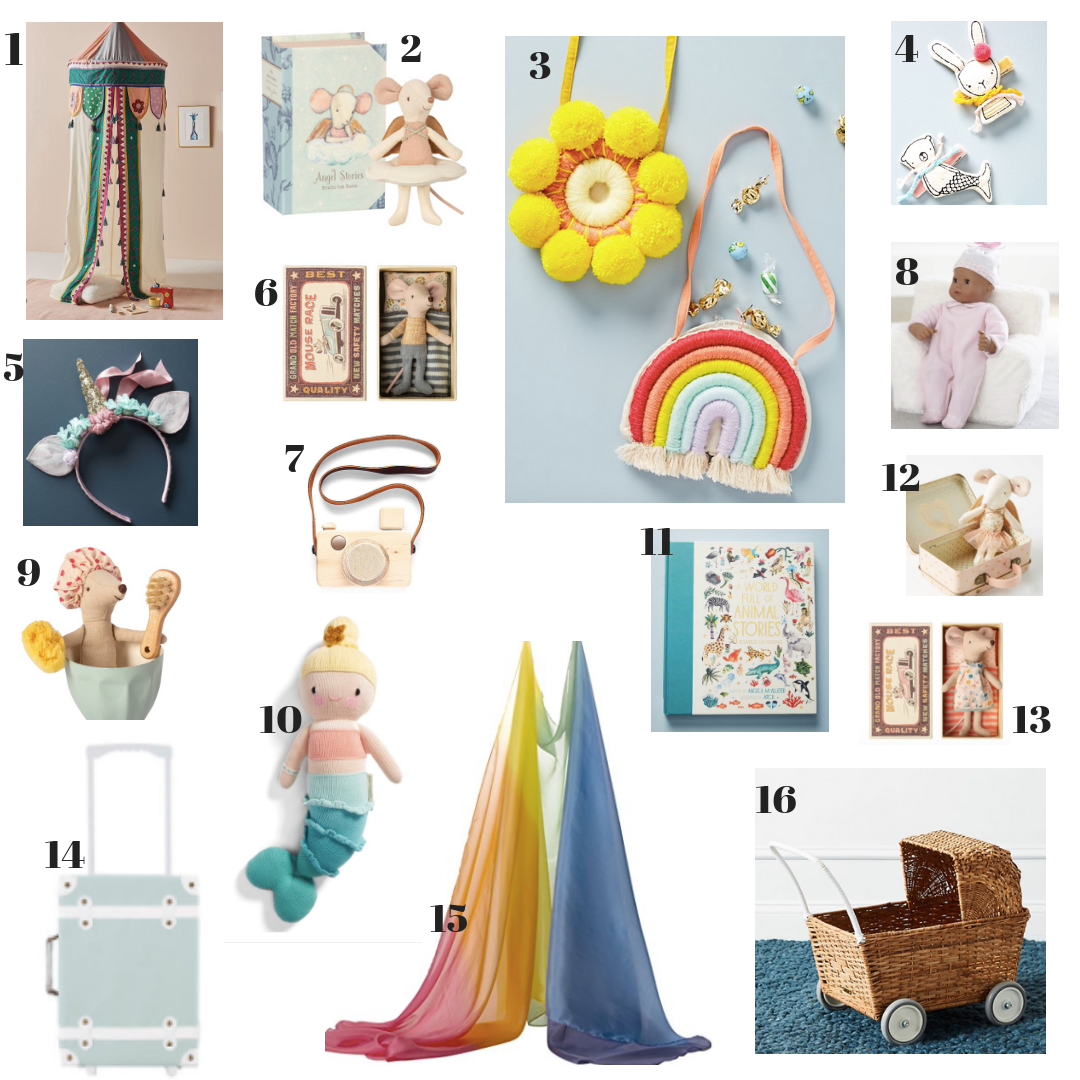
Give your child access to books and open ended art materials. This can be as simple as crayons and blank paper.
Label items that your children already know. When Nate was little, I made labels with letters or words on familiar items like the milk pitcher and his bed. He would “read” the words to these very meaningful objects and see himself as a competent and capable learner. (Hmmm, maybe I should do this for Sloane.)
Place value on time spent with books and stories.Spend time reading separately but together. Sometimes we all sit and read together, but silently, each in our own books. Yes, small children can do this. It takes practice and modeling.
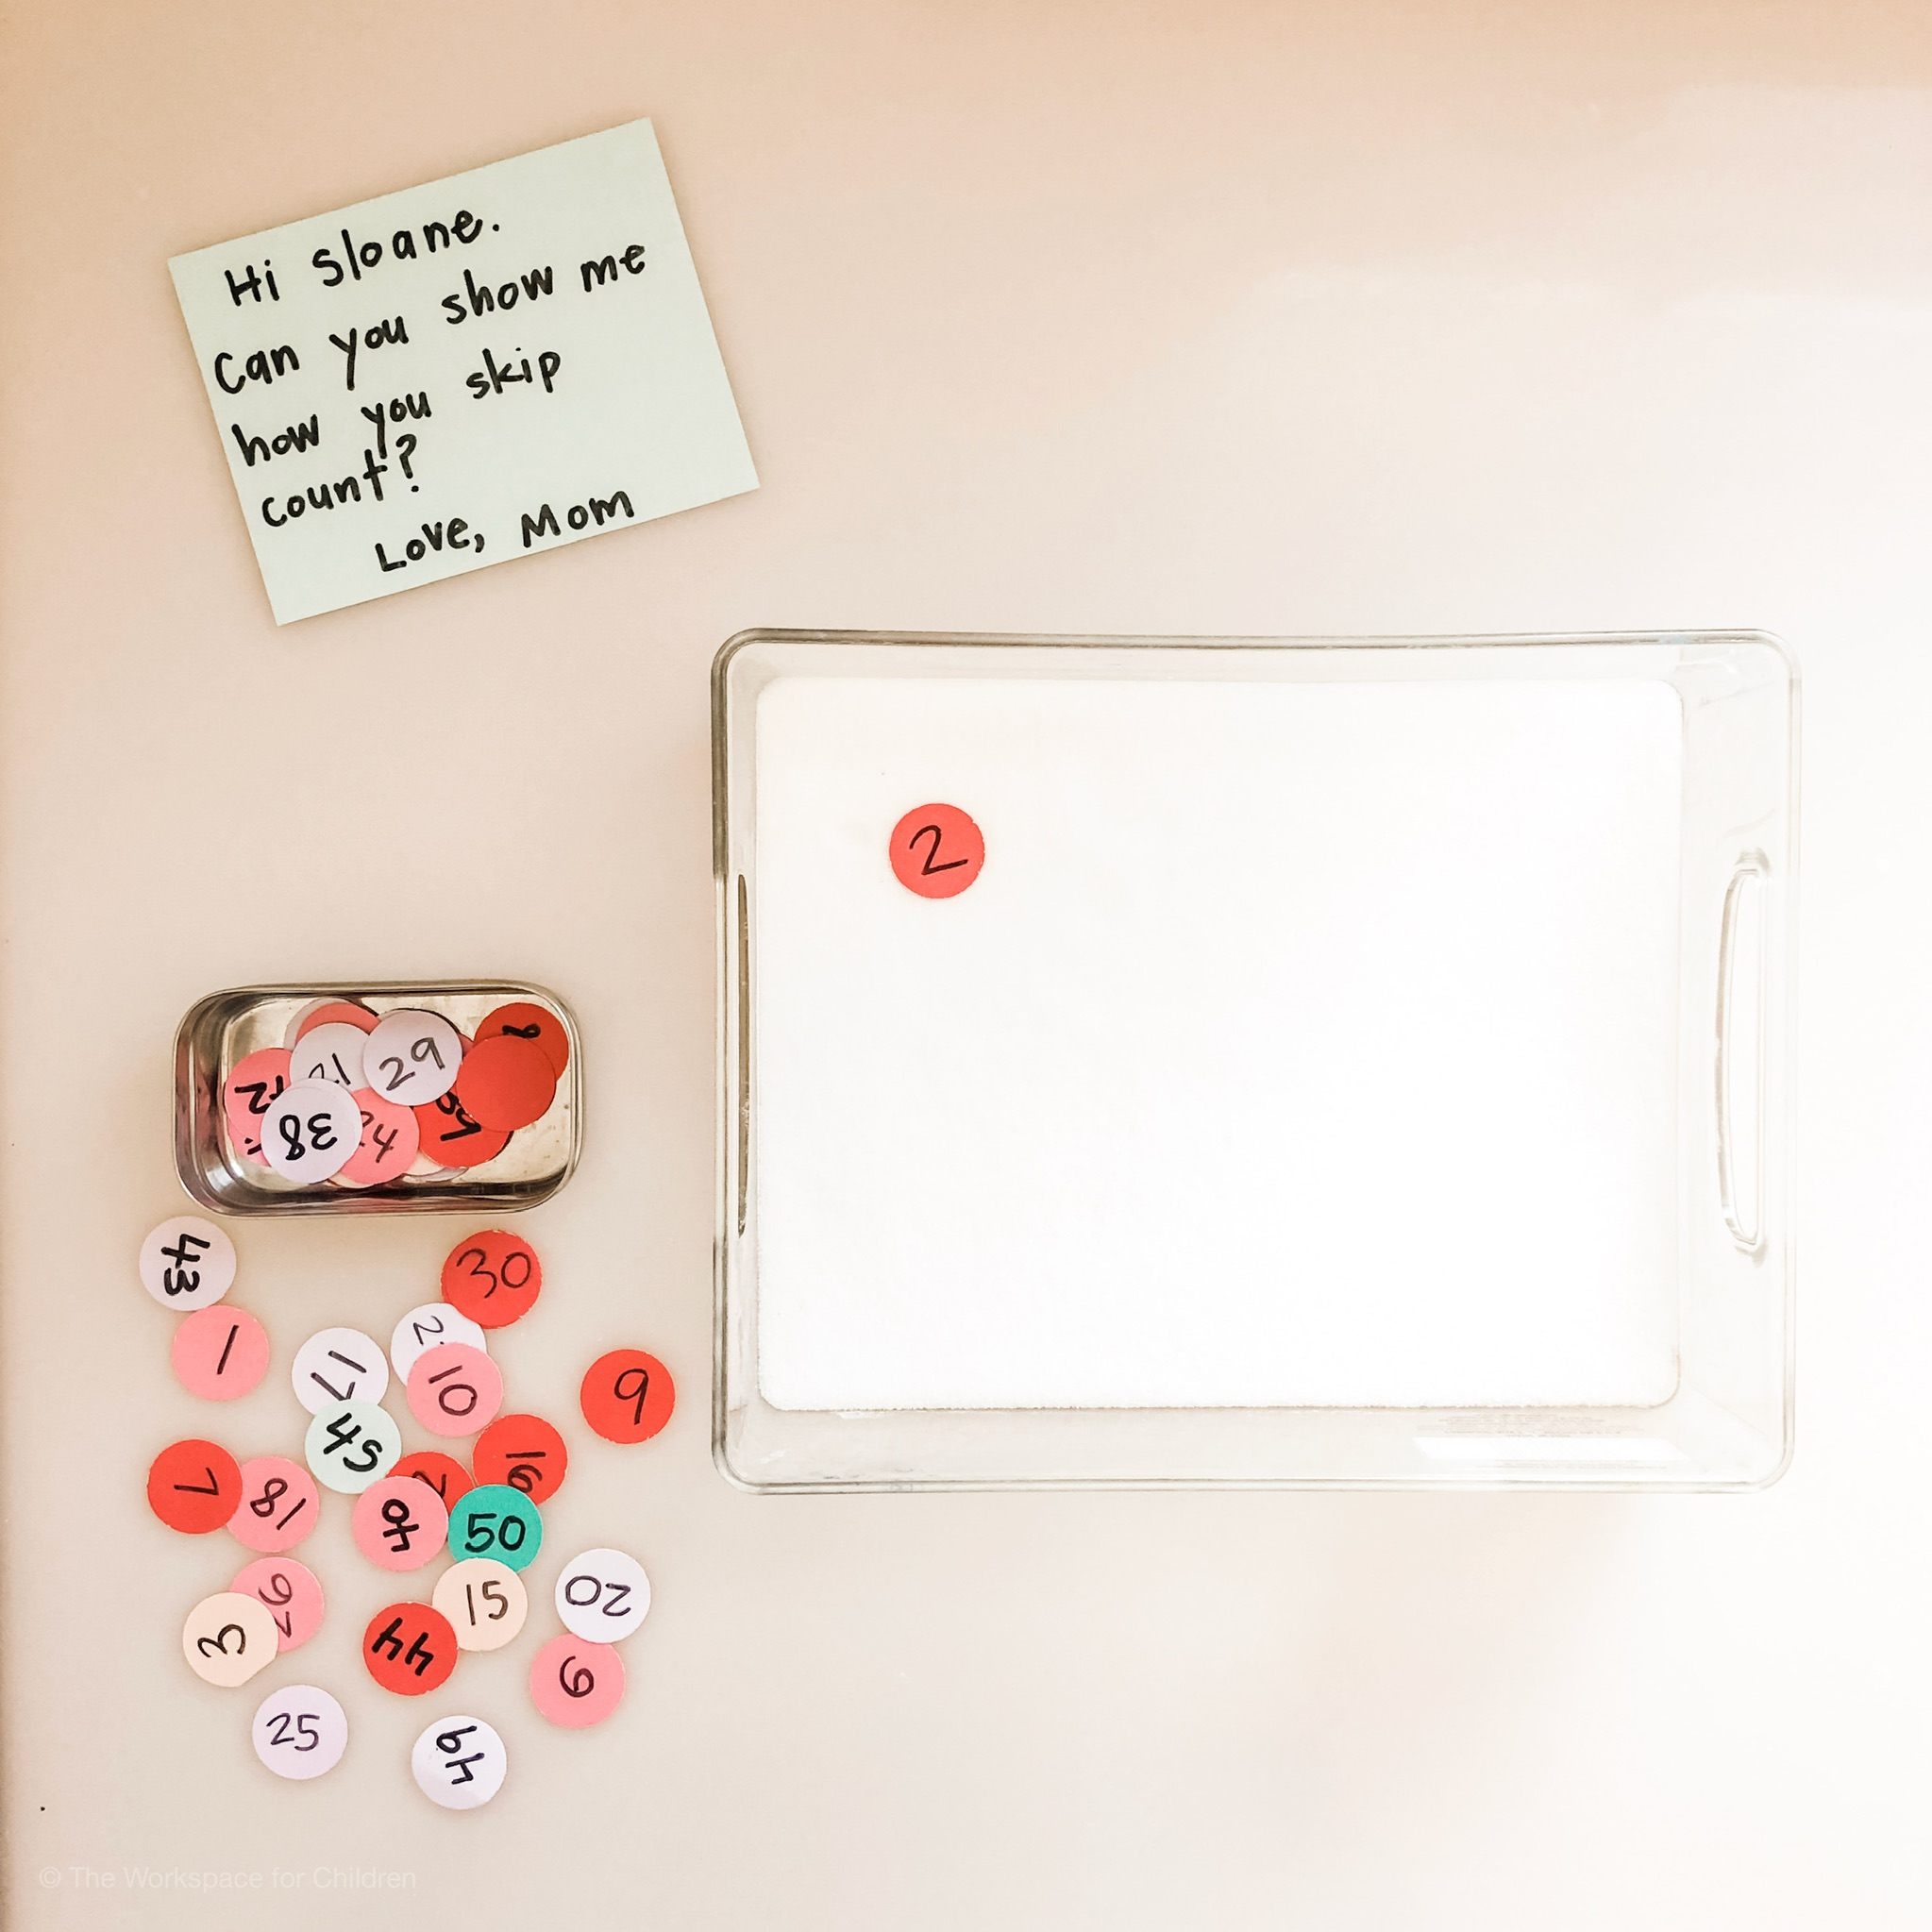
Keep note pads and paper everywhere. Write and draw your child notes. Even when they are small. I like to leave a note under their pillow, or in the bathroom. It’s okay if they cant read yet! It is a fun surprise to discover and you can read it to them. Show your children that print and marks are important and necessary.
Most importantly, DO follow your child’s lead. If he’s not ready, he’s not ready. Don’t forget…Kindergarten now is what first and second grade was in years past.
Develop a love of learning in general and all will be well. Always encourage risk taking, question asking and mistake making.
Of course, there are apps and reading programs that will teach your child to memorize words and letters from a very young age, but they lack relevance. In order for your child to learn the love of reading and writing that will last a lifetime they need meaningful, rich connections to the work they are doing. This happens over time. This happens with intention. This happens when we value our child’s individual development and life experience.
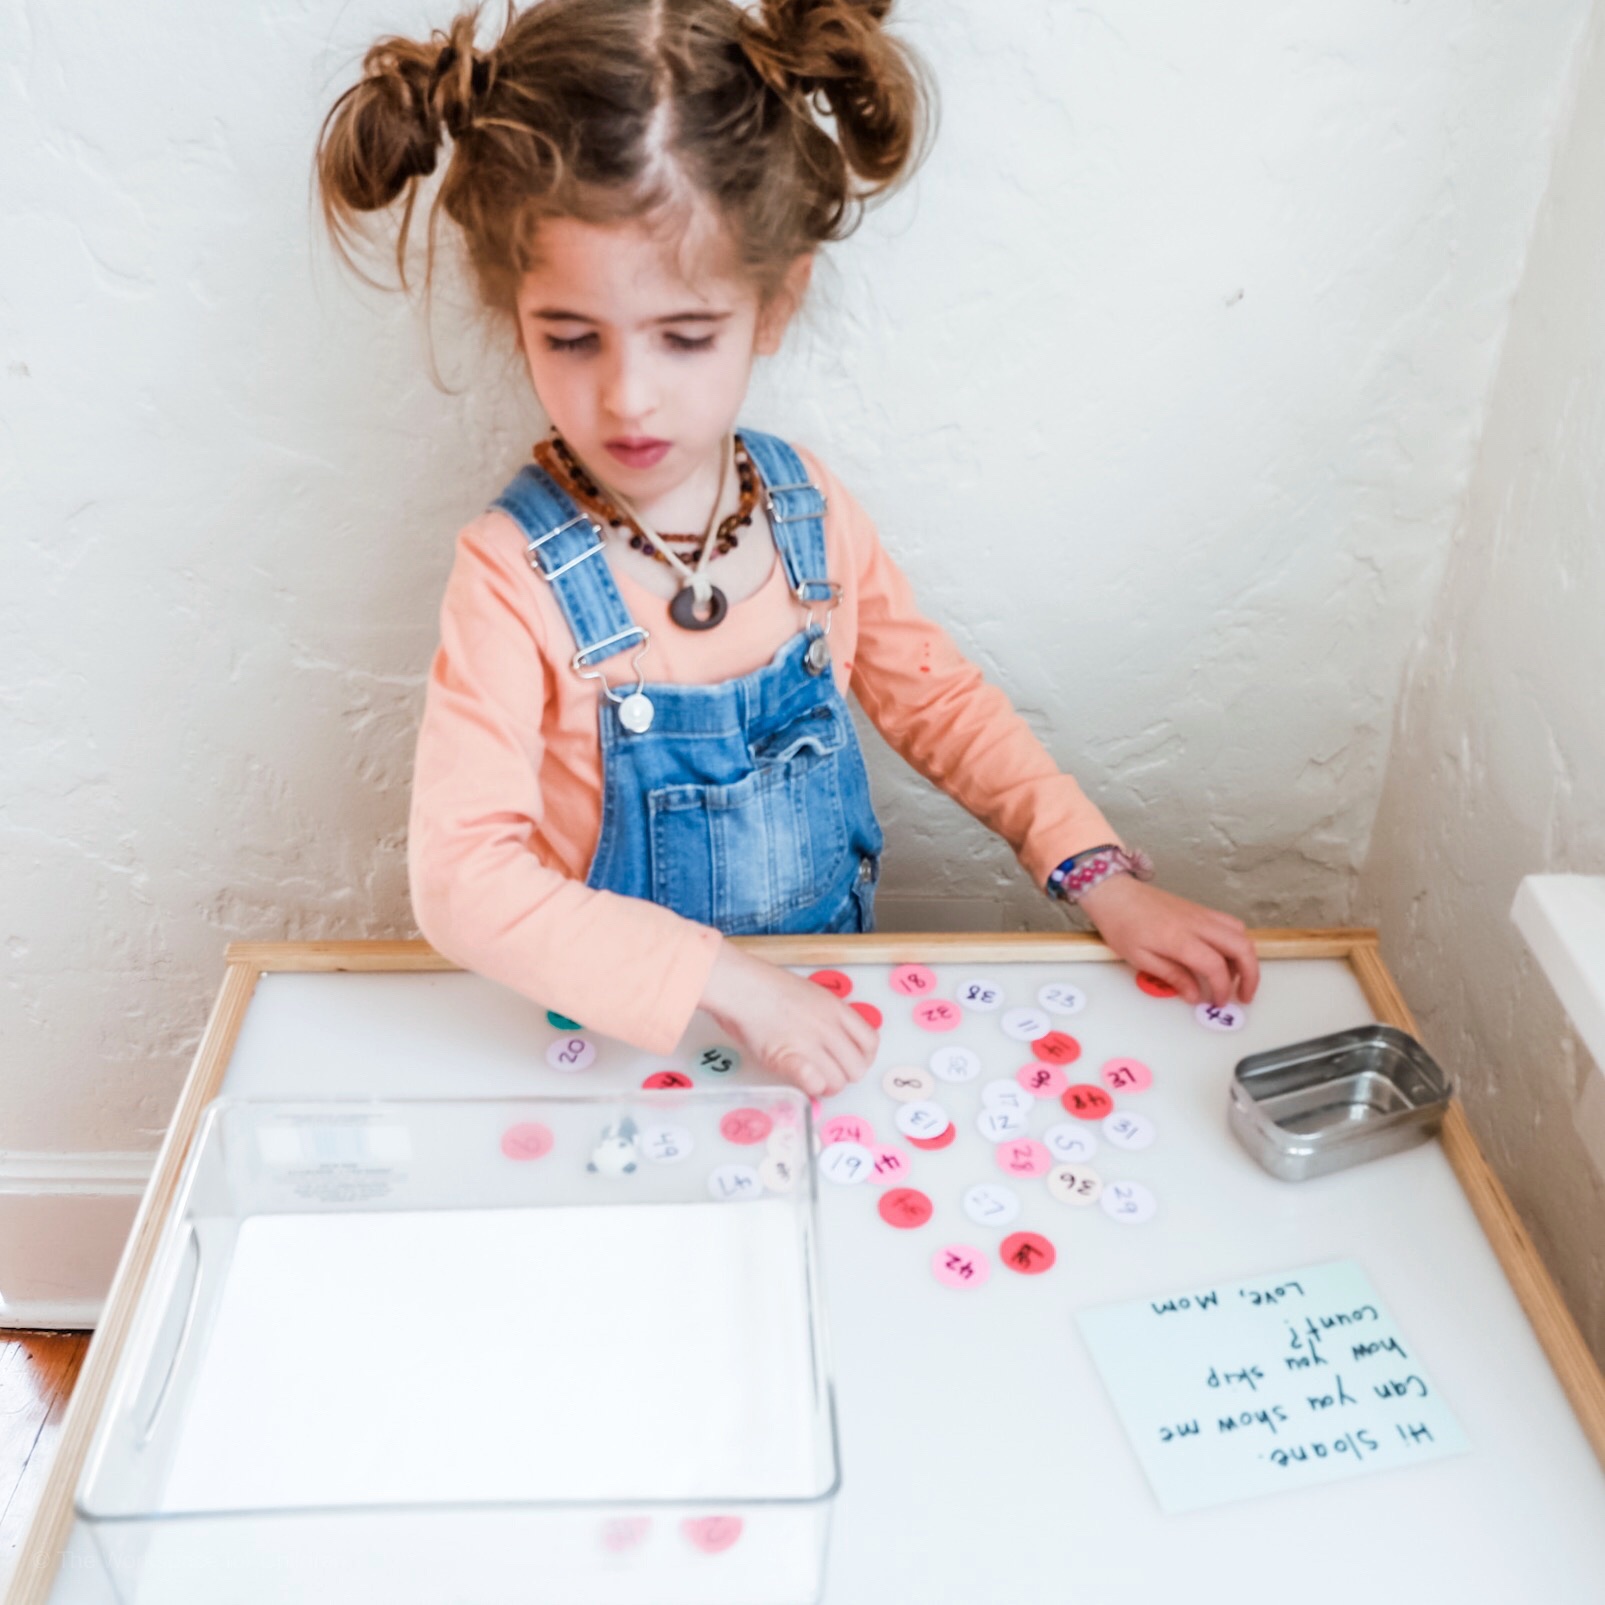
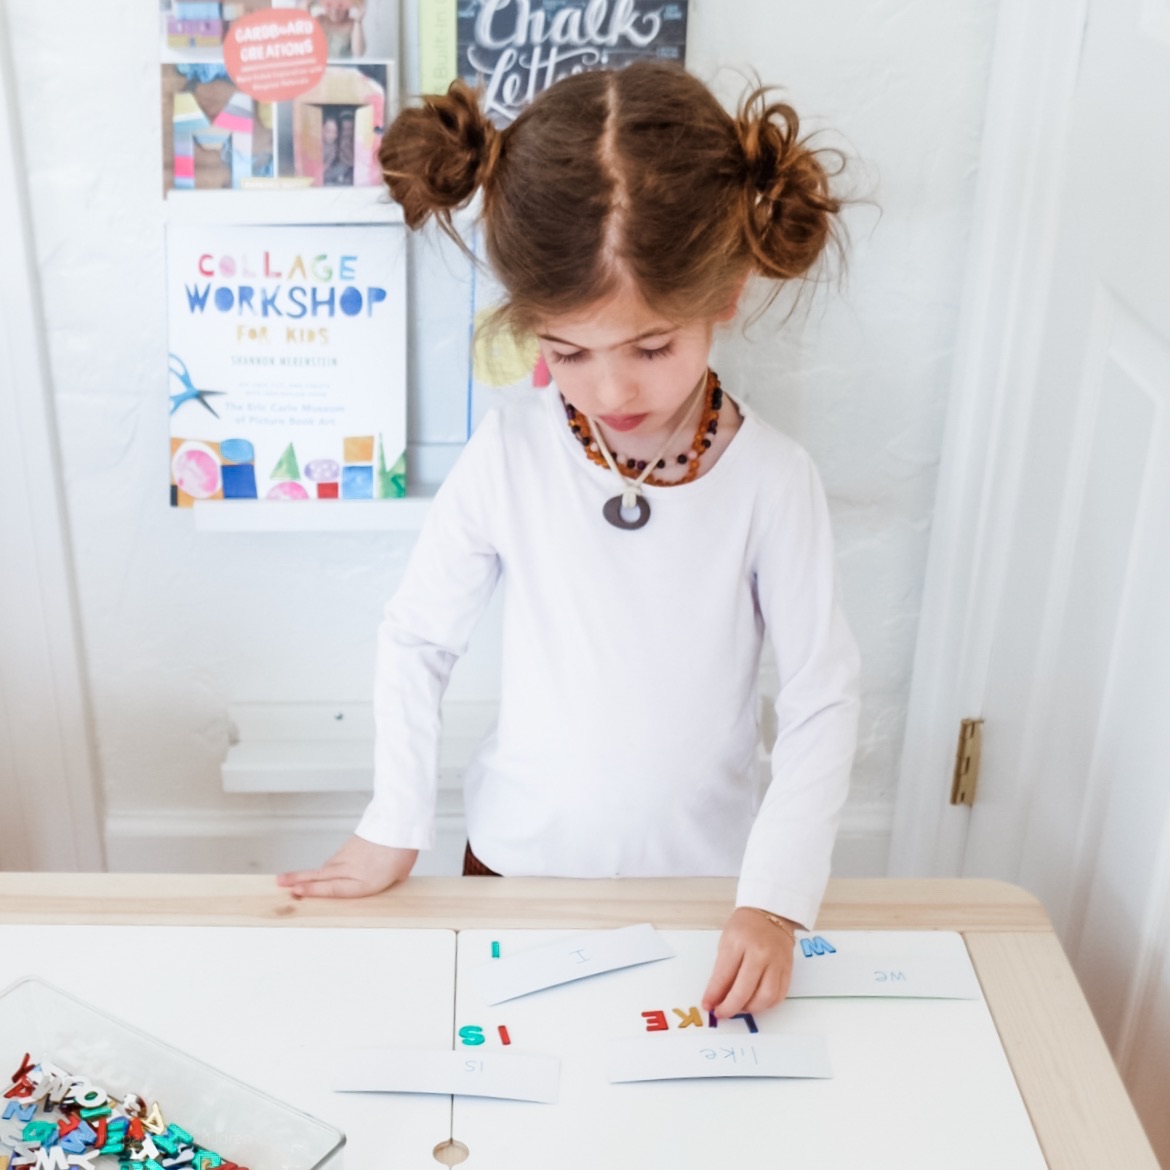
Over the next few weeks, you might see me working with Sloane on her literacy journey. She is “there”. She is ready. I know this because I see her thinking constantly about sounds and letters. I see her making sense of text in context. She’s sounding out street signs, menu words, etc. She’s beginning to label her own pictures and she’s spending lots of time reading to her dolls and stuffed animals.
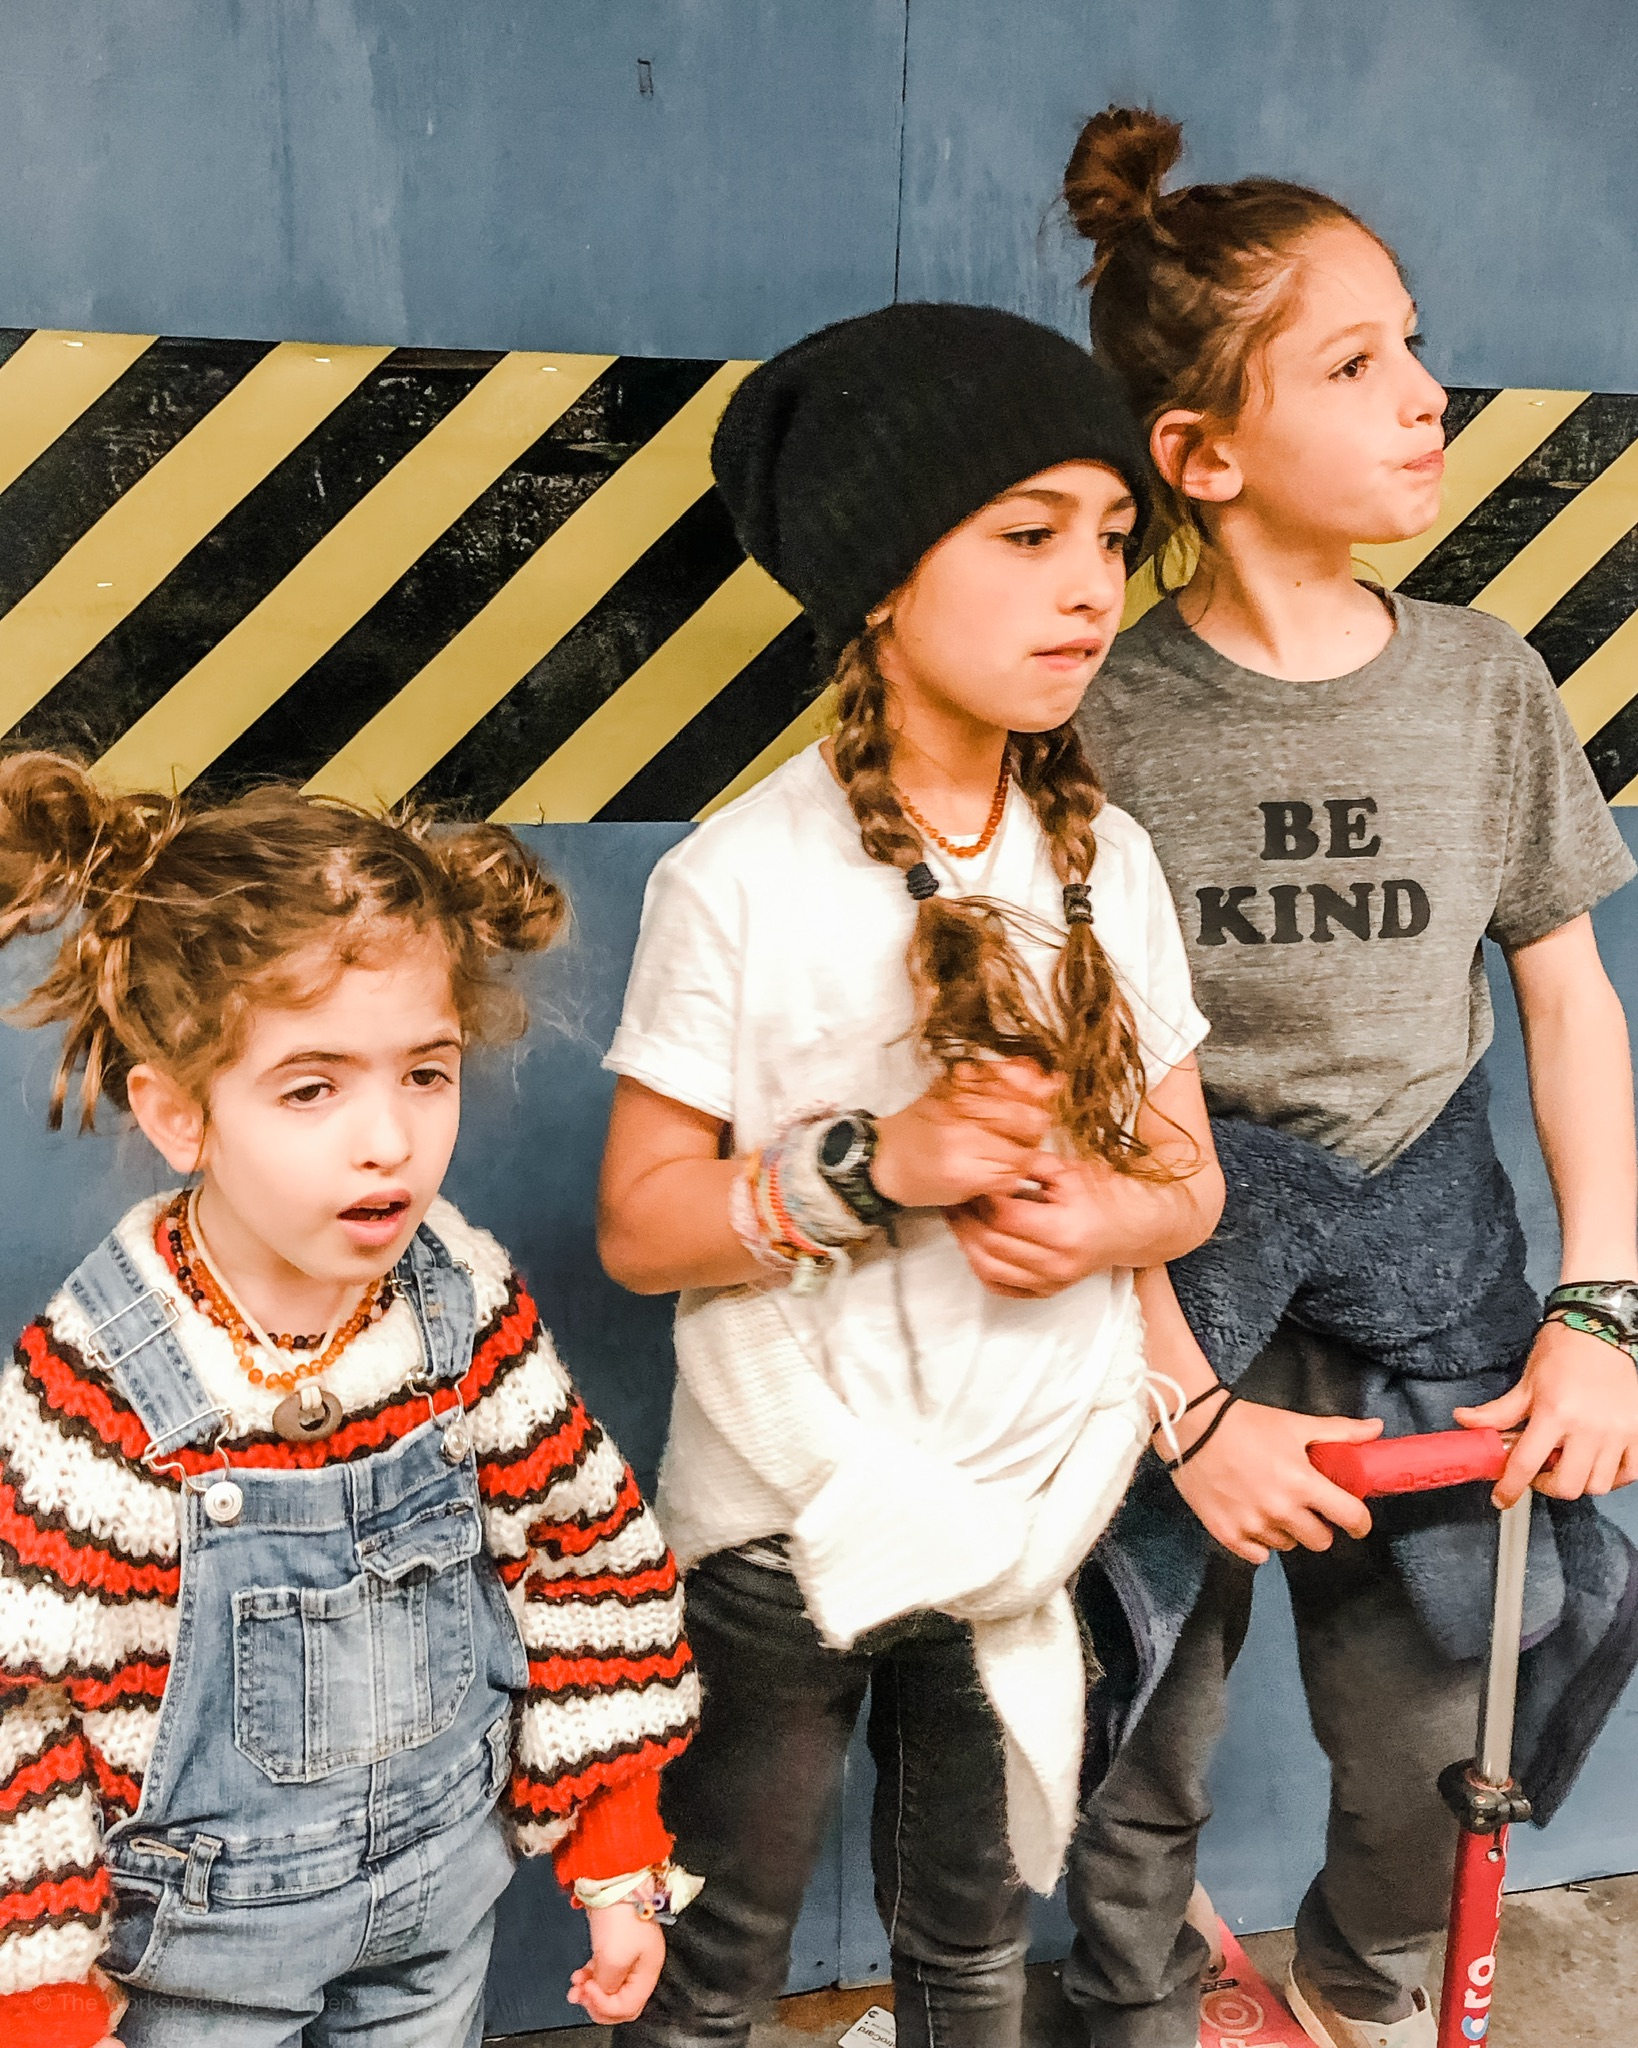
Sloane is six. Nate was developmetally ready when he was four. Ruby was probably five and a half. Guess what? It doesn’t matter. Look around at your friends. Do you know how old they were when they said their first works? When the took first steps or mastered the potty? Nope. Because it doesn’t matter in the long run. So try, as hard as I know that it is, not to RUSH reading and writing. Enjoy the journey. And when you child wants to read to YOU at bedtime? Grab a big glass of wine… it takes A LOT of patience and time ;)
I hope you found this post helpful. If you want to hear more from me, please be sure to subscribe to my blog and join the conversation over on Instagram.
-LIzzie
Last week we had the pleasure of taking a vacation with the kids to Playa Mujeres, Mexico. Before we ever book a trip, my husband and I set some intentions. We decide if we want to do a trip or a vacation. A trip is where we know it will be a lot of work on our end, and that we will plan on sight seeing, adventuring, and WORKING. We go somewhere we’ve never been, eat the local food and push ourselves and our children to embrace a new landscape. OR, we decide that we want to freeze time for a second, relax, and just enjoy being together. That means we stay mostly in the resort, say yes to late bedtimes, lots of ice creams, and night swimming. We lose all sense of day and time and just BE with the kids and with each other. This trip was most certainly a vacation. Sloane just turned six and still has trouble keeping up with Nate and Ruby. It would not be fun (for anyone) to drag her around a new city or time zone. We wanted something simple, relaxing and fun for everyone.
WHERE WE STAYED:
We chose Playa Mujeres because the flight was not long, it has good proximity to the airport and the weather is amazing. We used a local travel agent, Vacations by Heather, and she helped us a find a resort that was in our budget. We stayed at Dreams, Playa Mujeres. The room was clean and spacious, the view was beautiful and food was good-enough. I like staying at an all-inclusive with the kids because they can eat as little or as much as they like, whenever they want. Takes the pressure off. It also helps us to budget and stay on track, which means less stress for us.
BE PREPARED:
I did a ton of front-end loading before we left. I packed our favorite travel art supplies, snacks and toys in easily accessible pouches for the airplane, restaurants, and pool side. When were in the airport and the kids got antsy? Boom. Out came Magnetic blocks. When my girls needed some quiet time and I didn’t want to leave the pool? Out came my pouch filled with watercolor paper and Ooly travel watercolor kit. Masterpieces were made and I didn’t need to turn away from my book and my cocktail.
Also? We brought devices. The children were allowed to use them on the airplane, and for a little while each day while my oldest babysat in the room and my husband and I snuck downstairs for a quick kid free cocktail.
WHAT WE PACKED FOR THE AIRPLANE (click the image for the link):
WHAT THEY WORE (click image for links.):
If you liked this post, you might want to check these out as well:
HOW TO TRAVEL WITH YOUR KIDS AND ACTUALLY RELAX
HOW TO PREPARE YOUR KIDS WHEN YOU TRAVEL WITHOUT THEM
This blog post was not sponsored in any way, but does contain some affiliate links. Thank you for supporting The Workspace for Children. -Lizzie
My little one is turning six today, and one of her favorite things is to pretend. She loves to play with her favorite little peg people from Grimm’s Wooden Toys, Grapat, and Teeny Weeny Toys. She also loves to make her own people. We keep blank, unfinished peg dolls in our art cabinet along with lots of loose scraps for creating and new peg people are born into her collection weekly.
Today I am heading into her Kindergarten class to share her love peg people and dollhouse play with her classmates. We are going to read a favorite book of ours, This Is My Dollhouse, by Giselle Potter. I adore this book because it explores the joy and creativity involved in creating your own play materials. It also explores friendships and feelings, which I love.
After the book, the children will have the opportunity to create their own peg doll. I scoured the art supplies that I already had on hand and created the tinker trays you see here. I encourage you to use what you already have, but I have also listed all of the materials that we used at the bottom of this post.
This project was inspired by my wonderful and brilliant friend, Bar Rucci. You can see her post here. Also, Sloane’s birthday party was held at our favorite local art studio, Oh Canary Art, where the children decorated dollhouses. You can read all about that party on my friend Natalie’s blog.
Have you done a project with your child’s class? How did it go? -Lizzie
When you think of art with children, you probably think about a “craft”. With crafting, there are specific instructions, materials, and a desired outcome. There is a certain age range for a project and there is a beginning, middle and an end.
When I think about art for children, I think about the process. I think about materials that offer a range of experiences, and how children in different stages in their development will interact with the materials.
On most afternoons in our home, I set out a snack and a simple invitation to create. When the children arrive after school (often with friends in tow), I like to create an atmosphere where they can relax and unwind from a long day. Even if it is only for a few moments before we all rush off to the next thing, I want them to feel a moment of calm and connection . This simple activity takes only moments to set up, but provides hours of creating for a large age range of children. It is not messy and can be “grazed” on, as the children see fit. There are no directions. The children interact with the materials and create in any way they want.
HOW TO SET UP:
First roll out your butcher paper and cover the table. Tape it down for stability. Next, Find a large tray or book and trace rectangles onto the paper. Why? Sometimes a defined space is more welcoming for children to dive into than a large blank slate. It also just makes for a unique, open ended canvas for creating. Set out your paints and oil pastels and a jar of water and brushes. Keep a towel handy for any spills. Prime your paints by pouring water directly onto the tempra cakes. Allow your child to experiment with the materials. You do not need to give instructions or micro manage the work they are creating. In fact, claim a rectangle for yourself and get lost in the oil pastel. They are so satisfying to rub across the paper. Let your child discover the paint-resist on their own. You do not need to rush in and show them. They joy is in the discovery!
PRO TIPS:
Teach your child to swish their brush five times around the paint cake in order to get a rich and vibrant swash of paint.
Prime your paints by pouring water directly onto the cake prior to use
Put on some chill background music to set the mood. We love John Mayer, Amos Lee, Elizabeth Mitchell, Jack Johnson, and Ray LaMontagne.
Let your child work at his own pace. He might work for a few moments and wander away, then return again in a little while.
Use materials you already own. You can adapt this activity multiple ways to fit your needs. This does not need to be complicated to be engaging.
Read more posts like this one below:
I hope you found this post helpful. If you want to hear more from me, please be sure to join the conversation over on Instagram.
-Lizzie
I love when we all chat about blocks. They are my absolute favorite item for PLAY. Lots of you are purchasing them for your home and classroom. They are certainly an investment, and I want to make sure that your children are actually using them.
Below you will find a simple guide to encouraging block play at home or in your classroom. Three simple steps. If you decide to follow them, let me know what works and what does not.
Edit Your Space
Organize The Materials
Hang Out With Your Blocks
Walk out of the room where your blocks live and then walk back in. What is the first thing you feel when you walk into the room? Is there a designated space for block play? How is that space defined? Is the flooring sturdy and even or is it covered in a lumpy, uneven carpet?
My first bit of advice is to move some things around to make a designated area for building. There are two reasons for this. One, it shows your child that you value block play. By creating a physical space designed for building, you are helping your child to focus on creating without distraction from his or her thoughts. Think of it like this.. Do you have a designated space where you work? Maybe a desk or a table that holds your computer, important documents, and some reference books? It's easier than just plopping down in the middle of a chaotic, messy room and pulling out your computer, right? Same thing with building and playing.
This space does not have to be large, just make sure it's big enough for your child to move around and build without getting in her own way. If there are little siblings in the picture, it might help to put this space in an area that is protected from unsteady toddlers or speed crawlers. Maybe you could put a small block shelf in your child's bedroom or perhaps in an area of the house that his little sibling cannot access. (My sister put her block area in an enclosed pen to keep the little ones out and the builders building! Genius.).
How do you store your blocks? Are they all dumped into a bin, stuffed behind the trucks and puzzles? You are not alone. I think most homes have an abandoned pile of wooden blocks somewhere in the playroom. I want you to pull them out and sort them by shape. Your child can help you or you can grab a coffee and go it alone while listening to an awesome podcast. I'd go the podcast route, but that's me.
Once you have them sorted by shape, decide on a shelving system. My father-in-law built us a custom shelf to house our blocks (love him so much). You can use a shelf designed for blocks like this one, or use one that you already have. Better yet, check out your local Facebook swap sites for an IKEA hand me down. However you decide to obtain a shelf, just get one. Trust me, it makes all the difference in the world in how your child will use the blocks.
When you have your shelf in place, lay out the blocks according to shape and size. You can organize them in a manner that makes sense for you and your child. I try to make sure the larger, heavier blocks are on the bottom, but I'm not sure it really matters. The most important thing is that each shape is visually represented and can be easily accessed by the child.
Huh? Yup. Just do it. (read on)
The hard part is over and all the really great learning and engagement is about to happen. Invite your child into the space that you have created. Show her how you've arranged the materials. Ask her what she might build? Will it be a house for stuffed animals or a parking garage for her race cars? Will she build flat or will her building be tall?
With reluctant builders, I might 'pre-build.' That means I might lay out a very simple structure and ask the child how he can add to it. Then follow his lead. He adds a rectangle, you do the same. Try to mirror their block building behavior. Once they get going, you can slowly step back and let them go. Remain interested, but do your own thing. You want to encourage independent play.
When I notice my children haven't been building a lot, I do one thing and it works EVERY TIME. I sit in our block area. I just sit there quietly and read on my phone or read a book to them. They usually want to go wherever I am. If I am in our block area, that's where they will be. If those blocks are organized and displayed in an inviting fashion, they can't resist them. And that, my friends, that's where the magic happens.
LANGUAGE PROMPTS TO ENCOURAGE BLOCK PLAY:
Which shapes will you use first?
How can you use these squares to make a long, flat line? How can you use them to make a tall, standing up line?
Which blocks would make a sturdy base for your building?
How can you make a house for your lovey? Will it be tall or will it be down low? Will it have a roof or a door or will it be open?
Can you make a pattern using the blocks?
Which block do you like? What do you like about it? How can you use it in a building?
MORE TIPS TO ENCOURAGE BLOCK PLAY:
Snap photos of your child's block building on your phone. Print them out and bind them together with a binder ring and a hole puncher.
Hang the photos around the block area to inspire your child.
Add a small basket of people and a small basket of cars to the block area. See how it changes the play.
Encourage your child to make signs for his or her buildings with a basket containing small pencil and papers. Just remind them not to write on the blocks.
I could write about the benefits of block play and how to encourage block play for hours and hours. Do you want to pick my brain? I want to know WHAT you all need help with when using blocks in your home or classroom. Join the conversation over on Instagram, where I will be answering all of your questions.
Our collection has been built over the course of ten years. Some of ours are from my own childhood. We’ve also added at birthdays and holidays. Wooden blocks are expensive and I do not recommend that you buy a whole ton at once. Your child will be overwhelmed, and you will be out a lot of money .
Here is a link to a great starter set of wooden unit blocks: CLICK HERE
Penelope Play Tent / 2. Angel Mouse in a Book / 3. Sunny Days Purse / 4. Luckyjuju Hair Clips / 5. Dress-Up Headband /
6. Little Brother Stuffed Toy Mouse in a Box / 7. Toy Camera / 8. Baby Doll / 9. Maileg Stuffed Animal & Play Set /
10. Cuddle + Kind Skye the Mermaid Knit Doll / 11. A World Full of Animal Stories/ 12. Guardian Angel Mouse /
13. Big Sister Stuffed Toy Mouse in a Box / 14. See-Ya Kids Suitcase / 15. Giant Playsilk / 16. Strolley Basket
Here’s how to shop this guide: Click the words below the image to be taken directly to the coordinating item. These are affiliate links, which means I get a small finder’s fee when you shop them. This costs you nothing. Thank you for supporting The Workspace for Children. xo, Lizzie
Personalized Name Tracing Board / 2. Lacing Shoe / 3. Natural Wooden Lacing Toy / 4. Vanilla Peppermint Playdough Jar/
5. Scented Playdough / 6. Pounding Peg Game / 7. Ball and Pot Sorting Toy/ 8. Miniature sight words matching game /
9. Felt Stuffed Alphabet / 10. Big Future Toys Magnetic Wooden Blocks / 11. Alphabet Learning Tiles /
12. Plush Hedgehog/ 13. Classic Dollhouse /14. Number Tracing / 15. Uppercase and Lowercase Alphabet Tree Slices /
16. 110 Number Board
Here’s how to shop this guide: Click the words below the image to be taken directly to the coordinating item. These are affiliate links, which means I get a small finder’s fee when you shop them. This costs you nothing. Thank you for supporting The Workspace for Children. xo, Lizzie