GIFTS FOR TWEENS

1-8.png


Tweens can be hard to shop for. These are the actual items that my tweens will be receiving for the holidays this year. If you see them, don’t spill the beans!!

Here’s how to shop this guide: Click the words below the image to be taken directly to the coordinating item. These are affiliate links, which means I get a small finder’s fee when you shop them. This costs you nothing. Thank you for supporting The Workspace for Children. xo, Lizzi

WHAT TO WEAR FOR THE HOLIDAYS- KIDS EDITION

I scoured the internet to find your kiddos cute, cozy, and functional wear for the holidays. Whether you are somewhere warm and beachy or cold and snowy, your little ones will be looking and feeling great! All you have to do is click the coordinating text below and it will take you to your product. These are affiliate links. That means I get a small kickback from the brands featured at no cost to you. It’s kind of like a finders fee! Thank you for supporting The Workspace for Children. xo, Lizzie

P.S. Only get this stuff if you want your kids to be twinning with mine…. My cart is full of everything on this list!

1..png

TIPS FOR TAKING YOUR CHILD TO THE DENTIST

IMG_0565.JPG

Are you avoiding taking your little one to the dentist? It can be a daunting experience when you and your child are unprepared. It can be a fun and healthy habit when you are prepared! Read on for tips on taking your kids to the dentist, and why we choose The Silverstrom Group in Livingston NJ.

IMG_0566.JPG

TIP ONE: READ LOTS OF BOOKS ABOUT GOING TO THE DENTIST

Reading books is a great way to introduce new experiences to your child because it stimulates their curiosity about the subject, as well as offering them a chance to gain mastery over something new. There are so many good books about going to the dentist. Head over to your local library and check out a whole stack! (We especially love THIS Mister Roger’s book.)

TIP TWO: PLAY ‘DENTIST’ USING DOLLS

Set up a make-shift dentist office using your child’s toys. It doesn’t need to be perfect and you don’t need to buy anything. Do you have a dollhouse? Maybe some blocks, magnetic tiles, or even a shoebox? Use your imagination! Show your child what happens at the dentist by practicing on her baby dolls or stuffed animals. Walk them through the experience using toys or dolls. These can be ANY dolls- stuffed animals, robots, even dinosaurs. Use whatever your child loves. You will help them feel ownership over the situation by “walking” the doll into the “waiting room” and pretending to wait. ‘Notice’ (out loud) the things you might see at the dentist office.

Here are some examples of language you might use:

  • Look! There is the receptionist behind the desk. Let’s go tell her your robot’s name and why she is here. Let’s help your robot introduce herself and write her name on the sign-in sheet.

  • What can your dolly do while her mama is filling out those grown-up papers? Should we give her a toy to play with?

  • Let’s take the dinosaur into the pretend office. Look at that chair and all those tools! I wonder what they might be for.

  • How is your dolly feeling? Is she excited about the chair that moves up and down, or maybe she’s feeling unsure. How can we comfort her?

    Follow your child’s lead. Have the pretend dentist come in and count the doll’s teeth and pretend to brush them. You get the idea, right? It may feel a little silly, but your child will love it. This kind of play will help them process the new experience of going to the dentist.

TIP THREE: YOU PRETEND TO BE THE PATIENT

Have your child pretend to be the dentist and check your teeth. Let her count them and brush them while you lie on the couch. Then switch roles. Invite your child lie on the couch while you brush her teeth and count them. Then do the same thing with other household members or friends. Have fun with it, I bet your child will too!


IMG_0561.JPG

We recently had all three children’s teeth cleaned at Dr. Gary Silverstrom’s office in Livingston, NJ.

The moment we walked in we were greeted by the cheerful staff, who assured me that I didn’t need to shush my children or keep them sitting still in the chairs (phew)! The kids were each given a swag-bag containing a stuffed animal and other goodies. As a mom of three, I often feel like a traveling circus when I enter a quiet office with my crew, but this office was ready for them.

After a few moments, we were escorted into the exam room, and guess what… Sloane’s favorite show was playing on the TV. She was floored. She literally couldn’t believe that going to the dentist meant cuddling with a new stuffy AND watching a show! Sloane is a generally slow-to-warm-up five-year-old, and I nearly melted in relief to see how comfortable she felt here. The hygienist was warm and friendly, and very tuned into each child’s personality. I was so impressed with the way the staff tempered their approach to the age and developmental stage of each of my three children.

IMG_0567.JPG

They had Nate, my eleven year old, chatting about his favorite topics in no time. Ruby, who is nine, was feeling anxious about some yellowing on her front teeth that developed this summer. She was worried that she would be scolded for not brushing well. The exact opposite happened. The staff explained to her how that kind of marking develops and assured her it was through no fault of her own. Then they proceeded to polish it right off! Ruby was thrilled.

IMG_0562.JPG

Dr. Gary Silverstrom and staff were so wonderful to work with, my kids are actually looking forward to their next dentist appointments! If you are local to NJ, I highly recommend you check them out for your entire family’s dentistry needs.

IMG_0568.JPG

*This post was sponsored by The Silverstrom Group. All thought and opinions are my own. If you decide to check out The Silverstrom Group, mention The Workspace for Children and receive $100 new-patient courtesy.

IMG_0569.JPG

LET"S PLAY SCHOOL

IMG_0523.JPG

Let’s play, “BACK TO SCHOOL”.

DO you want to help your child to process their thoughts and emotions about school? Read on…

I think it’s finally safe to say we are all back in school…hopefully?

Big transition, amiright? My little one started all-day Kindergarten, and the second she gets home, she NEEDS to play. All I want to do is hear about her day, (like, every. single. detail.) but she needs space and time to reflect. One of the ways I am encouraging her to process all these new experiences is by setting up intentional toys. My girl takes the bus to school this year, so I was beyond excited to discover this gorgeous school bus from Teeny Weeny Toys. She plays “going to school” and “coming home” non-stop. My teacher-self GLOWS when I see this, because I KNOW that play is the best way for her to process all these big, new feelings and experiences.

Have you ever tried to recreate your child’s day with toys?

Below are some of our favorite materials for playing school. (Click the image to find out more.)

NEON SALT TRAY

IMG_0522.JPG

Inspired by one of my favorite accounts, @mamapapabubba, I made Sloane this simple salt tray to practice her writing. Want to know how? It took 2 seconds (well, not really, but it felt fast and easy😜)

1. I poured salt in 2 small bowls.

2. Added a squirt of neon watercolor into each and mixed it.

3. Let dry (I dried mine in a low oven because I’m impatient.) 4. Mix the colors together on a clear tray and put it on the light table 💫

It was pretty impossible to resist. All three kids were writing and designing (and fighting and elbowing for space around the tray). How will you inspire learning in your home or classroom today? .

Everything you need is linked RIGHT HERE in my Amazon Shop

Want to know more about salt tray learning? Pop over to Jen’s Blog to learn more.

Happy Playing!

-Lizzie

PREPARING YOUR KIDS WHEN YOU TRAVEL WITHOUT THEM

Image sourced from Pinterest

Image sourced from Pinterest

My husband and I recently had the opportunity to take a quick trip down to Mexico without the kids.  It was blissful.  My mom and my in-laws teamed up to conquer our crew and make sure everything ran smoothly in our absence.  My kids are five, eight and ten, so leaving them in someone else's care is WAY easier than it was just a few years ago.  But, as I packed them up, I remembered all of the tips and tricks I used when they were tots, and I am going to share them with you here.  

IMG_0471.JPG

TIP ONE:  Create a simple picture calendar (see photo).  Show your child exactly when you will leave, and when you will return.  Even very small children can benefit from the comfort of knowing "what will happen next".  A calendar of your whereabouts gives them that peace of mind.  

TIP TWO: Leave a note to your child for each day that you are gone. I like to seal them each in individual envelopes to make it more fun.  The note doesn't need to to be extravagant.  Just a line or two telling them that you love them and that you are thinking of them.  You can ask your caregiver to read them a new note at bedtime each night. 

Image sourced from Google

Image sourced from Google

TIP THREE: Make a date to FaceTime or Skype (Put it on the calendar).  This is especially helpful if you are going to be in a different time zone.  Keep your phone call short, just a few minutes is ideal.  Just enough to see your littles and let them see you.  Exchange a few, "I love you's," and one or two exciting things.  You know you child best, so if you think that they can't handle seeing you, skip this tip! If you think you will have the time, pack a quick bedtime story in your suitcase. You can read them their favorite book over FaceTime! 

Traveling away from your children can be anxiety producing, and not without hiccups.  But  if you have the opportuity, get out of your comfort zone, and do it!! You will not regret it.  


HOW TO TRAVEL WITH YOUR KIDS AND ACTUALLY RELAX

ACS_0179 2.JPG

Last week, I traveled to Aruba to celebrate my mom’s seventieth birthday- with ten children (four months to ten years old) and nine adults! Sounds like a circus, right? It wasn’t. It was a blast, and I even managed to relax. Here are my top three tips for actually chilling out while on vacation with your children. 

*This post was written in collaboration with Bumkins and Ooly.  Thank you for supporting The Workspace for Children. *

ACS_0174 2.JPG


  1. Be prepared.  I did a ton of front-end loading before we left.  It was a lot of effort and slightly stressful, but so worth it.  I packed our favorite travel art supplies (linked below), snacks and toys in easily accessible pouches for the airplane, restaurants, and pool side.  When were in the airport and the kids got antsy? Boom.  Out came my Bumkins Travel pouch with Magnetic blocks.  When my girls needed some quiet time and I didn’t want to leave the pool? Out came my pouch filled with watercolor paper and Ooly travel watercolor kit.  Masterpieces were made and I didn’t need to turn away from my book and my cocktail.  Have you ever taken ten children to a sit down meal? Try giving them each their own stickers, mini notebook and crayons. The adults actually had a chance to linger over the meal.  All of the pre-trip prep was worth it.  

  2. Keep things as low key as possible.  We stayed in our bathing suits from wake-up to pre-bedtime baths on the majority of nights.  Rather than pull the kids away from the fun and wrangle everyone into dress-up clothes in time for a dinner reservation, we opted to chill poolside and eat dinner picnic style.  We were still able to try the local cuisine by taking food out from the local eateries.  We spread the kids out on towels and all ate dinner without worrying about noise that ten children inevitably create.

  3. Remember your WHY. Why did you plan this trip in the first place? To relax, to tour? Shop? When we travel with our kids, my husband and I like to explore the local scenery, and learn about the culture of where we are.  Partway through this trip, I started to feel guilty for spending all of our time in the resort. When we suggested an afternoon tour of the island, we were met with a lot of resistance from our typically very adventurous children.  They wanted to stay at the beach with their cousins and PLAY.  We followed their lead on this one, and I am so glad we did.  They already understood WHY we went to Aruba.  We went to celebrate Grammie’s 70th birthday and spend time with our family.  We didn’t go to Aruba to adventure and explore.  Once I remembered our why, I was able to settle back into by beach chair happily.  

ACS_0175.JPG

I've linked our favorite travel products below. Click the picture and it will take you to the link (aff).  


Do you have any travel plans this summer? I would love to hear about them! 

-Lizzie


HOMEMADE FACE AND BODY PAINT

IMG_0476.JPG

Do you want a simple, easy way to WOW your kids? This face painting activity is so much fun for an outdoor playdate or even a birthday party.  It is so simple to throw together with a few supermarket ingredients that you probably already have on hand.  

IMG_0474.JPG

We used cornstarch, lotion, and diaper cream (zinc oxide).  Mix it up until you get a thick, smooth consistency and add your food coloring! We used gel colors, but any coloring will do.

IMG_0472.JPG

 I loved that the white paste gave a beautiful pastel hue to the paint.  I put our body paint in small containers with q-tips for application.  Have some baby wipes nearby to wipe little hands.  Put out acrylic mirrors (ours are from IKEA)  and you are good to go for an afternoon of fun! 

IMG_0473.JPG
IMG_0475.JPG

Have you tried this activity before? Do you plan to? Head over to Instagram and let me know if you have any questions or comments about this homemade body paint.

-Lizzie 


A TRIP INTO THE FOREST WITH KIDS

IMG_0463.JPG

My children and I try to spend as much time in the forest as we can.  Winter is actually my favorite time to explore (no bugs), but I know most people find the Spring the ideal time for a forest romp.  I'm not an experienced hiker.  To be honest, I am not even really the outdoorsy-type.  But, I love to get my kids playing outside in nature.  We are very lucky to live within minutes of the South Mountain Reservation, with access to deep, dense woods and beautiful trails.  My children have a favorite spot in the woods and we almost always go there.  A few times I have insisted that we try a new spot or hike a new path, but it never works out as well as when I follow their lead, and take them to their favorite spot.  

IMG_0462.JPG


Here's what I've learned over the past few years of regular trips in to the forest with my own kids:

  •  Follow your children's lead, return to familiar spots.  I like the idea that I have the lay of the land.  It gives me more confidence to allow the children to roam.  (I'm always a tiny bit nervous when we are in an area that I am unfamiliar with and they run off to play.)  Remember, nature is always reworking the backdrop so you don't have to.  New trees have fallen, the river has frozen or it is bone-dry.  There are new treasures to discover depending on the weather, so returning to the same spot never gets old.  
  •  Set up camp, even if you don't plan to stay long.  I  bring a sturdy blanket or mat.  The children know where to find me and where to come to rest or snack.  I usually lay out a few pencils and clipboards for writing and drawing, and of course, snacks and water.  Depending on her mood, my youngest will  sit with me or play very nearby where she can see me.  Sometimes she brings her little toy mice and sets them up to play in the leaves and sticks.  
  •  Insist on proper gear.  There is nothing worse than getting all set up, and your kid gets wet or muddied and is crying to go home.  Water pants and proper footwear (although in the summer my crew is almost always barefoot) will keep them warm, dry, and protect them from ticks.  If you know us, you know that all three of my kids have long hair, and a lot of it.  I insist on hair being tied back, and I prefer they wear a hat or head scarf.  
  •  I pack a backpack full of supplies... and the children to carry it.  They are just as responsible for our gear as I am.  I refuse to be their sherpa.  It makes me cranky and you know how that goes.  When mom is not feeling it,  everyone's mood heads south.  The children take turns with the backpack and I pitch in as well.  
  • Know your limits.  Know your children's limits. As moms, we are pretty good at gauging the amount of time we have left until one or all of the kids melt.  Do not push that limit in the woods.  Remember, you still have to hike out.  Pack up camp on a high note, that will make the trek back to the car much more pleasant.  
  • Have rules.  Stick to them. When we are heading in, I always remind the kids that they absolutely MUST listen to me on the FIRST ASK and come the FIRST time I call them.  I want to allow them some freedom, but it is still my most important job to keep them safe.  The forest is wonderful, but not without risk.  I need to know that if I see an off-leash dog or any other questionable situation, that my kids will listen to me without question.  We talk about this every single time we are heading into the woods and there are no opportunities for second chances here.  If they do not comply, we leave.  Immediately.  That is the natural consequence.  It is a huge disappointment, but they must know that I will follow through.  
  • Check for ticks. When we arrive back at our car, the kids are usually spent.  I do a quick tick check before they get in.  And a more thorough one when we return home.    

Do you like to adventure into the forest with your kids? Do you have advice for us? Please share in the comments below.  

-Lizzie 

MESSY PLAY/ CLEAN HOUSE? YES! HERE'S HOW...

IMG_0315.JPG

This post is written in partnership with LorenaCanals Rugs.  All ideas, thoughts, and opinions are my own.


Guys, you might not believe this about me, but I am a bit of a neat freak.  Clutter seriously throws me for a loop and when my house is a mess, my life is a mess.  I really wish I could be one of those moms who can let go of toys strewn about, play dough ground into the rug, laundry piling up.  I actually envy these people. But, I am not one of them.... I feel stressed all day if I leave a messy kitchen behind and carry on with my day.  BUT, I also love messy play.  I love when my children paint and use clay.  Sand and glitter do not freak me out and I even encourage my kids to gather buckets of mud and play in them.  Over the years I have developed a few hacks to successfully combine my passion for messy play and my love of a tidy house.  

1.  I married a fellow neat freak//  My husband can clean a kitchen something fierce.  He's never met a load of laundry, a pile of dishes or a bucket of sloppy paint jars he couldn't tackle. He's. The. Best.  He doesn't exactly embrace the messy side of things, but he is damn good at dealing with it.

2. Drop Cloth//  They are everything.  A large drop cloth on the floor or over the table frees me from worrying about paint spills or permanent markers.  I have three industrial size drop cloths in rotation at all times.  Ruby especially loves to look at the spills, stains, and marks we've accumulated over the years.  Each mark on the drop cloth serves as a treasured memory of projects past.  

3.  Bins//  When we are using a sensory bin inside (rice, shaving cream, oobleck) I put a smaller bin of the material inside a much larger bin.  This way when the rice inevitably spills over the side of the first bin, it falls right into the second bin.  Make sense?  No need to sweep, just dump the spill from one bin back into the other.  

4. Washable Rug// What? Yes. A machine-washable, natural rug that looks and feels amazing.  We have one in our playroom so that when the kids make playdough food for their animals or draw and color signs for the block buildings, I am cool as a cucumber.  No worries from this Mama.  "Sure guys, juice boxes and snacks are allowed in this playroom!" When they inevitably spill juice or get marker on my rug, I can toss it in the washing machine.  Amazing.  You can find this one HERE.  

IMG_0314.JPG
IMG_0324.JPG

What's your mess-comfort level? Are you an anything goes kind of mom or do prefer to keep things tidy? 

-Lizzie 

OUR TOP FIVE BEDTIME STRUGGLES SOLVED

IMG_0309.JPG

As the kids get older, bedtime gets easier.  No, it doesn't exactly get easy, but it does get easier.  Here's a little picture of the bedtime trials and tribulations with our newly-minted five-year-old.  I've broken it all down into complaint/ solution...  I hope some of our simple solutions work for you! 

(This post is written in partnership with Dock A Tot.  All opinions and ideas are my own. ) 

Complaint number one: It’s too dark!!  Solution: Dave installed a dimmer on the light switch and now she can sleep with her lights on the dim setting all night long. 

 Complaint: I won’t know when it is morning!  (So I will find it necessary to get up a thousand times to ask you if it is morning yet).

Solution: Hatch Baby Rest (night light, sound machine, ok-to wake, all in one device).  We use this both as a sound machine and an ok-to-wake light.  I particulary love this device for two reasons.   The first is that it is controllable via Bluetooth through my phone.  I can turn the sound up if the big kids are being noisy and I can easily change the wake-up time right from my phone! Yay! (You can find one HERE). 

Complaint: I’m thirsty!

Solution:  Cup of water next to the bed.  I only put a few inches of water in so that if it spills, it’s not a big deal.  If you are concerned about spillage, you could try this still-proof cup.  


Complaint: What If I wake up before the green light (ok to wake signal) and I want to play? She literally asks this question every. single. night.  

Solution: Sloane sleeps with her two favorite Angel Dear loveys every night.  They serve as both a toy and a security blanket.  She’s had her pink owl since she was a new-born baby.  I love these security blanket/ lovey dolls and they are always my go-to baby gift for new moms.  (You can find them HERE. )

Complaint: My pillow fell out of bed and I’m scared to get it! What if I fall out? 

Solution:  Dock A Tot Grand.  When we moved Sloane to a bed around two years old, we opted not to use a bed rail.  In my opinion, bed rail make cuddling tricky and tidying the bed is near-impossible!! So, right from the begining, I would just set her pillows in a U-shaped formation and tuck in her in tight.  It pretty much worked- I think she only fell out of bed maybe once?  Until recently… In the past six moths or so, Sloane has been knocking her pillows out of her bed.  For some reason, she is terrified of reaching down and getting them herself.  This has led to many middle of the night crying jags, followed by me dragging myself into her room to arrange her pillows- not exactly what I want to be doing at four in the morning.  After quite a few interrupted nights, I decided to check out the Dock A Tot.  This cozy contraption is everything.  Sloane loves it, she cuddles right in, blankets go up and over and nothing/ no one falls out of bed in the night and everyone stays asleep. She even brings it downstairs for movie night or into her sister’s room for a sleep-over.  The only problem? I want one in my size.  This thing is legit-comfortable. Now, if they could only find a way to solve the whole, "I don't want to sleep by myself" conundrum...  Any ideas??

ITEMS WE ARE USING RIGHT NOW THAT CAN BE PURCHASED ON AMAZON

I've taken some time to round up the items that are most popular with my crew right now and put them all in one place for you. And, to make life easier, it can all be found on Amazon!! 


IMG_0312.JPG

OUTSIDE PLAY:

Strider Bike// This is Sloane's absolute favorite. 

Jungle Jumparoo// Fan favorite for all of the neighborhood kids. 

Whittling Knife// Spring winds are dropping lots of branches that are perfect for carving.

Sidewalk Chalk// Always.


ON OUR NIGHTSTANDS:

Swimmy  // This is one of my favorites from childhood.

Frederick // Another childhood favorite of mine that all three kids adore. 

 Frog and Toad //  We love reading this in the playroom or before bed.  Four stories in one! 

The Good Little Bad Little Pig  // This is SUCH a great book.  Do you know it? 

When Sophie Gets Angry  // I am always keeping this one handy. 

Sometimes You Get What you Want // A lesser know book that is a GEM.


IN OUR PLAYROOM:

Grimm’s Sticks  // I get so many questions about these sticks!

Marbles  // If you know us, you know these are in constant use! I think the kids are up to 160.  

Animals // My youngest is animal obsessed now.  

Magnatiles // I rearranged how we store these and it brought a new life into them! 

Play Silks // I changed these by putting them in a crate instead of hanging and now we can't get enough! 


ON OUR KITCHEN TABLE:

 Liquid Water Colors  // These florescent ones are the best!! 

Water Color Holder  // Beautiful and so well-made. 

Color Burst Sharpies  // For layering on our water colors. 

Chalk // The kids have been crushing chalk to make paint. 

 Mallet  // For crushing chalk not fingers.

Drop Cloth  // My favorite absorbent canvas.


These are affiliate links, which means a get a tiny kickback when you purchase from my list.  It does not cost you anything.  Thank you for supporting The Workspace for Children. 

-Lizzie 

SHOP MY FAVORITE LIGHT TABLE ACCESSORIES

These are our favorite light table materials.  You can click on each photo and it will take you to amazon to purchase! These are affiliate links, which means that I get a tiny kickback from Amazon, but it does not cost you anything.  I will add to this page as I discover and try more materials.

Let me know if you are using any of these materials!! Tag me in your photos or DM me so that I can share my screenshots in my IG stories.  -LIzzie 


SHOP MY FAVORITE FAMILY PLAYROOM ITEMS

These are our favorite materials for our family playroom. If you want to shop these materials,  please click on each photo and it will take you to amazon to purchase. These are affiliate links, which means that I get a tiny kickback from Amazon, but it does not cost you anything.  

Let me know if you are using any of these materials!! Tag me in your photos or DM me so that I can share my screenshots in my IG stories.  -Lizzie 

SPREADING LOVE AND KINDNESS IN HONOR OF VALENTINE'S DAY

IMG_0299.JPG

We are kicking off Valentine's Day (month) with a fantastic giveaway and three simple ways to spread love and kindness within your own community this month. I've teamed up with Primary, Ooly, and Smarties Candy to bring you easy, fun activities to do as a family this month.  Make sure to head over to my Instagram Feed  to for a chance to win a mega-prize from these three brnads!


SURPRISE SOMEONE WITH A HOMEMADE CARD

IMG_0288.JPG

The children and I used  markers, stickers and paint sticks from @weareooly to make simple valentine cards for people in our community.  Here's how we did it...

I invited the children to think of a person in our community (school, neighborhood, town) that could use a little kindness this month.  We had a meaningful discussion about who might need a little extra kindness and why. I was so happy to hear my older two children (8 and 10) talk to one another about people in their schools who are so helpful, but rarely get thanked or recognized. They talked for a while about who they would each choose.  Nate decided on his school art teacher and the P.E. teacher.  Ruby decided to make a card for everyone on our street because she thinks everyone contributes to all the fun we have playing outside together.  My little one (4) didn’t really grasp the concept, but she delighted in making Valentine cards for her friends! When the cards were complete, Ruby loved sneaking her cards into mailboxes up and down our street. 


VALENTINE COOKIES FOR NEIGHBORS AND FRIENDS

IMG_0297.JPG

Later in the week, we made Valentine Cookies.  In an effort to keep things very simple, I purchased premade cookie dough (no shame in my baking game) and baked some heart shaped cookies while the kids were at school.  I colored some white, store-bought frosting with food coloring and  set out some little Valentine candies.  This activity was about gathering to make something for friends and neighbors, and I didn't want to burn myself out by making cookies from scratch, or by baking with the kids.  I like to remake everything and have it ready to go because simple activities make for a more relaxed experience.  The children arrived home from school to find the table set with frosting cookies and candies.  They were ecstatic!  They chomped on cookies, decorated some, and chatted about their day.  

When our cookies were ready to go, we popped them on some festive trays , bundled up, and the children rang doorbells and passed out cookies to brighten the day of our neighbors.  It was REALLY fun! It was also REALLY easy.  


RANDOM ACTS OF SWEETNESS

IMG_0294.JPG

Next up? We left messages of kindness and LOVE in the form of candy... Smarties Candy!! The lovely folks over at Smarties gave us tons of beautiful Valentine candy to leave on doorsteps, in mailboxes and on windshields all over town.  The kids had an awesome time munching on Smarties and writing little messages.  The best part? Sneaking around leaving treats.  As they fell asleep last night, they were all giggles as they thought about how people felt when they discovered candies on their windshields.  


There you have it, three easy ways to celebrate Valentine's Day while spending time together and brightening the days of those in your community.  How will your family celebrate this year? 

This post was sponsored by Primary, Ooly and Smarties.  All thoughts and opinions are my own.  

Thank you for following along. Don't forget to hop over to Instagram to win some great goodies!! 

-Lizzie 

HOW TO ENCOURAGE BLOCK PLAY AT HOME

IMG_0226 (1).jpg

I am so thrilled that many of you purchased your first set of Unit Blocks over the holidays for your little ones.  They are certainly an investment, so I want to make sure that your children are actually using them!! Here is a simple guide to encouraging block play at home or in your classroom.  Three simple steps.  If you decide to follow them, let me know what works and what does not.  

BLOCK PLAY SIMPLIFIED:

  1. Edit Your Space

  2. Organize The Materials

  3. Hang Out With Your Blocks

EDIT YOUR SPACE:  

Walk out of the room where your blocks live and then walk back in.  What is the first thing you feel when you walk into the room? Is there a designated space for block play? How is that space defined? Is the flooring sturdy and even or is it a shag carpet? 

My first bit of advice is to move some things around to make a designated area for building.  There are two reasons for this.  One, it shows your child that you value block play.  By creating a physical space designed for building, you are helping your child to focus on creating without distraction from his or her thoughts.  Think of it like this.. Do you have a designated space where you work? Maybe a desk or a table that holds your computer, important documents, and some reference books? It's easier than just plopping down in the middle of a chaotic, messy room and pulling out your computer, right? Same thing with building and playing.  

This space does not have to be spacious, just make sure it's big enough for your child to move around and build without getting in her own way.  If there are little siblings in the picture, it might help to put this space in an area that is protected from unsteady toddlers or speed crawlers.  Maybe you could put a small block shelf in your child's bedroom or perhaps in an area of the house that his little sibling cannot access.  (My sister put her block area in an enclosed pen to keep the little ones out and the builders building! Genius.).

ORGANIZE YOUR MATERIALS:

Screen Shot 2017-12-28 at 2.50.20 PM.png


How do you store your blocks? Are they all dumped into a bin, stuffed behind the trucks and puzzles? You are not alone.  Pull them out and sort them by shape.  Your child can help you or you can grab a coffee and go it alone while listening to an awesome podcast.  I'd go the podcast route, but that's me.  

Once you have them sorted by shape, decide on a shelving system.  My father-in-law built us a custom shelf to house our blocks, but then again, I am the crazy block-lady.  You can use a shelf designed for blocks like this one, but these shelves are super pricey and any shelf system that you already have will do.  Better yet, check out your local facebook SWAP sites.  Get an IKEA hand me down.  However you decide to obtain a shelf, just get one.  Trust me, it makes all the difference in the world in how your child will use the blocks.  

When you have your shelf in place, lay out the blocks according to shape and size.  You can organize them in a manner that makes sense for you and your child.   I try to make sure the larger, heavier blocks are on the bottom, but I'm not sure it really matters.  The most important thing is that each shape is visually represented and can be easily accessed by the child.  

HANG OUT WITH YOUR BLOCKS:

Alright! The hard part is over and all the really great learning and engagement is about to happen.  Invite your child into the space that you have created.  Show her how you've arranged the materials.  Ask her what she might build? Will it be a house for stuffed animals or a parking garage for her race cars?  Will she build flat or will her building be tall? 

With reluctant builders, I might 'pre-build.'  That means I might lay out a very simple structure and ask the child how he can add to it. Then follow his lead.  He adds a rectangle, you do the same.  Try to mirror their block building behavior.  Once they get going, you can slowly step back and let them go.  Remain interested, but do your own thing.  You want to encourage independent play.  

When I notice my children haven't been building a lot, I do one thing and it works EVERY TIME.  I sit in our block area.  I just sit there quietly and read on my phone or read a book to them.  They usually want to go wherever I am.  If I am in our block area, that's where they will be.  If those blocks are organized and displayed in an inviting fashion, they can't resist them.  And that, my friends, that's where the magic happens.  

IMG_0225.jpg

Here is some language you might hear me using to encourage block play.

  • Which shapes will you use first?

  • How can you use these squares to make a long, flat line? How can you use them to make a tall, standing up line?

  • Which blocks would make a sturdy base for your buiding?

  • How can you make a house for your lovey? Will it be tall or will it be down low? Will it have a roof or a door or will it be open?

  • Can you make a pattern using the blocks?

  • Which block do you like? What do you like about it? How can you use it in a building?

MORE TIPS TO ENCOURAGE BLOCK PLAY

  • Snap photos of your child's block building on your phone. Print them out and bind them together with a binder ring and a hole puncher.

  • Hang the photos around the block area to inspire your child.

  • Add a small basket of people and a small basket of cars to the block area. See how it changes the play.

  • Encourage your child to make signs for his or her buildings with a basket containing small pencil and papers. Just remind them not to write on the blocks.

IMG_0224.jpg

I could write about the benefits of block play and how to encourage block play for hours and hours.  Do you want to pick my brain? I want to know WHAT you all need help with when using blocks in your home or classroom.  Leave me all your questions in the comments below and I will answer them.  

Our block collection is a hodge podge of unit blocks.  Some of them are from my childhood, some of them are THIS SET, and some of them are from THIS SET.  

Happy building, friends! As always, thank you for following along with me.  If you are not already, join me on Instagram by clicking here.  


TEN BASIC MUST HAVE ART SUPPLIES

SO MANY TOYS! Instead of toys, how about giving the children in your life the gift of creativity? Here are some ideas for you.

* I've written this post in collaboration with Discount School Supply.  I have been a customer of theirs since my oldest was born and he is ten!  Actually, now that I think about it, I have been shopping at Discount School Supply even longer than that.  As an early childhood educator, I loved getting the DSS catalog and circling all of the materials I wanted for my classroom.  I always know that I will recieve a high quality product at a fair price when I shop with Discount School Supply, so I am thrilled to share these supplies with you here.  

You can use this post as a gift guide or just a resource for what supplies to have on hand at home.  These materials are great for all ages and can be used time and time again. 

(You can click on the photo or the bold type-face for links to purchase direct from DSS.)  


Roll Paper

ROLL PAPER   /This paper is everything. If you know me, you know I am OBSESSED with roll paper.  It was so useful when my children were tots and it still is now.  I cover our tables in this paper almost always. It serves as a way to protect the surface, but it is also an open invitation to create.  For young children, I roll it out on the floor, tape it down and hand them a washable marker (or paint, or stickers, or crayons, etc).  That huge white space and the invitation to create on it is so impactful, no matter how old you are.  These days, I cover our dining room table with this paper.  It offers a beautiful canvas for my children to come and go and create together.  On any given day, you will find our tabletop canvas covered in art and all three of my children creating together.    

Tempera Cakes 

TEMPERA CAKES /Tempera cakes are a wonderful way to use paint when you don’t want a huge cleanup.  The colors are bold and they don’t get all over the place.  These sets last FOREVER.  If you need Brushes and paper to go with the paint, I recommend THIS and THIS.  

Air Dry Putty


PUTTY  / I love this Putty.  It comes in wrapped packages so it's easy to portion out and you don’t have to worry about it drying out before you create with it.  My kids are always asking for more of this.  After the children create with it, it dries beautifully and can be painted.  

Contact Paper 

CONTACT PAPER /This stuff is SO versatile.   I love using contact paper for collage.  It takes out the “glue” step and allows your child to focus solely on the collage materials. Plus, there is very little clean up for you.  All you have to do is peel off the backing, tape the contact paper down to your surface with the sticky side UP, and give your child some materials to stick on. You could use magazine scraps, torn paper, leaves, or anything else your little one can come up with.  Bonus? If you tape it to the window, the sun shines through.  You can learn more about how we use contact paper by clicking HERE

Dot Markers

DOT MARKERS/ These are an art-cabinet staple for us.  Children LOVE these. Small children love the up and down motion of stamping and the ink is right inside! Older children can get very creative making patterns and whole masterpieces all with dots.  A great way to challenge the big kids.  See some of the ways we've used them by clicking HERE and HERE.

Stickers

STICKERS/  I did a post a long time ago on our love of these stickers. You can read that post by clicking HERE.  For little children these stickers are the easiest to peel and stick.  If they are frustrated, peel the sticker for them and stick it on the edge of a little plastic container.  It makes using stickers easier and more inviting.  I also love that these stickers are open ended and not defined for them.  Look how my 7 year old used them HERE.

Markers

Markers/  I’m a bit old school in this regard, but these are my absolute favorite markers for all children.  They are washable, bold and can draw broad strokes or detailed lines.  They are also consistently inexpensive for such a high quality product.  I tend to buy these in bulk and keep a back up stock.  I replace them as soon as someone has colored too hard or the tip has been destroyed by an overzealous creator.  There is something about a fresh set of Crayola markers that gets me every single time.  No bells and whistles, just straight up markers.  By the way, a pack of these markers and some good paper is one of my go-to gifts to give as a big brother/ big sister gift.

Chalk

CHALK/  This is a GREAT value.  We go through so much chalk because there are an infinite amout of ways to use it! We keep a  bucket of colored chalk on our front stoop so that anytime the children are playing out front, there is an open invitation to make their mark.  A few times, we’ve even done THIS! 

Stamps

STAMPS These are open ended and can be used in so many ways.  They will be used by children for many years.  For the very young child, I would put out only one or two stamps and one ink pad and a very big sheet of roll-paper.  As children get older and more experienced you can offer more.  They can be used for patterning, shape recognition, and for open-ended art experoences.  (They also double as great playdough tools). 

Individual Stamp Pads

STAMP PADSI love these because you can put out as many or as few colors as you like.  For younger children, I put out just one color while they experiment with learning the technique it takes to stamp color on the page.  As the children become more experienced, you can add colors and talk about wiping the stamps between colors.  These ink pads last a long time and don’t dry out if you take care of them properly.  


As always, I am so grateful for all of your support and I thank you for reading and following along with me here and on Instagram.  ~Lizzie

Clothes and Gear Gift Guide

Do you want to give your family gifts that they will actually use? So do I.  These are some of our tried and true favorites.  Click to shop.  

Clothes and Gear-2 (3).jpg
  1.  Bibbed Rain Pants from one of our favorite shops, Biddle and Bop Kids.  If you follow me on IG, you know my kids are wearing these ALL. THE. TIME.
  2. Victorinox Swiss Army Fieldmaster Pocket Knife My 8 and 10-year-olds have this and they use it all the time in the woods, at the beach, and at home.  

  3. Savage Seeds T-shirts Stylish, soft, and with great sentiment.  

  4. Gathre Mat We worked with Gathre back in June and tried out this beautiful, bonded leather mat.  It quickly became one of our most-used items.  Its so beautiful and functional.  These mats make a great gift for moms, new and old.  

  5. 9oz Swell Bottle  These bottles never leak, keep hot stuff hot and cold stuff cold.  We love to use ours for hot chocolate in the snow during the winter.  

  6. OmieLife Lunch Box These are the lunch boxes my children use every day.  They have an option to pack hot or cold.  They are super durable and fit inside a standard lunch box.  

  7. Micro Mini Deluxe Kick Scooter We never travel without these.  They come apart easily to fit in your suitcase! They make great options for tots through adults.  

  8. Bogs Kids Classic High Winter Snow Boot These are the boots you'll see my children, my husband and I sporting this winter.  They are super durable, waterproof and warm. We've been wearing them for years and they make for great hand-me-downs!

  9.  Maileg Mouse - Twins in a Box Are you wondering why a toy is on my Clothes and Gear Guide? Well, these little mice are basically gear for my four-year-old.  She never leaves home without them (literally) and they keep her occupied on the go.  I think that qualifies as gear, right?

  10. Native Jefferson Shoe This is our other shoe of choice.  My kids rock Natives from the first thaw until the first frost.  They are completely waterproof, flexible and rubber-soled.  They come in all colors and sizes. 


Some of these links are affiliate links.  That means that I collect a small finders fee when you shop through my link.  It does not cost you anything.  Thank you for supporting The Workspace for Children by shopping my links.  


THAT TIME I SENT MY CHILDREN TO THE STORE....ALONE!

Screen Shot 2017-11-13 at 11.41.55 AM.png

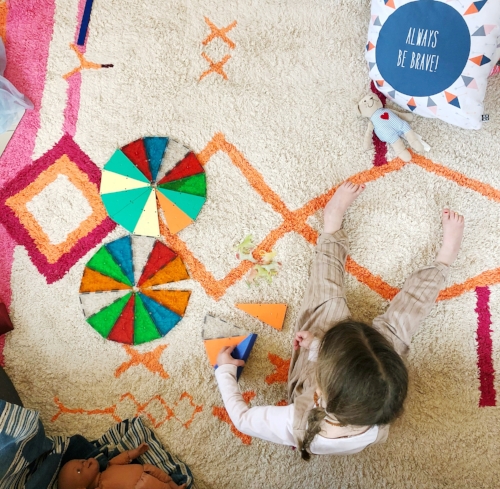
I sent my kids to the grocery store with an empty wagon, $35, and a list…here’s what happened.

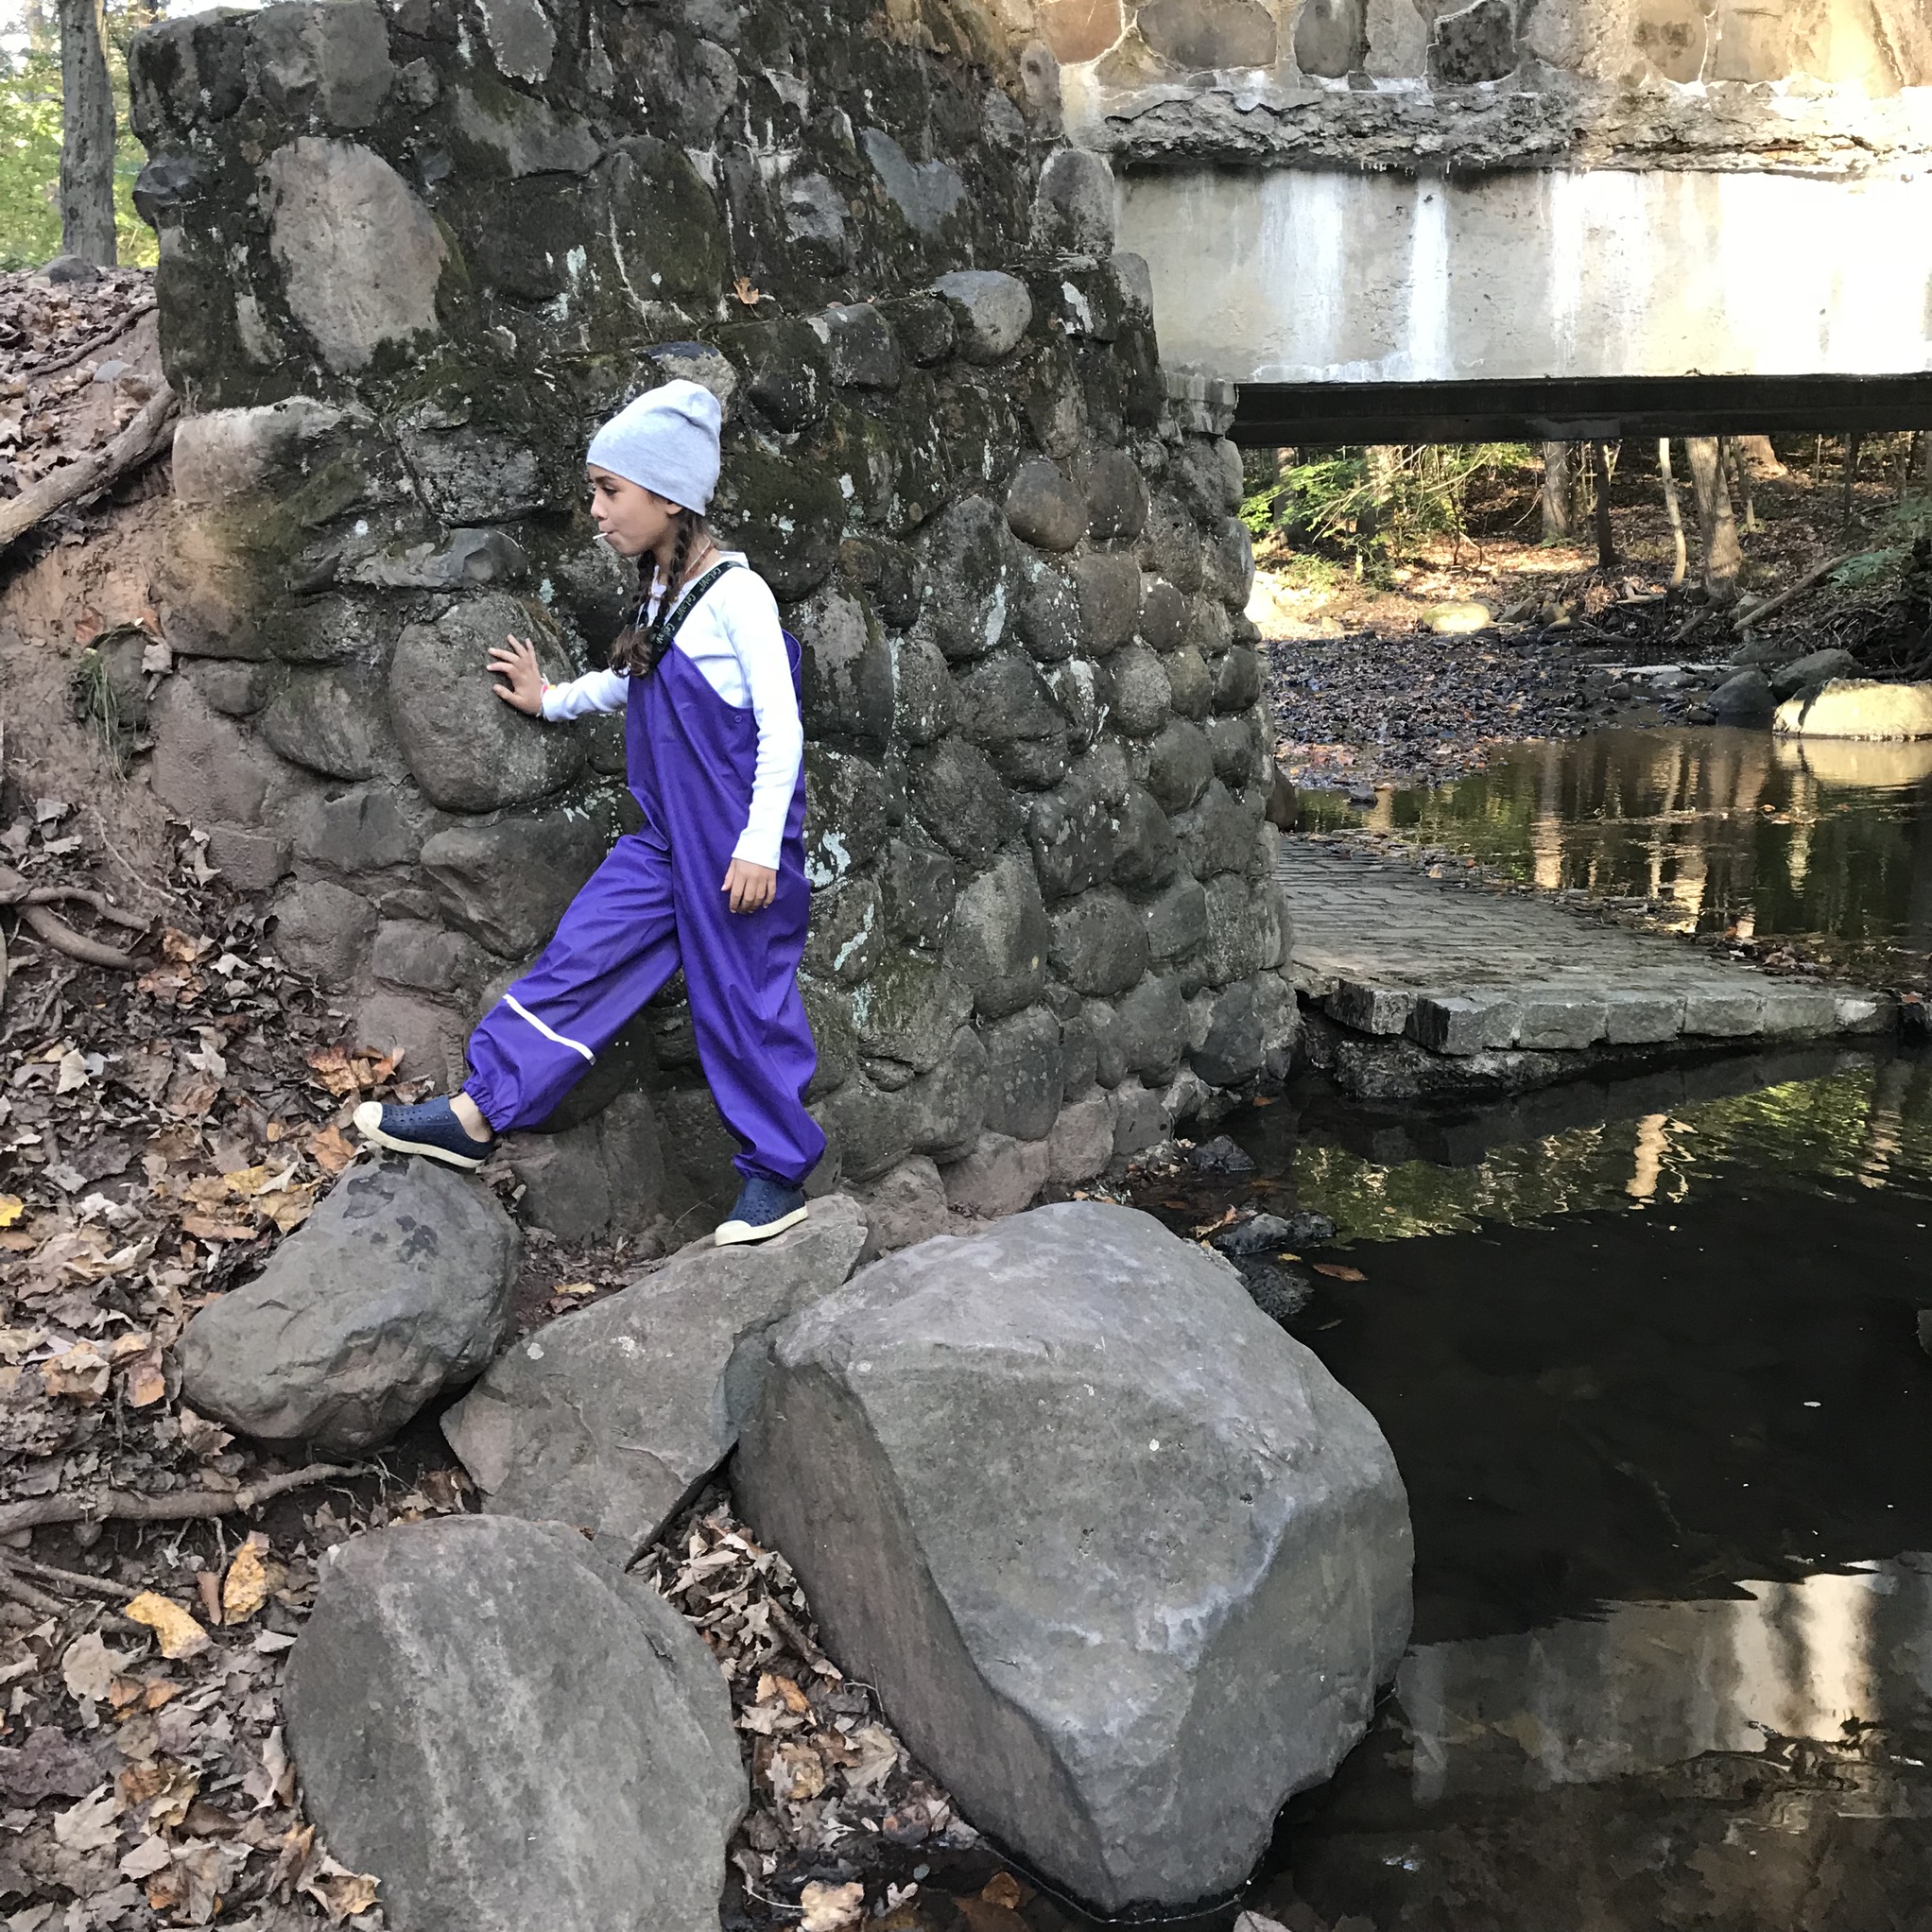
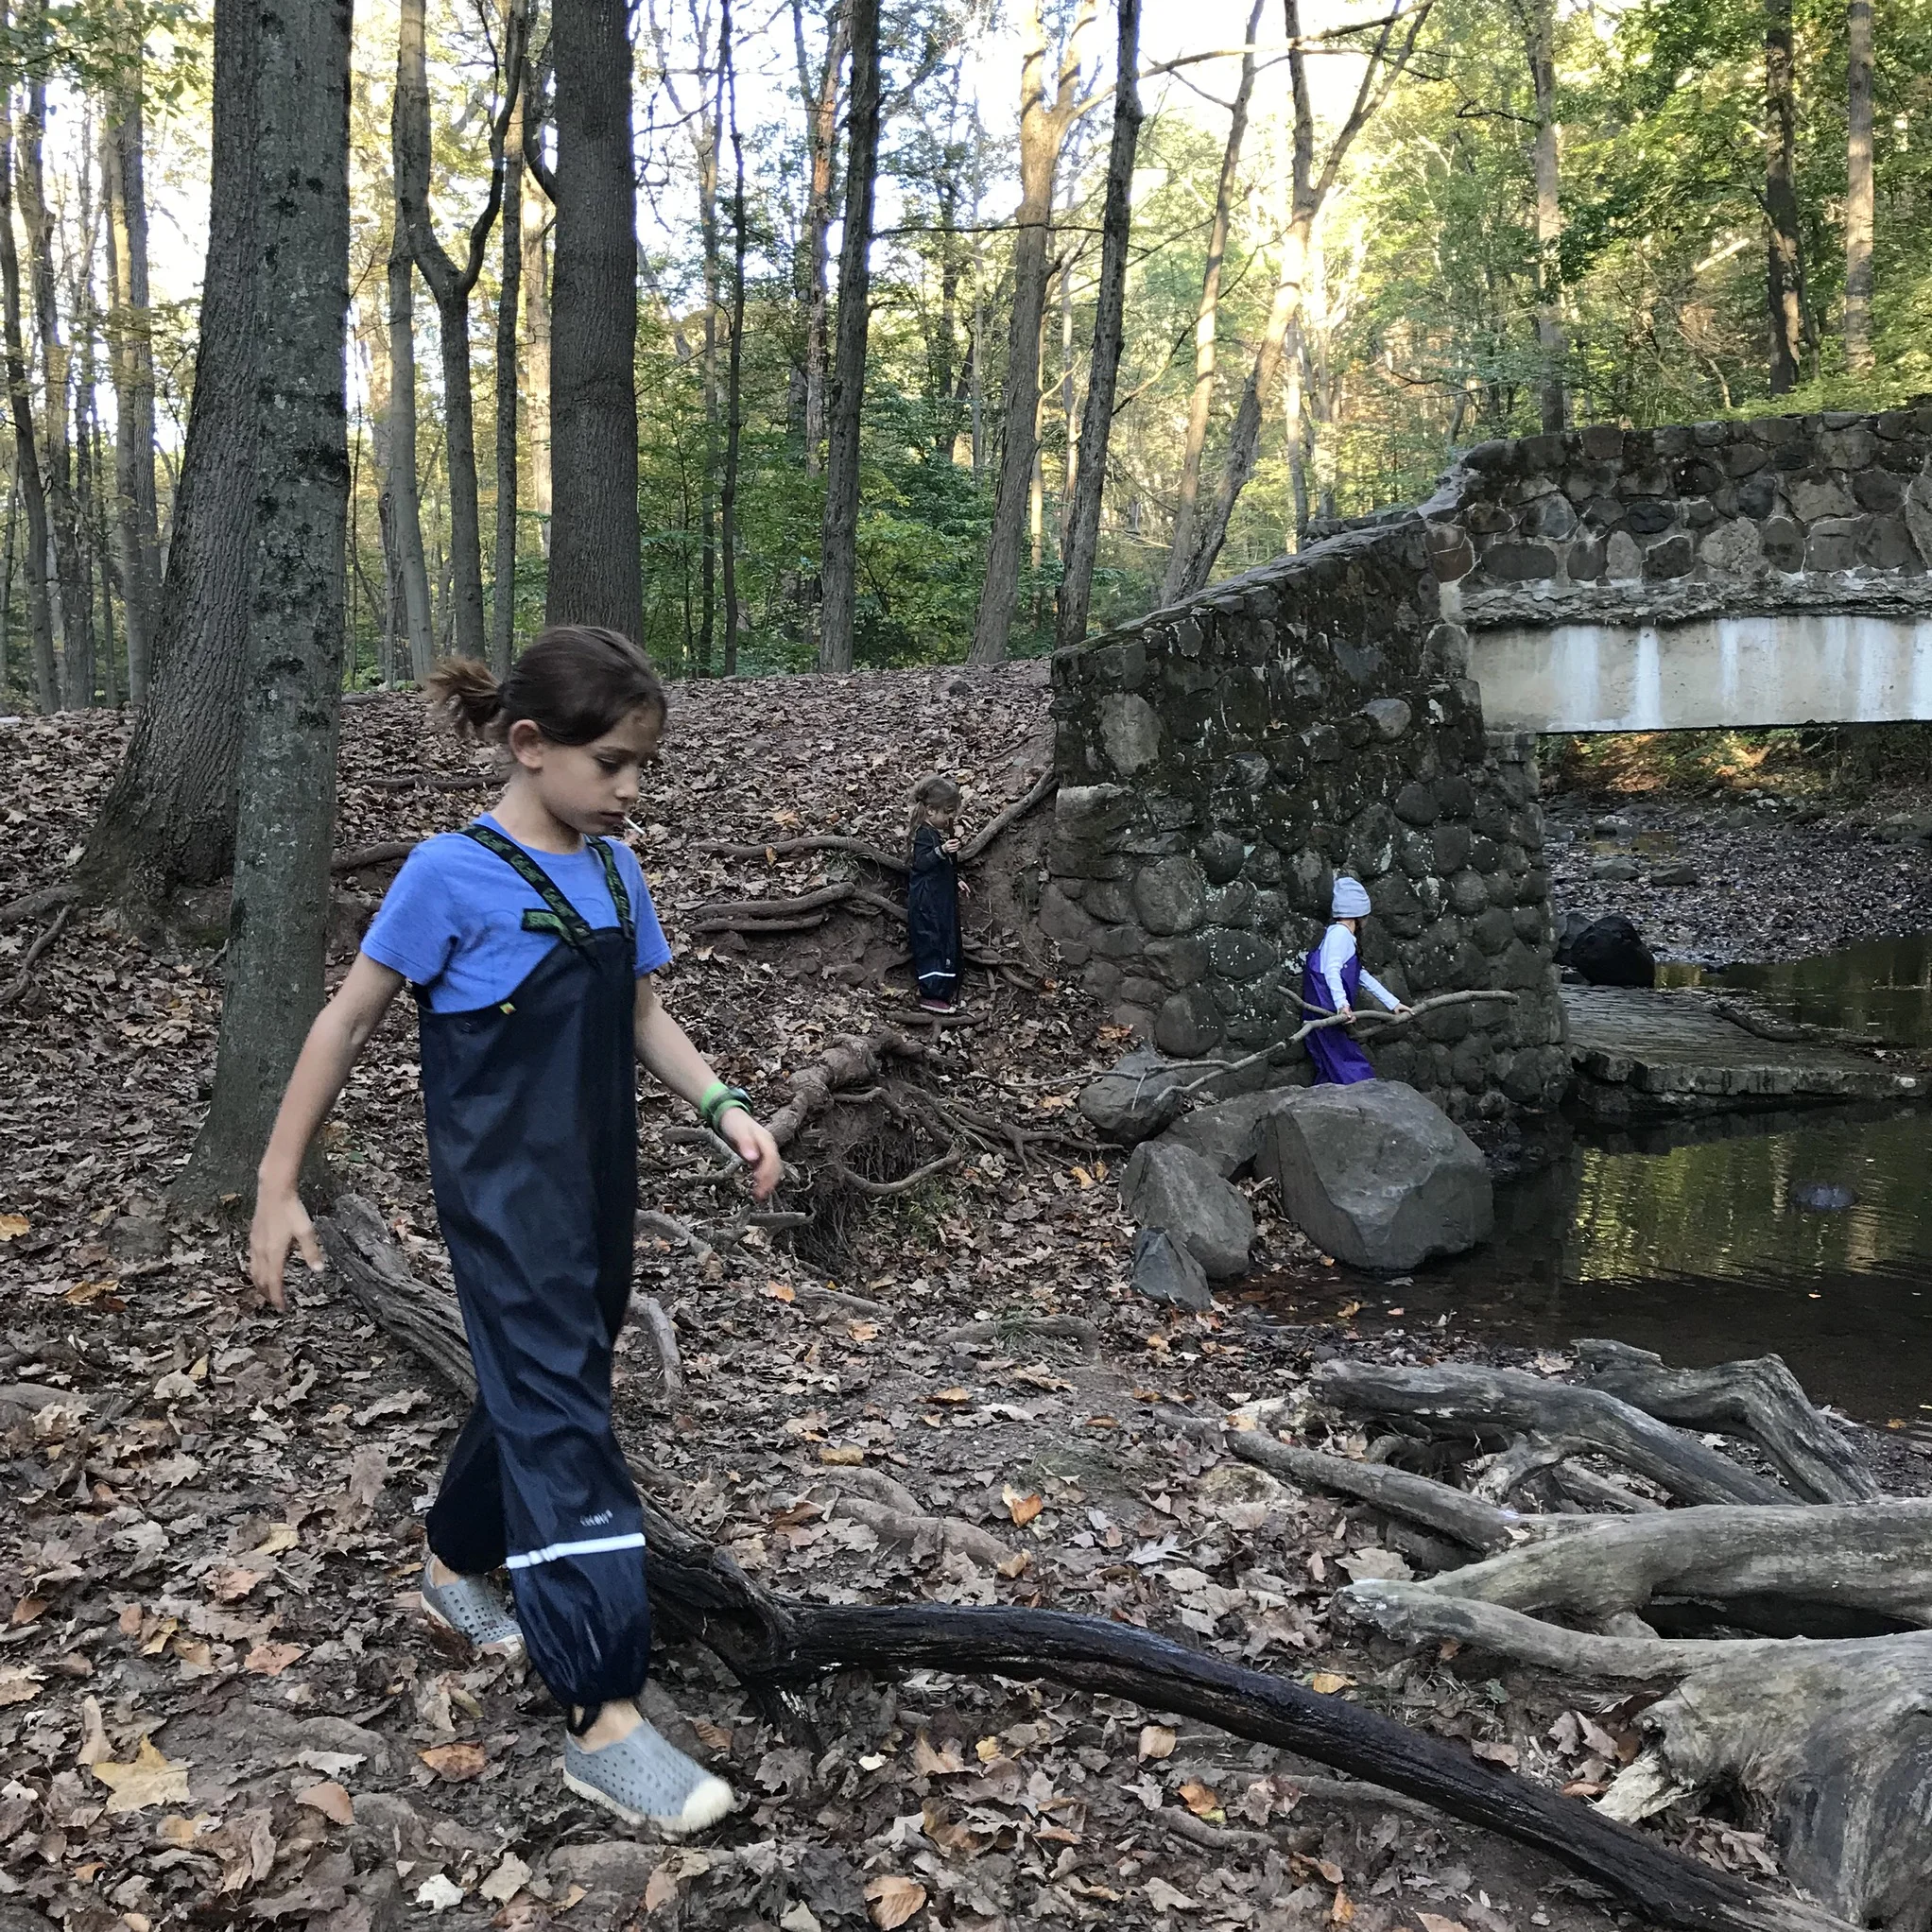
It was a Sunday afternoon and my youngest child was out with my husband.  I was cleaning the house and getting ready for the week ahead.  My big kids (seven and ten) were underfoot and creating clutter everywhere! (Did I mention I was attempting to clean?)  I was getting ready to meal prep and I was missing a few things. So…. I sent the kids to the store. We live about a half-mile from our town center, which happens to be a quaint little village.  My kids are comfortable out and about without me and I’m at ease with it as well. 

This little trip would shoo them out of my hair, and get me the groceries I needed.  Win-win. I gave them $35, which was more than what they would need, a list, and our wagon.  They were instructed to walk straight to the market and then back home. No stops along the way. 

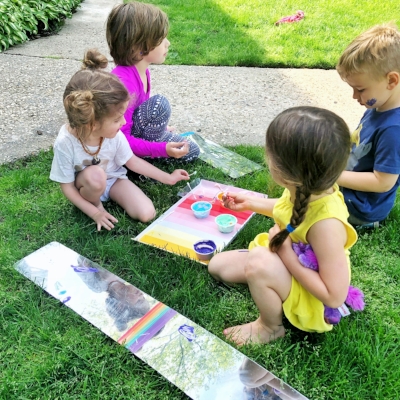
I trust them to follow my instructions because they’ve practiced for years.  We started when they were very little.  I would allow them to drop something at the next-door neighbor’s house all by themselves when they were three years old.  I would watch through the window as their self-confidence EXPLODED.  As they matured, I provided them with the opportunities to go a little farther.  In the grocery store, I would let them go to another aisle, get one thing and come straight back.  They practiced ordering from the deli counter at a very young age.  They know how to order food in a restaurant and how to ask for directions to the restrooms.  When they were little, and even sometimes now, I watched and stayed nearby to keep them safe. They all learned our phone number and last name just as soon as they could talk.  (I taught them by making up a little song to help them memorize it).  

So, on that Sunday, Nate and Ruby went to the store, filled the wagon with what they needed and returned home. They were happy, I was happy.  Off they went to play. 

Later that evening, I asked them how it went, and what challenges, if any, they ran into.  They looked at each other and giggled.   Then they explained the two main issues they ran into. 

The first problem was that the wagon wouldn’t fit through the narrow doors of the supermarket.  They didn’t know where to park it because they were worried it would get taken or that it might roll away.  They weren’t sure they’d be able to carry the groceries home if they didn’t have the wagon.  After some discussion, they decided on a spot they thought would work and it did. 

The second issue they encountered was when the store was out of our usual brand of whole milk.  They couldn’t decide if they should skip it altogether or buy another kind.  In the end, they decided to purchase another brand.

Neither of these situations are particularly problematic.  Nothing bad would have happened if they had made an alternative decision. The important thing is that they had the opportunity to problem solve in the real world when the stakes were low. 

I’m going to say that again because I think it is so important.  They had the opportunity to problem solve in the real world when the stakes were low.  Why is this so important? I fear that many of our children are not learning how to navigate situations without us or without relying on technology to solve the problem for them.  Giving children the opportunity to practice important life skills when they are young is crucial to how they will handle real life when they are older and the stakes are much, much higher. 

And no, my kids did not have a cell phone to bring on their journey.  If they had one with them, what do you think they would’ve done when they ran into problem number one? They would’ve called me and asked me to solve the problem for them. 

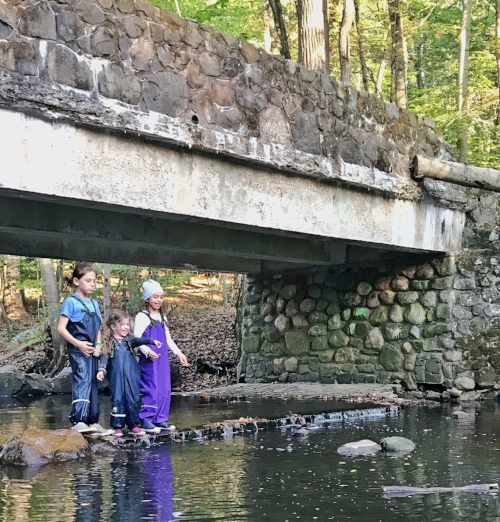
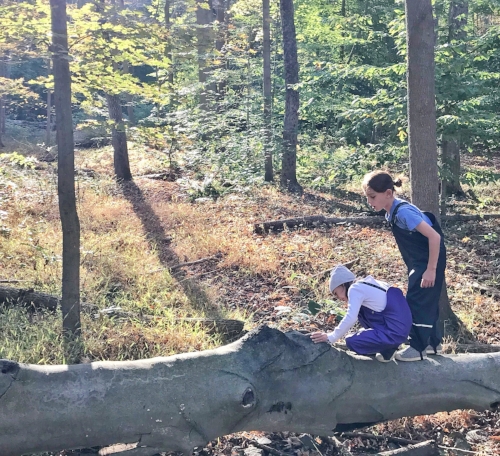
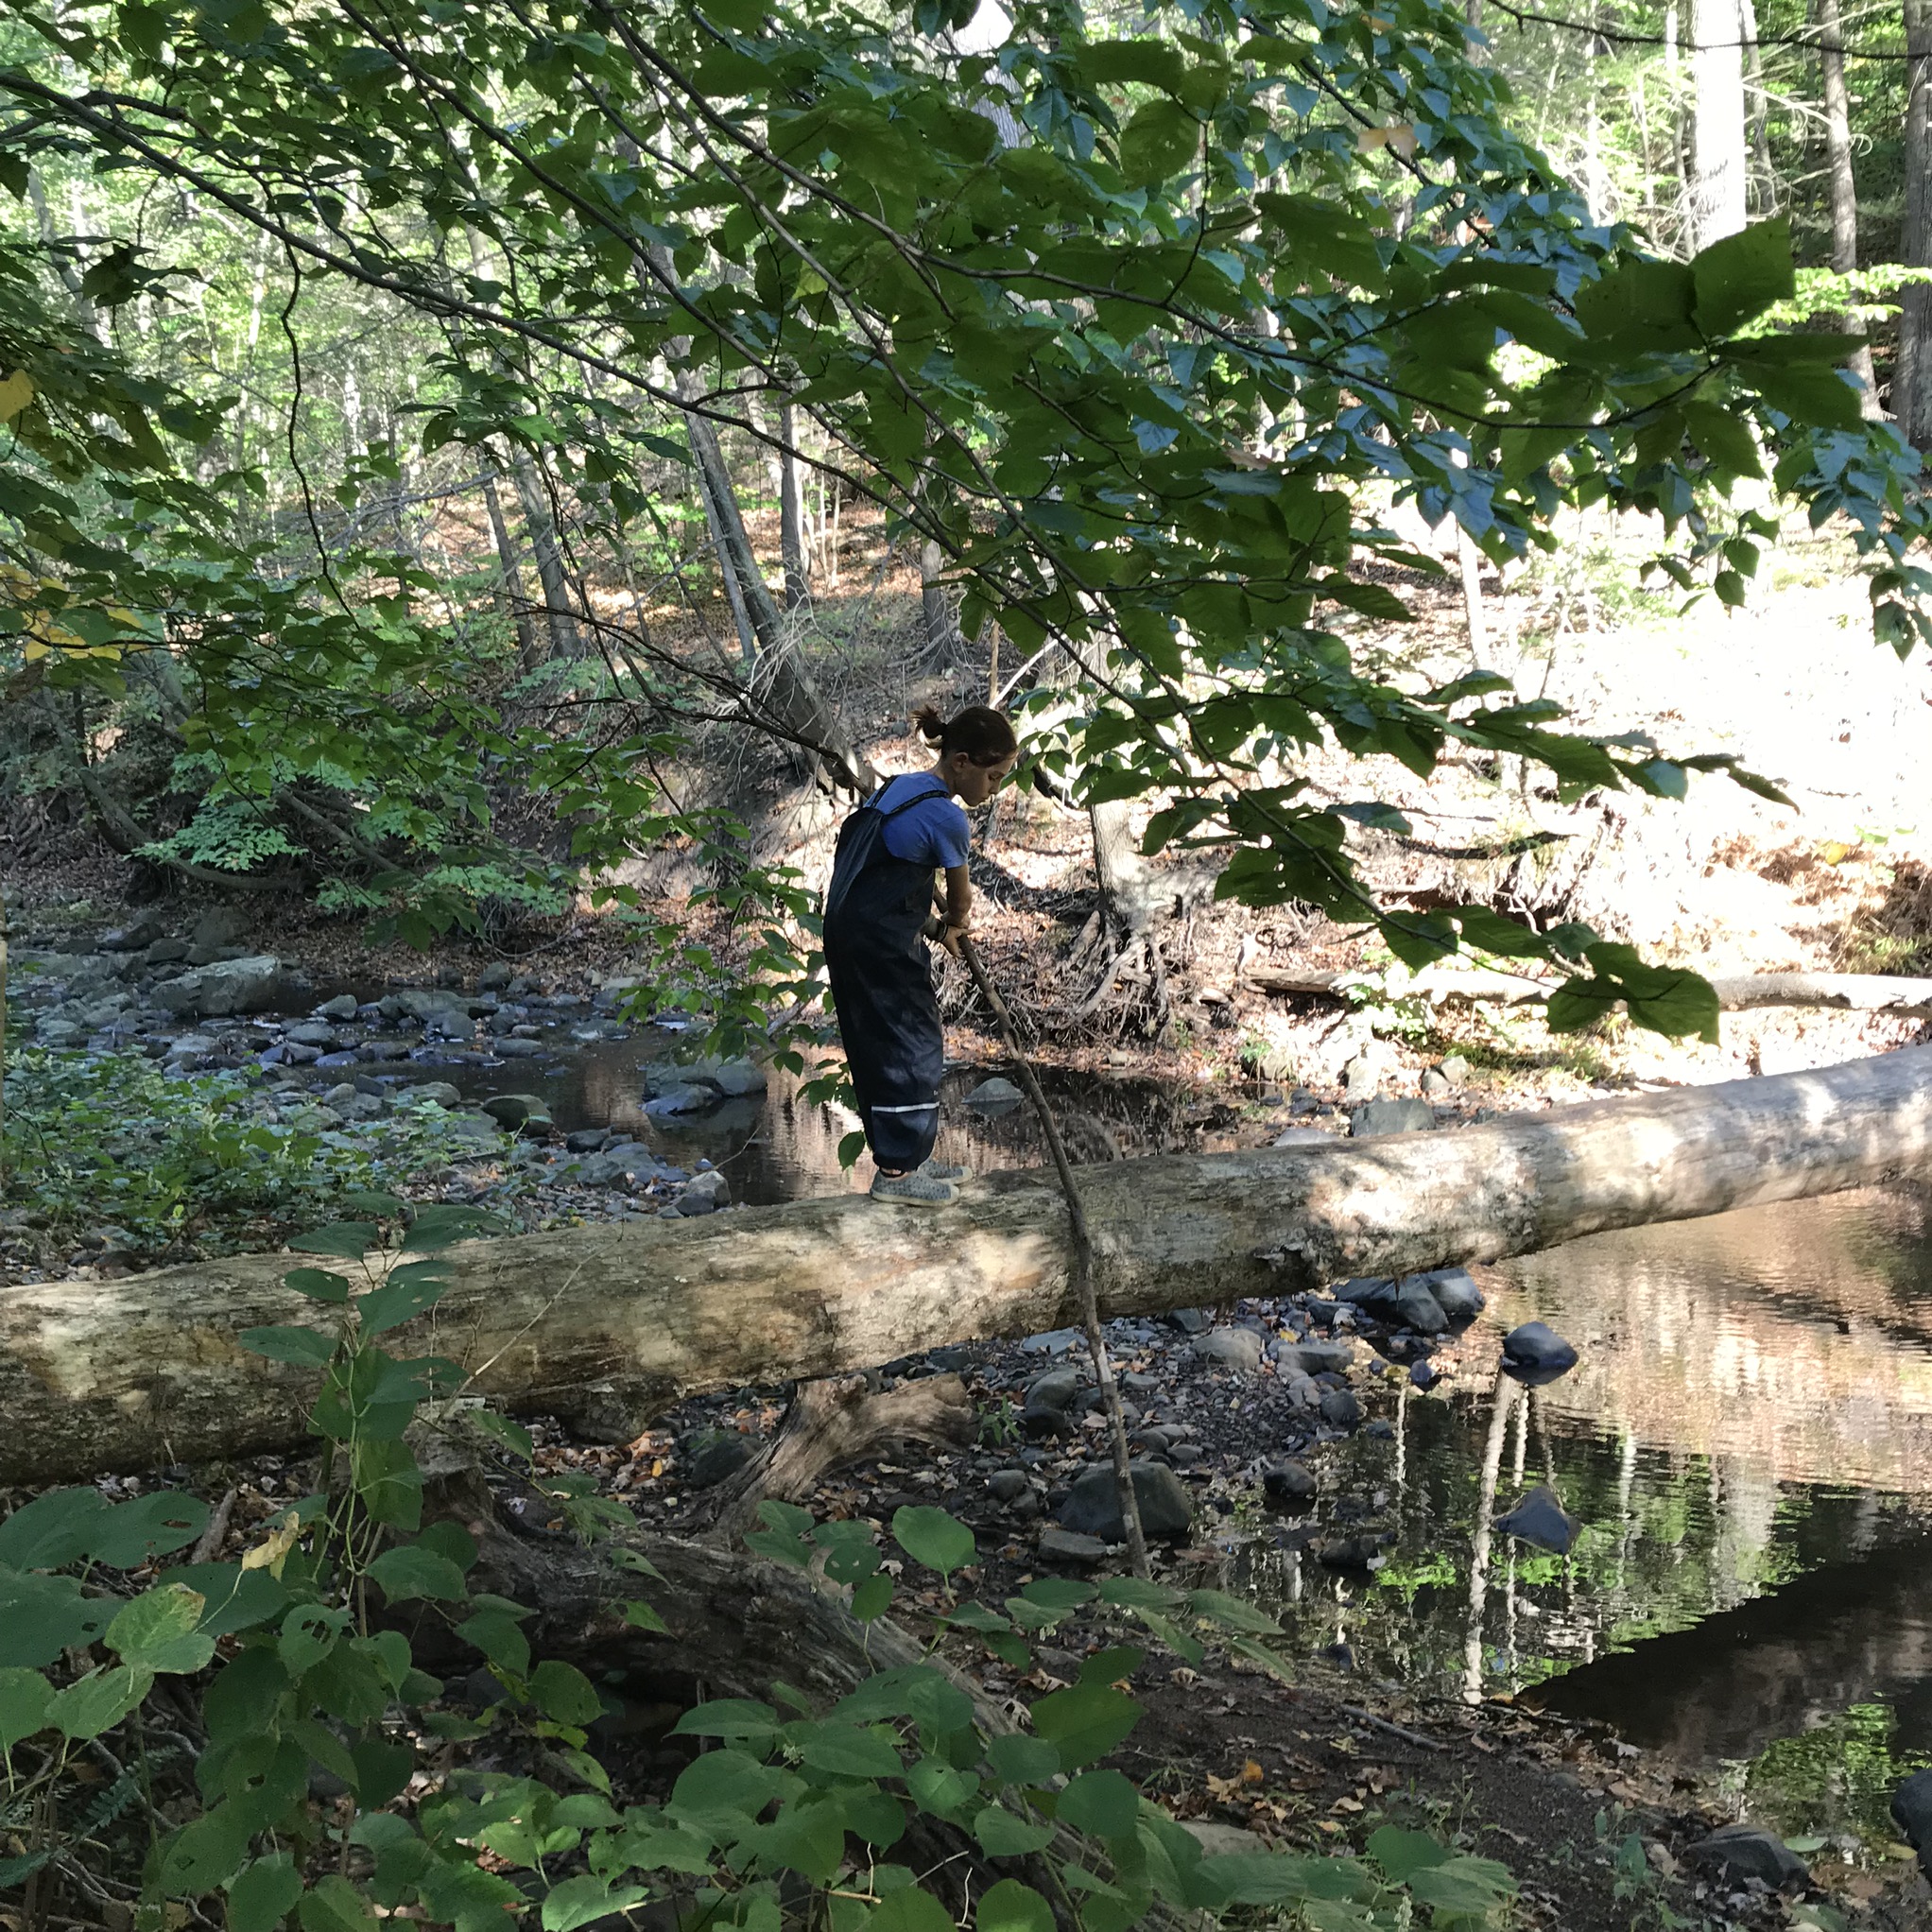
As parents, it is so tempting to keep our children cocooned up as long as we can.  We are hardwired to want to catch them before they fall.  But what if we thought of keeping them safe in another light? What if we thought about letting them fall down while we are still here to help them get up? I want my kids to learn how to fail.  They must know how to face a small problem before they can attempt a big one.  They need to get lost so they can practice finding their way home.  They need to develop confidence in their ability to help themselves.  I am teaching them to trust their own instincts and abilities by giving them the opportunity to practice.

Do you allow your children some independence? I know it is not your typical sighting to see a seven and ten-year-old shopping alone at the grocery store...

Please let me know your thoughts on this topic in the comments below.  Thank you for reading and for following along on my parenting journey. 


Workspace Holiday Gift Guide: PART TWO

GG2.jpg

1. Moluk Plui Rain Cloud Tub Toy  The best bath toy EVER.  It opens up, so there is no chance of the yucky stuff lingering inside, its easy on the eye in your bathroom, and interactive.  Perfect for babies all the way up. My big kids can't stop using it. 

2. Moluk Oogi Jr Fidget Toy This is great for keeping little (and big) hands busy in highchairs, car windows, airplane tray tables, the bathtub, just about anywhere.  It washes easily and is fun for all ages.

3. Kikkerland Solar-powered Rainbow Maker: They Stick up to the window and use natural light to project a rainbow.  All three of my kids are getting one this year...Shhh! 

4. The Original Toy Company Happy Pop Up ToyThis is my favorite thing to give to the toddlers in my life. It is a perfect toy for cause and effect, it is well made and so darn cute. 

5. Sarah's Silks Enchanted Playsilk: This is great if you are new to the magic of playsilks.  If you are hesitant to spend on the larger set (in part one), start with just one silk.  It makes a beautiful dress, cape, tent, blanket, or anything else your child can imagine.

6. Hape Animals Wooden Memory Game: This beautiful set is well made and will be treasured for years.  It will be making an appearance at our house this year. 

7.  OOLY, Color Appeel Crayon Sticks: These are as fun to use as they are to look at.  They last forever and are very high quality.  They make an invitation to play look very enticing.

8.  Ostheimer Hedgehog, Cat, Bunny: I can’t decide which ones we are getting this year. I want them ALL!

9.  14 Piece Tegu Magnetic Wooden Block Set: These magnetic, wooden blocks are wonderful to work with.  We have had one small set for a  few years and I definitely plan to add to our collection.  They are great on their own or can be used on a metal tray for a new experience.

10. OOLY Heart to Heart Stacking Crayons (comes with 2 sets): I love these keeping these in my bag for easy coloring at the doctor’s office or at a restaurant.  They are adorable when you need a little gift or stocking stuffer.

11. Plus-Plus Tube Neon Mix (70 pcs.): These are the perfect tube to stick in your glove compartment and bring in to restaurants to keep everyone’s hands working.  The neon set is fantastic on the light table as well! 

12.Grimm's Small (Mini) 6-Piece Rainbow Nesting Wooden Blocks Stacker: The mini-version of our all-time favorite.  It is an instant classic.

13. Amber teething necklace: Both of my girls still wears theirs from when they were babies.  The amber is both beautiful and functional.

14.Pustefix Bubbles: Did you have these when you were a kid? I did! This classic never goes out of style as a great stocking stuffer.  These are THE BEST bubbles.


Did you read PART ONE of our Holiday Shopping Guide? Click here to see it! 

There is one more installment coming soon.  You don't want to miss it!

Thank you for checking out my Gift Guides.  They contain affiliate links which cost you nothing and give me a small finders fee.  Thank you for supporting The Workspace for Children by shopping through my links. 

Best, 

Lizzie