AN INVITATION TO PAINT WITH KIDS
/Looking for a simple afternoon activity? Psst. There are lots of ways to adapt this.
Read MoreLooking for a simple afternoon activity? Psst. There are lots of ways to adapt this.
Read MoreDoes messy play feel intimidating and overwhelming?
Read MoreEverything you want to know about wooden blocks.
Read MoreTips for getting your kids into the kitchen and cooking with Raddish Kids.
Read MoreIf you are looking for a resource packed with CREATIVE ways to use what you already have at home, this post is for you.
Read MoreLooking for a few simple tricks to keep your children occupied while you visit your favorite restaurant?
Read MoreTraveling with kids? Tips for preparing them and packing a perfect kid carry on bag.
Read More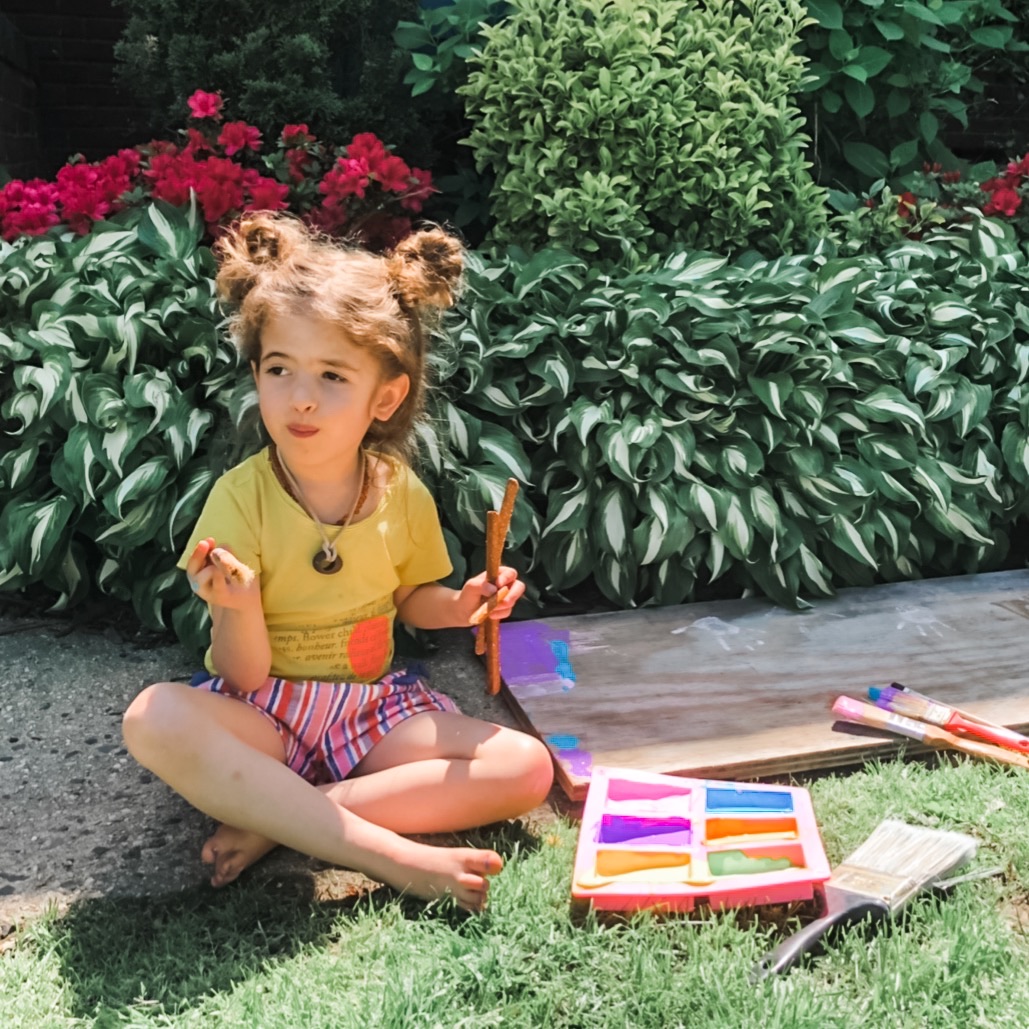
Slow afternoons are my favorite. Preparing a large, healthy-ish snack and setting out an art or play-prompt gathers my crew and the children who tag along with them. I love a full yard of kids. Yes, it’s messy and chaotic. But it also creates a wonderful sense of love and community. I like creating a safe, fun space where my kids can bring their friends to play and unwind. I’m going to miss the crazy one day, so I’m embracing it while I can.
Here are my top tips for creating an environment where children and adults love to come together.
SNACK TIME
Prepare a healthy-ish snack, and lots of it! I like to do a tray of cut up fruit- watermelon or summer cherries are always a big hit. Pair the fruit with a crunchy dry snack like a big bag of popcorn, pirates booty, or pretzels. Then add a “treat” which might be chocolate chip cookies, popsicles or mini Trader Joe’s ice cream cones on a hot day.
I bring out a big pitcher of icy water or juice boxes and a fat black sharpie marker. A marker? YES. This way everyone can label their cups/ juice boxes and you avoid waste and confusion.
ACTIVITY
Put out a SIMPLE activity to draw the children in when they first get home. The trick here is to use what you have, keep it very simple and inexpensive. Pay attention here…. DON’T put a lot of effort into it. That way you won’t be annoyed if they ignore the activity and run off to scooter. It also ensures that you won’t feel put-out or burned out over time.

SIMPLE YARD ACTIVITIES
My go-to is usually chalk, mallets, brushes and water (SEEN HERE). The kids can draw with chalk, or smash it up and make chalk paint. This activity is great for all ages. There are few kids I know who can resist the mallet to smash up some chalk… so therapeutic!
Sometimes, I’ll dig around in the garage and find old wood scraps and bring out hammers and nails and rubber bands. If they get super into it, I’ll add paint or sharpies.
Another simple one is a large thrifted mirror and paint sticks (SEEN HERE). Not messy, very engaging and lots of children can work on it at a time. Bonus? Clean up is a snap. You just need to hose it all down at the end.
GROWN-UP HANGS
With full tummies and after some time spent relaxing with the activity, the children all usually grab bikes, scooters and wagons and take off running and playing. This gives the adults a chance to catch up and get some much needed grown up conversation in.
LIMIT SETTING
Sometimes, I don’t mind if the children wander in and out of the house…. But sometimes, my house is clean and I want it to stay that way. We set clear limits about whether or not going in the house is allowed. I’ll just say, “Our house is closed today, sorry!” OR “It is an outside-only day.” Setting clear and firm limits regarding what you are comfortable with is KEY to enjoying big get togethers and not dreading them.
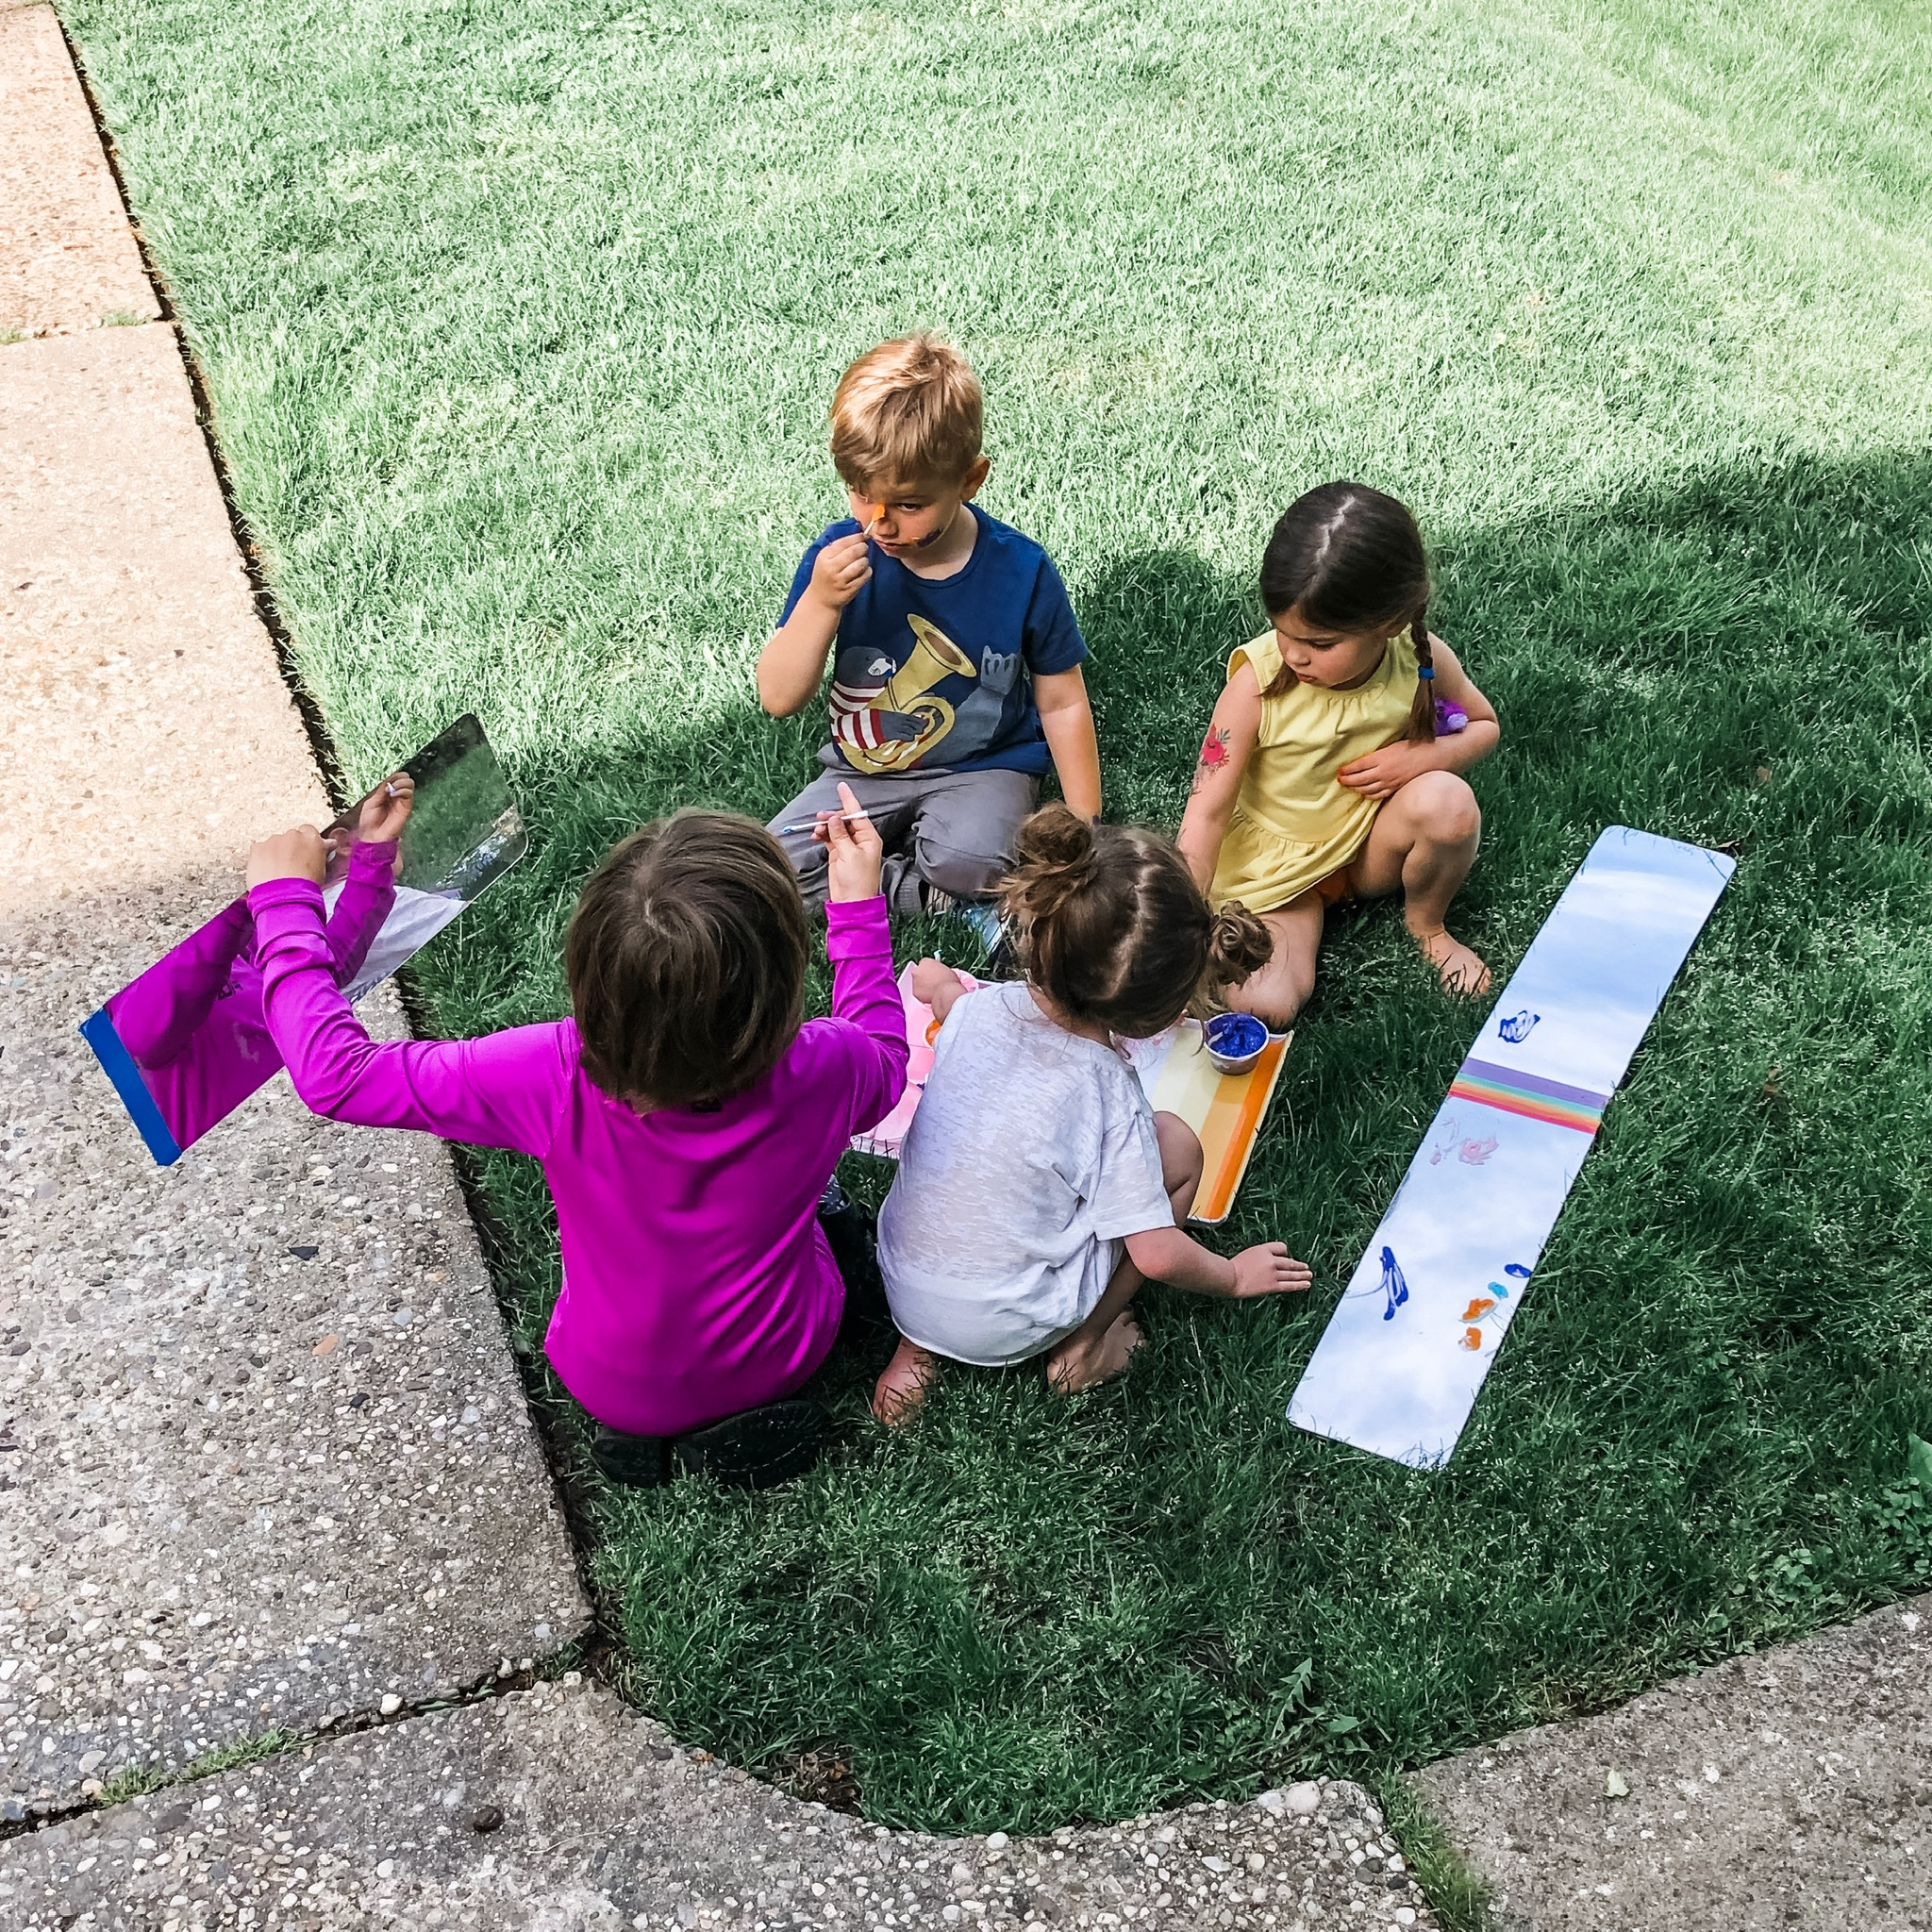
I am extremely lucky to live on a dead end street with lots of awesome families. My favorite Spring afternoons are spent on the front lawn with the dog running up and down fetching a ball while the kids get dirty and have a blast. Of course, there are many tantrums thrown, kids who argue, and skinned knees. But that’s just part of the fabric.
Do you have any neighborhood favorites? Tips for gathering your favorite crew of people? Share them with us!
I hope you found this post helpful. If you want to hear more from me, please be sure to subscribe to my blog and join the conversation over on Instagram.
-LIzzie
It’s Spring Break over here, so there is no school this week. The kids and I made a list of things we would want to do with our time and NYC was high on the list. We are very lucky to live a short train ride away (about 50 min.) so that made it an easy YES.
We had loose plans to take the train to NY Penn Station, walk to Madison Square Park, play and eat lunch, and then head to the Math Museum. But… the day was too beautiful to spend inside. Here’s how it all went down.
The big kids walked to the train station and Sloane scootered. She is six, and too old for a stroller. Her tiny little legs have a hard time keeping up with the big kids sometimes. Before we left, we talked about bringing the scooter. We called it her “commuter scooter” and we chatted about how riding a scooter in the city is WAY different than taking runs up and down out street. It’s different because we didn’t wear a helmet, which is usually a non-negotiable. It was different because instead of riding independently, she had to stay right next to me and if she wanted, I would pull her along. It’s so easy to “tow” your child with THIS scooter. Two feet on, and I can easily pull her along and steer.
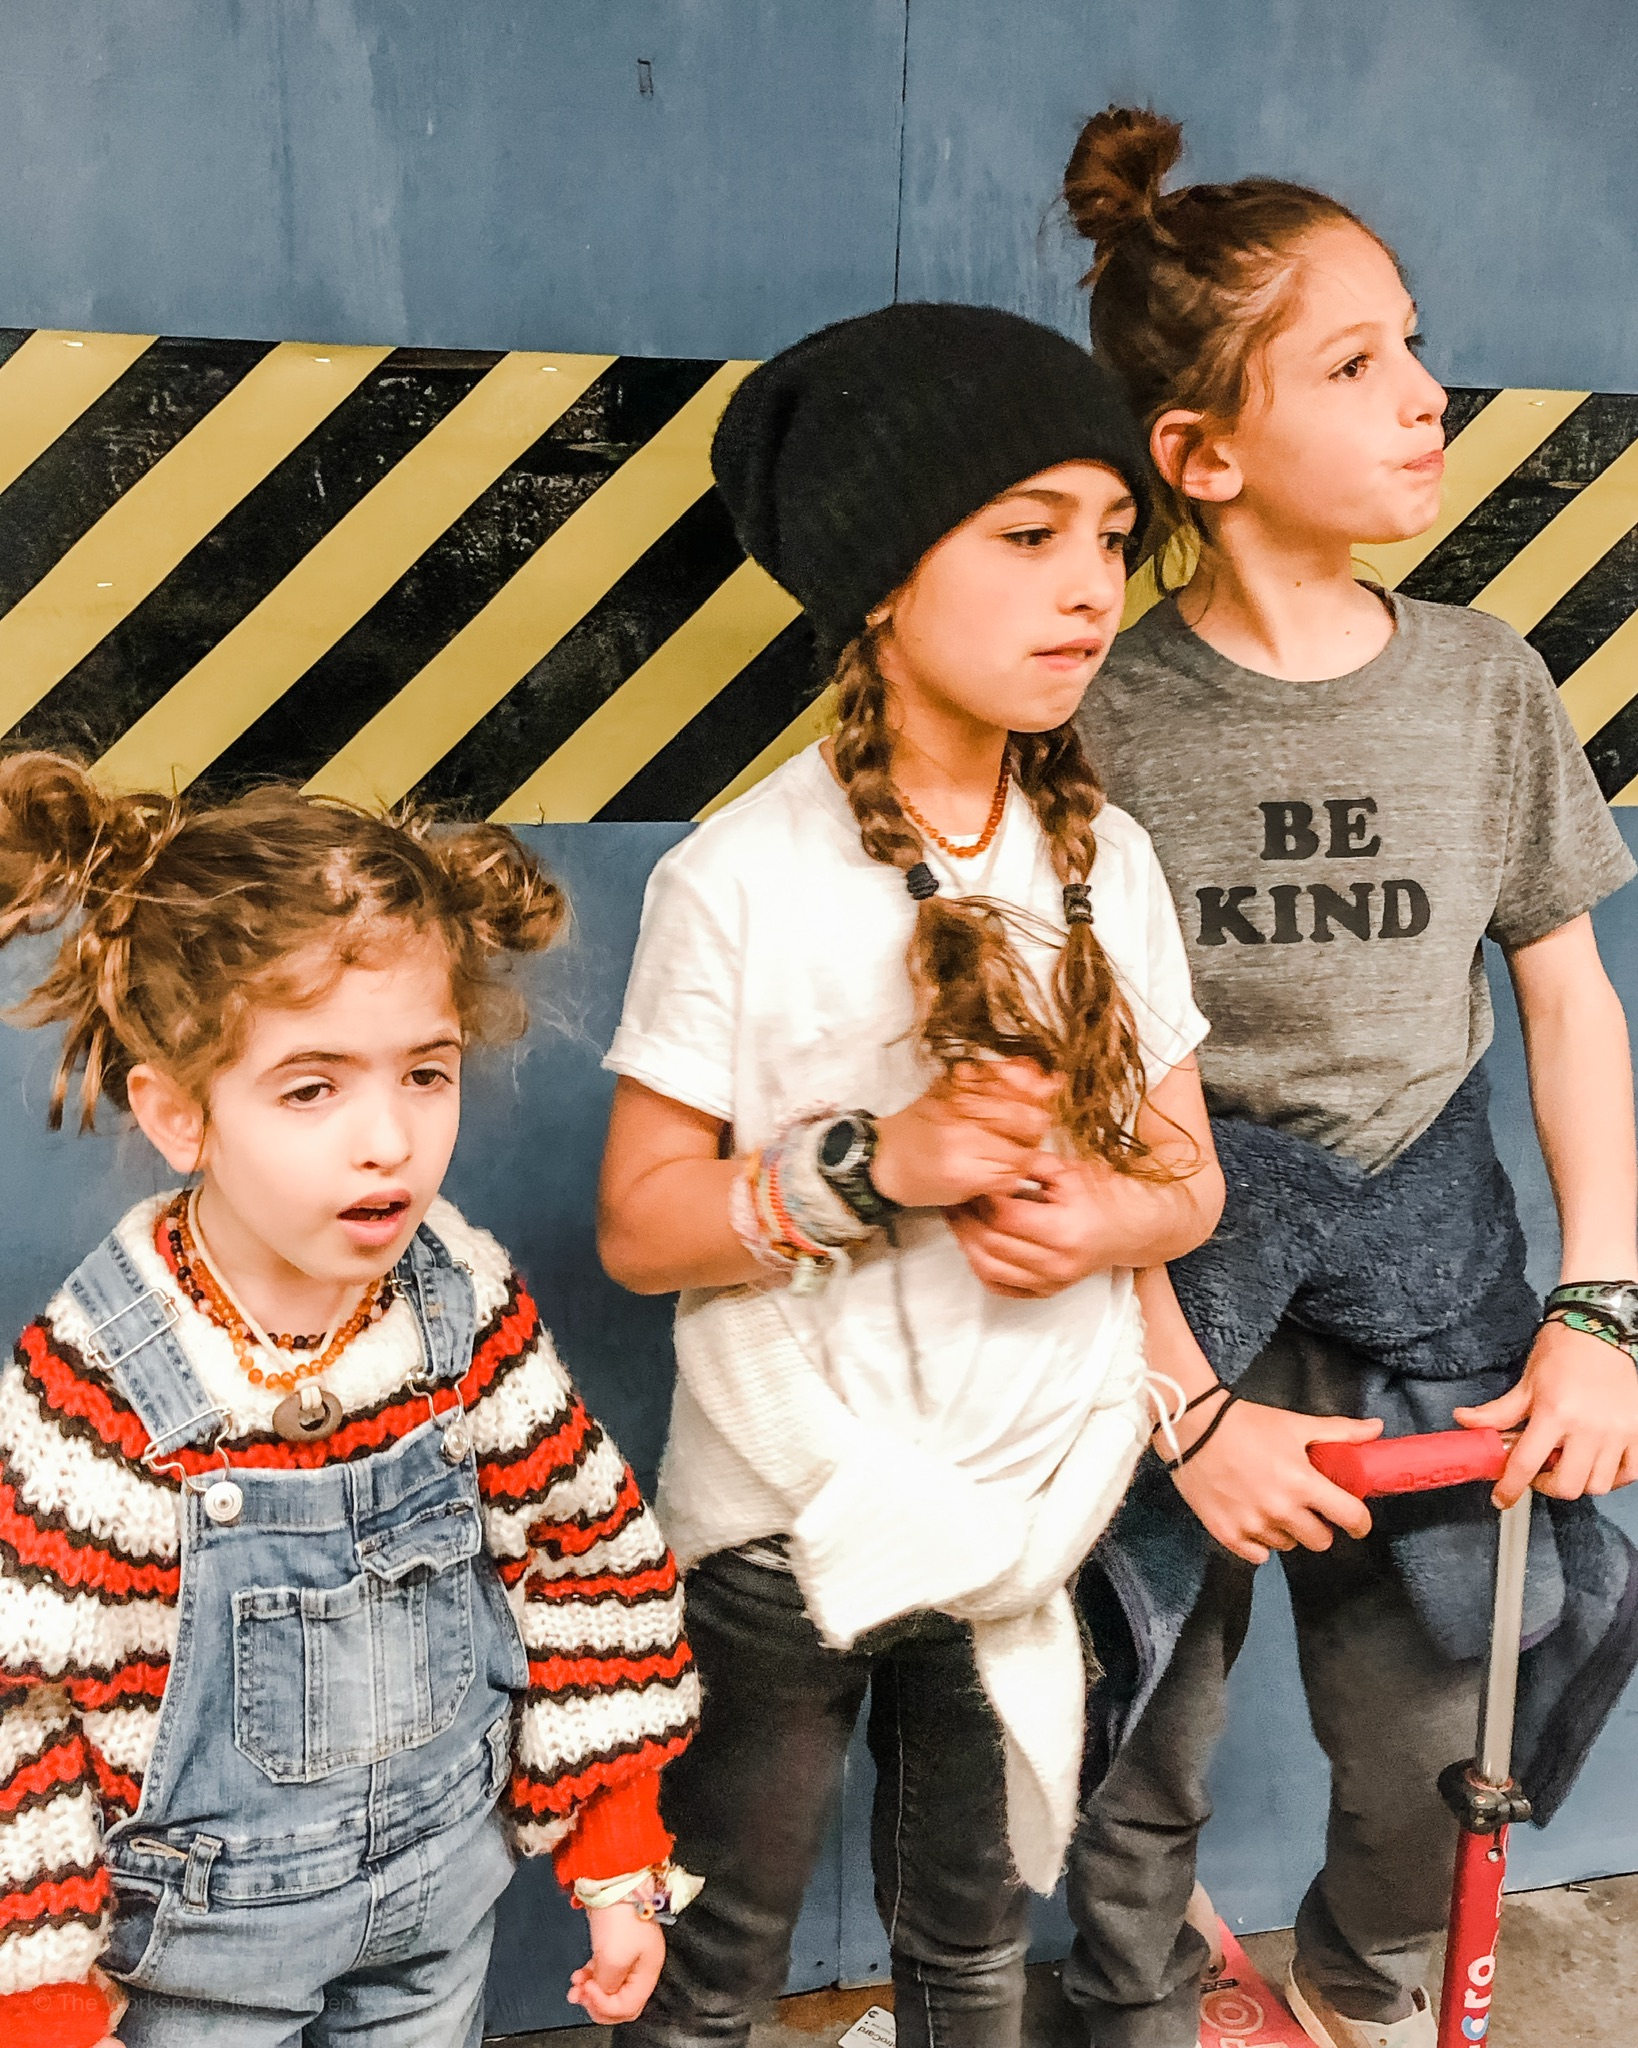
Sloane’s face when she saw the subway….
We took an 10:38 train in. We got to the station a little early and I let the children each choose lifesavers or gum for the train ride. I know they’d be fine with nothing, but for me, it’s the little things in life, and I like to make our adventures special. We rode the train in and walked across town to Madison Square Park and ate at Shake Shack. The kids had never been there before, and it did not disappoint. Next stop in the plan was to go across the street to Mo Math, The National Math Museum, but the kids asked to go to the playground first. Sure, why not (see me being flexible over here?!)?
The kids played and I sat in the sun, feeling good. I watched them run, squeal and climb, when I suddenly decided that the weather was too perfect to head inside to a museum. Their favorite NYC playground is the one in Union Square but I wanted to try something new. I did a quick Google search and decided on The Ancient Playground in Central Park. I called the kids over and asked them if they still wanted to go to a museum or if they were up for a new adventure. Guess which one they picked?
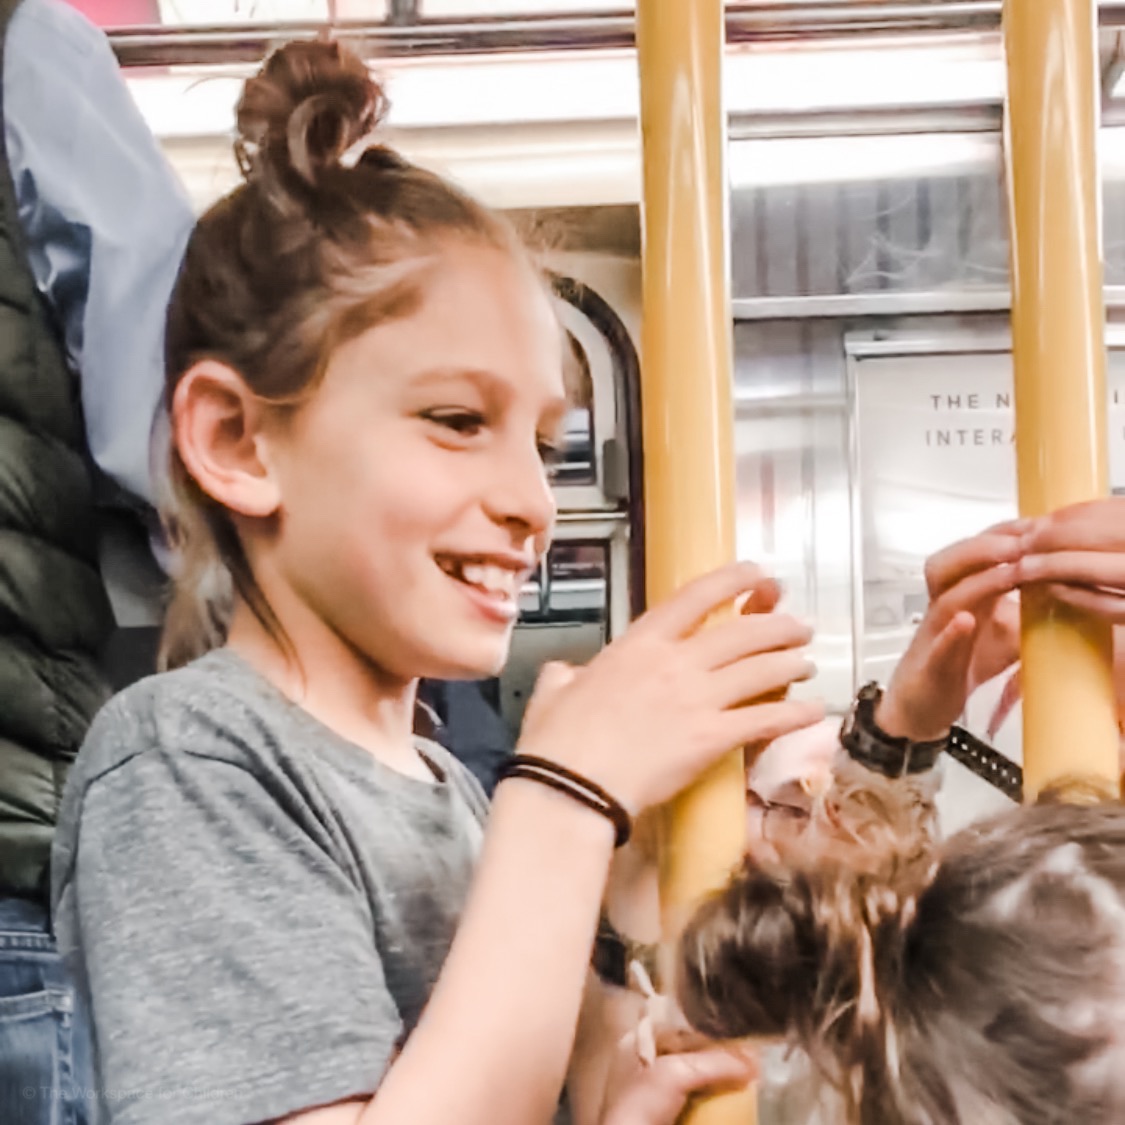
We headed off to the Subway and hopped on. It didn’t occur to me before, but Sloane had somehow never ridden the Subway! She was mesmerized and it was the absolute cutest thing. Nate and Ruby played their favorite game of “spot the rats” in the tracks while Sloane asked me a billion and one questions about how the subway works. We got on and the train was pretty empty. The kids seriously had the best time holding on and riding the bumps. I fought my inner germ-phobe and went along with it. I am so glad I did. They LOVED it.
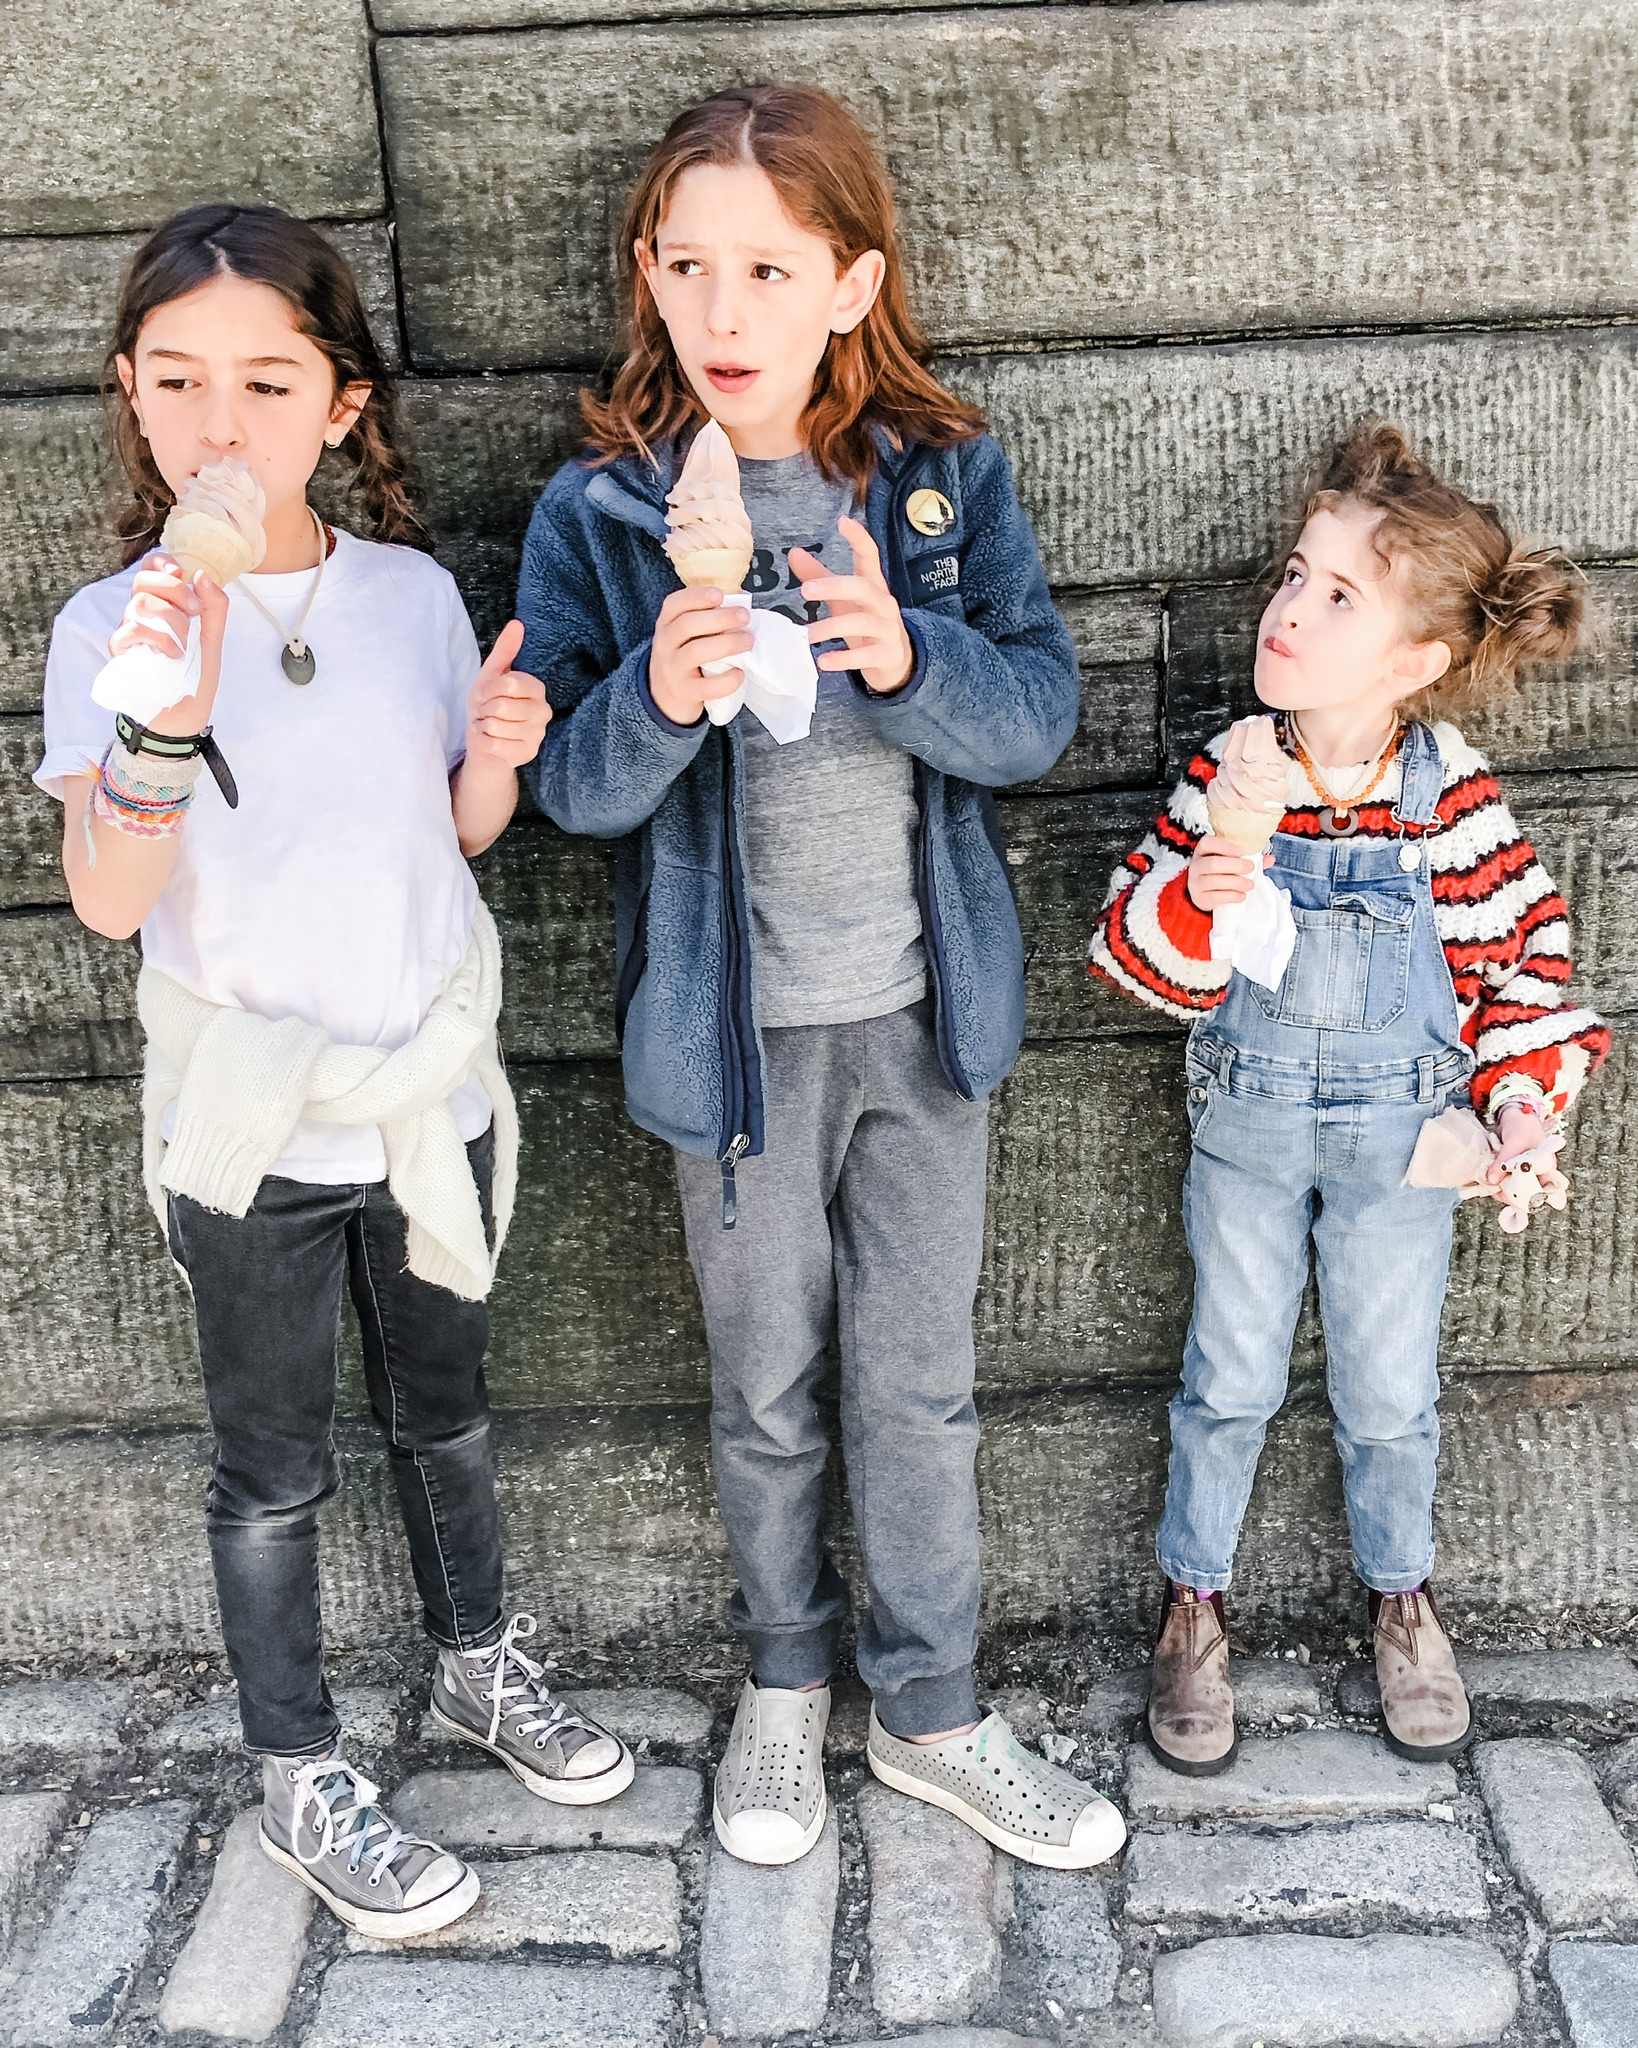
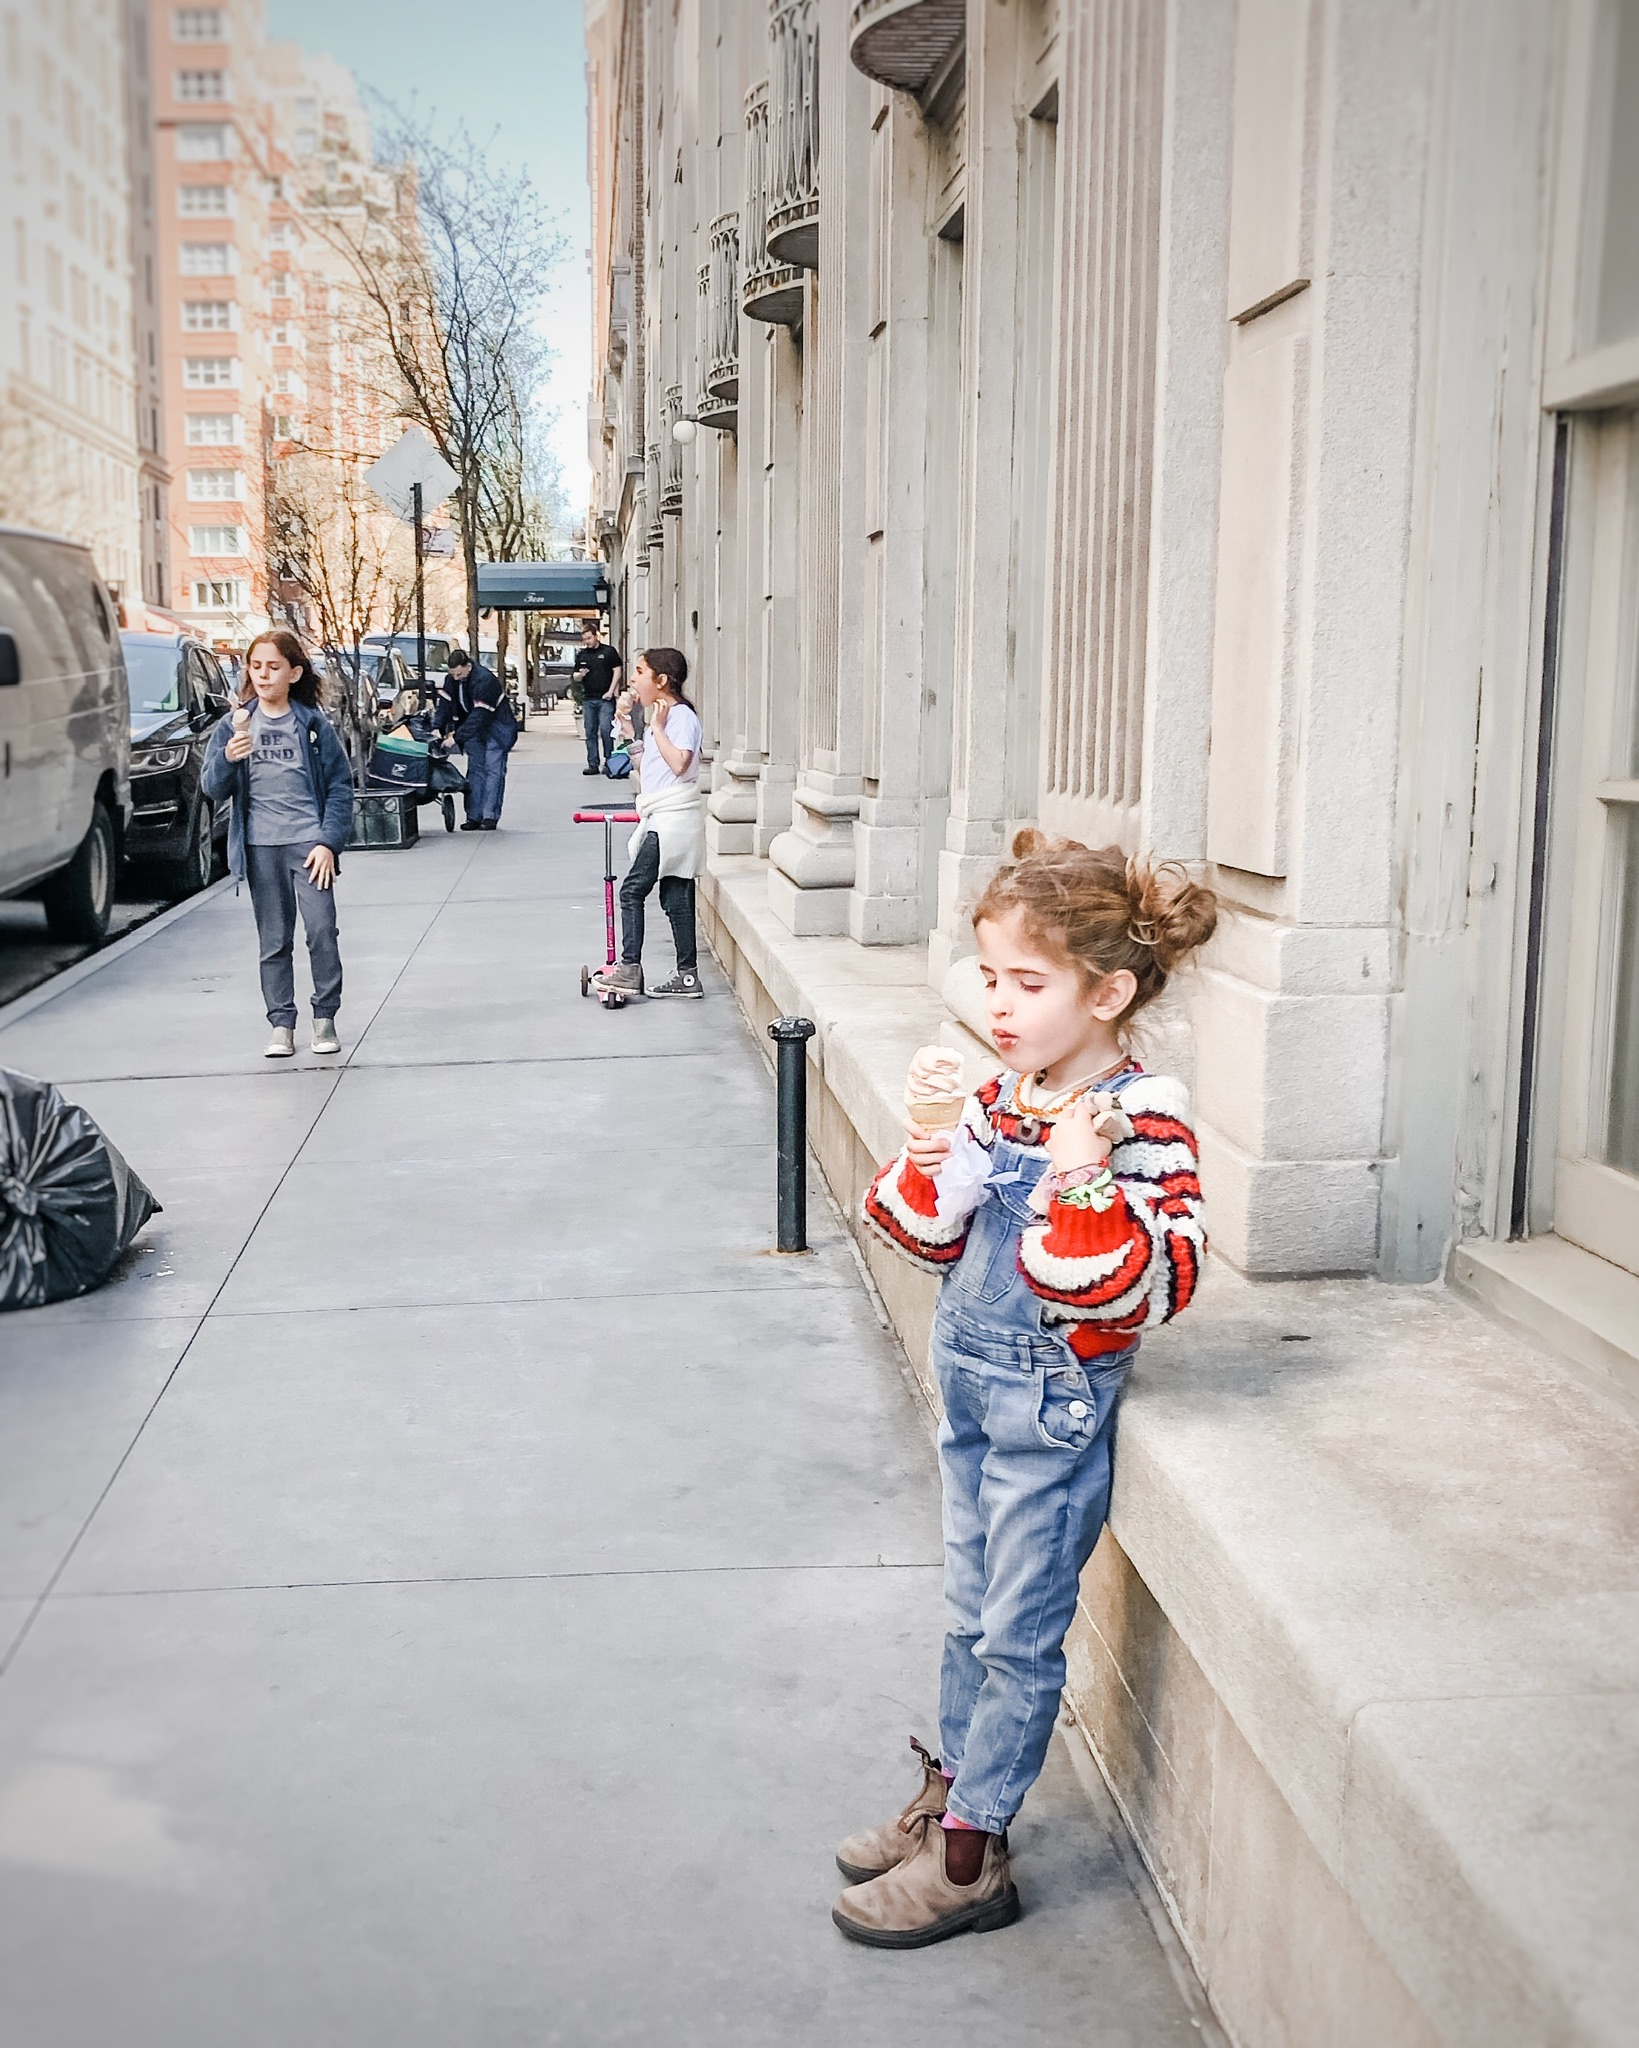
It was an easy trip into Central Park and we headed into the playground. Kids were off and running and again, I was sitting on a bench in NYC on this beautiful Spring day. Besides a few hiccups with Sloane, we could’ve stayed for hours, but I know from experience that it is SO important to quit while you are ahead. I knew we still had to get back downtown and get on a train back to Maplewood before the evening commute began. I enticed them with ice cream cones and off we went.
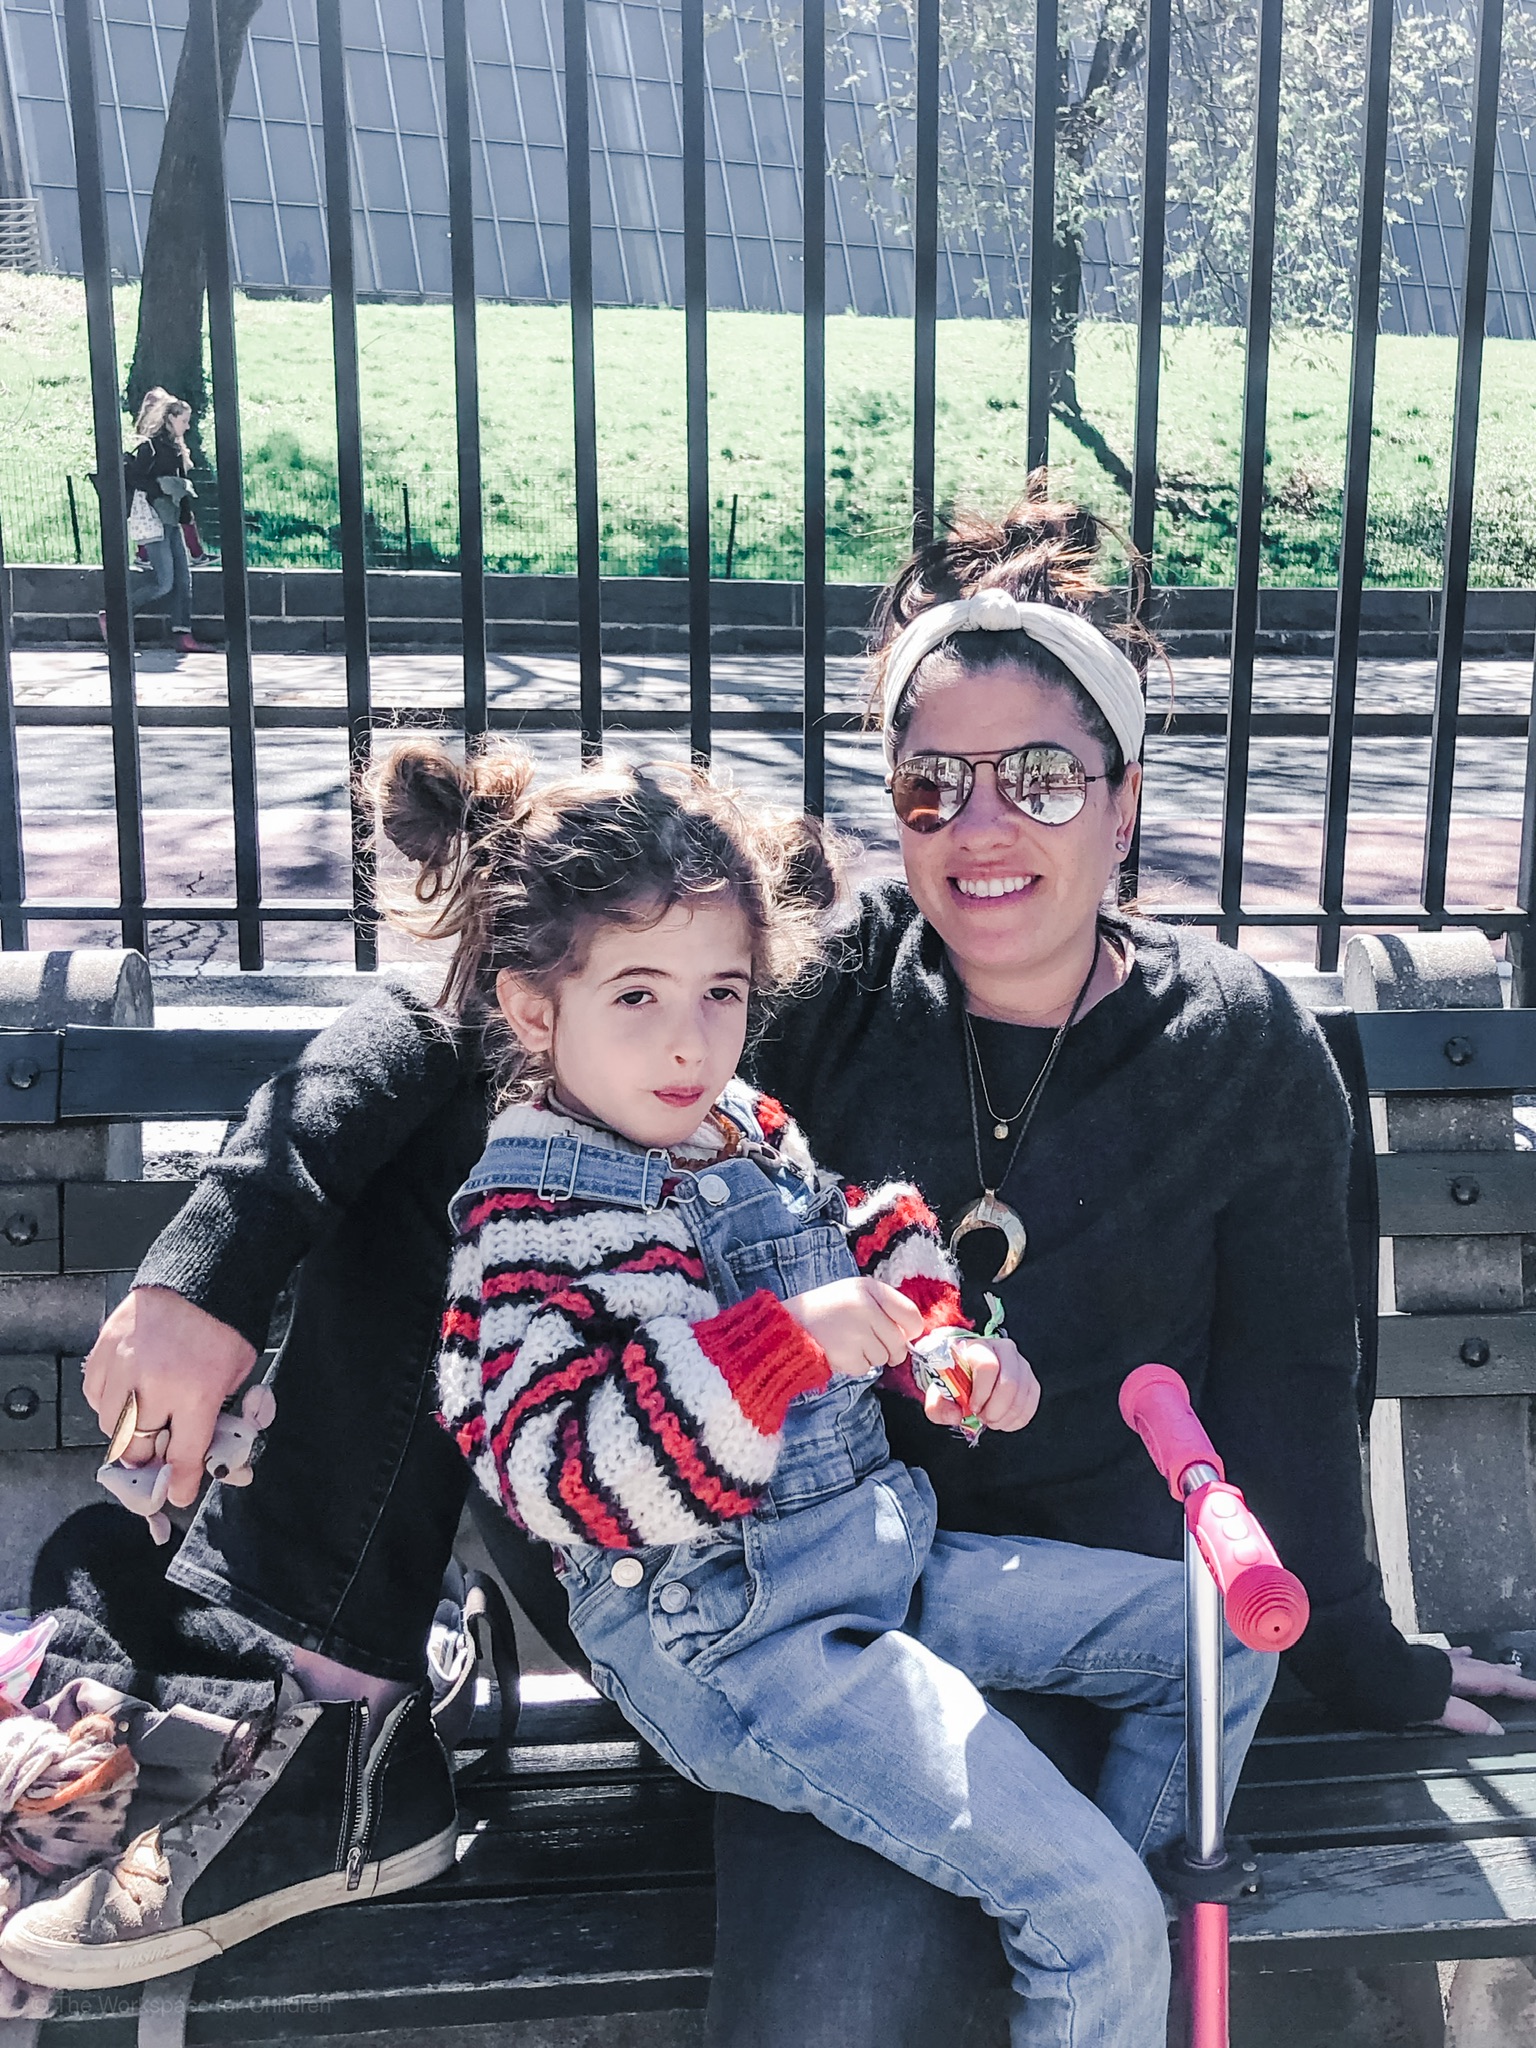
We made it back down to Penn Station and as luck would have it, a train to Maplewood was boarding. Thank goodness, because at that point we were all getting a bit tired. We made it home in one piece and I am so grateful for another adventure in the books.
Here are my quick takeaways:
Front end load. Pack snacks and water, wipes, and layer clothing. Knowing that basic needs are easily met means you can relax.
Follow your child’s lead. We literally went to the city to play at the playground. Could we have done that at home? Sure, but it was way more special this way. The kids had a blast and since they were happy, my job was much easier.
Quit while you are ahead. Remember NOT to stretch them to their limits. It can be tempting to stay when you are having fun, but ending on a high note is so much better.
Have a plan but be flexible. We switched it up today and instead of the museum, we hit up a new playground.
You know your child best. Think about what you will need to do in order to meet their needs and keep them feeling successful. For us, this was bringing along the scooter for Sloane. I knew she’d feel tired and frustrated trying to keep up on foot. The scooter was a total game changer.
Get out of your comfort zone and adventure with your kids! It will not always be as smooth as today was, but it is SO worth it. The adventures that don’t go well are learning experiences for everyone, and they will only make your next adventure easier.
I hope you found this post helpful. If you want to hear more from me, please be sure to subscribe to my blog and join the conversation over on Instagram.
-Lizzie
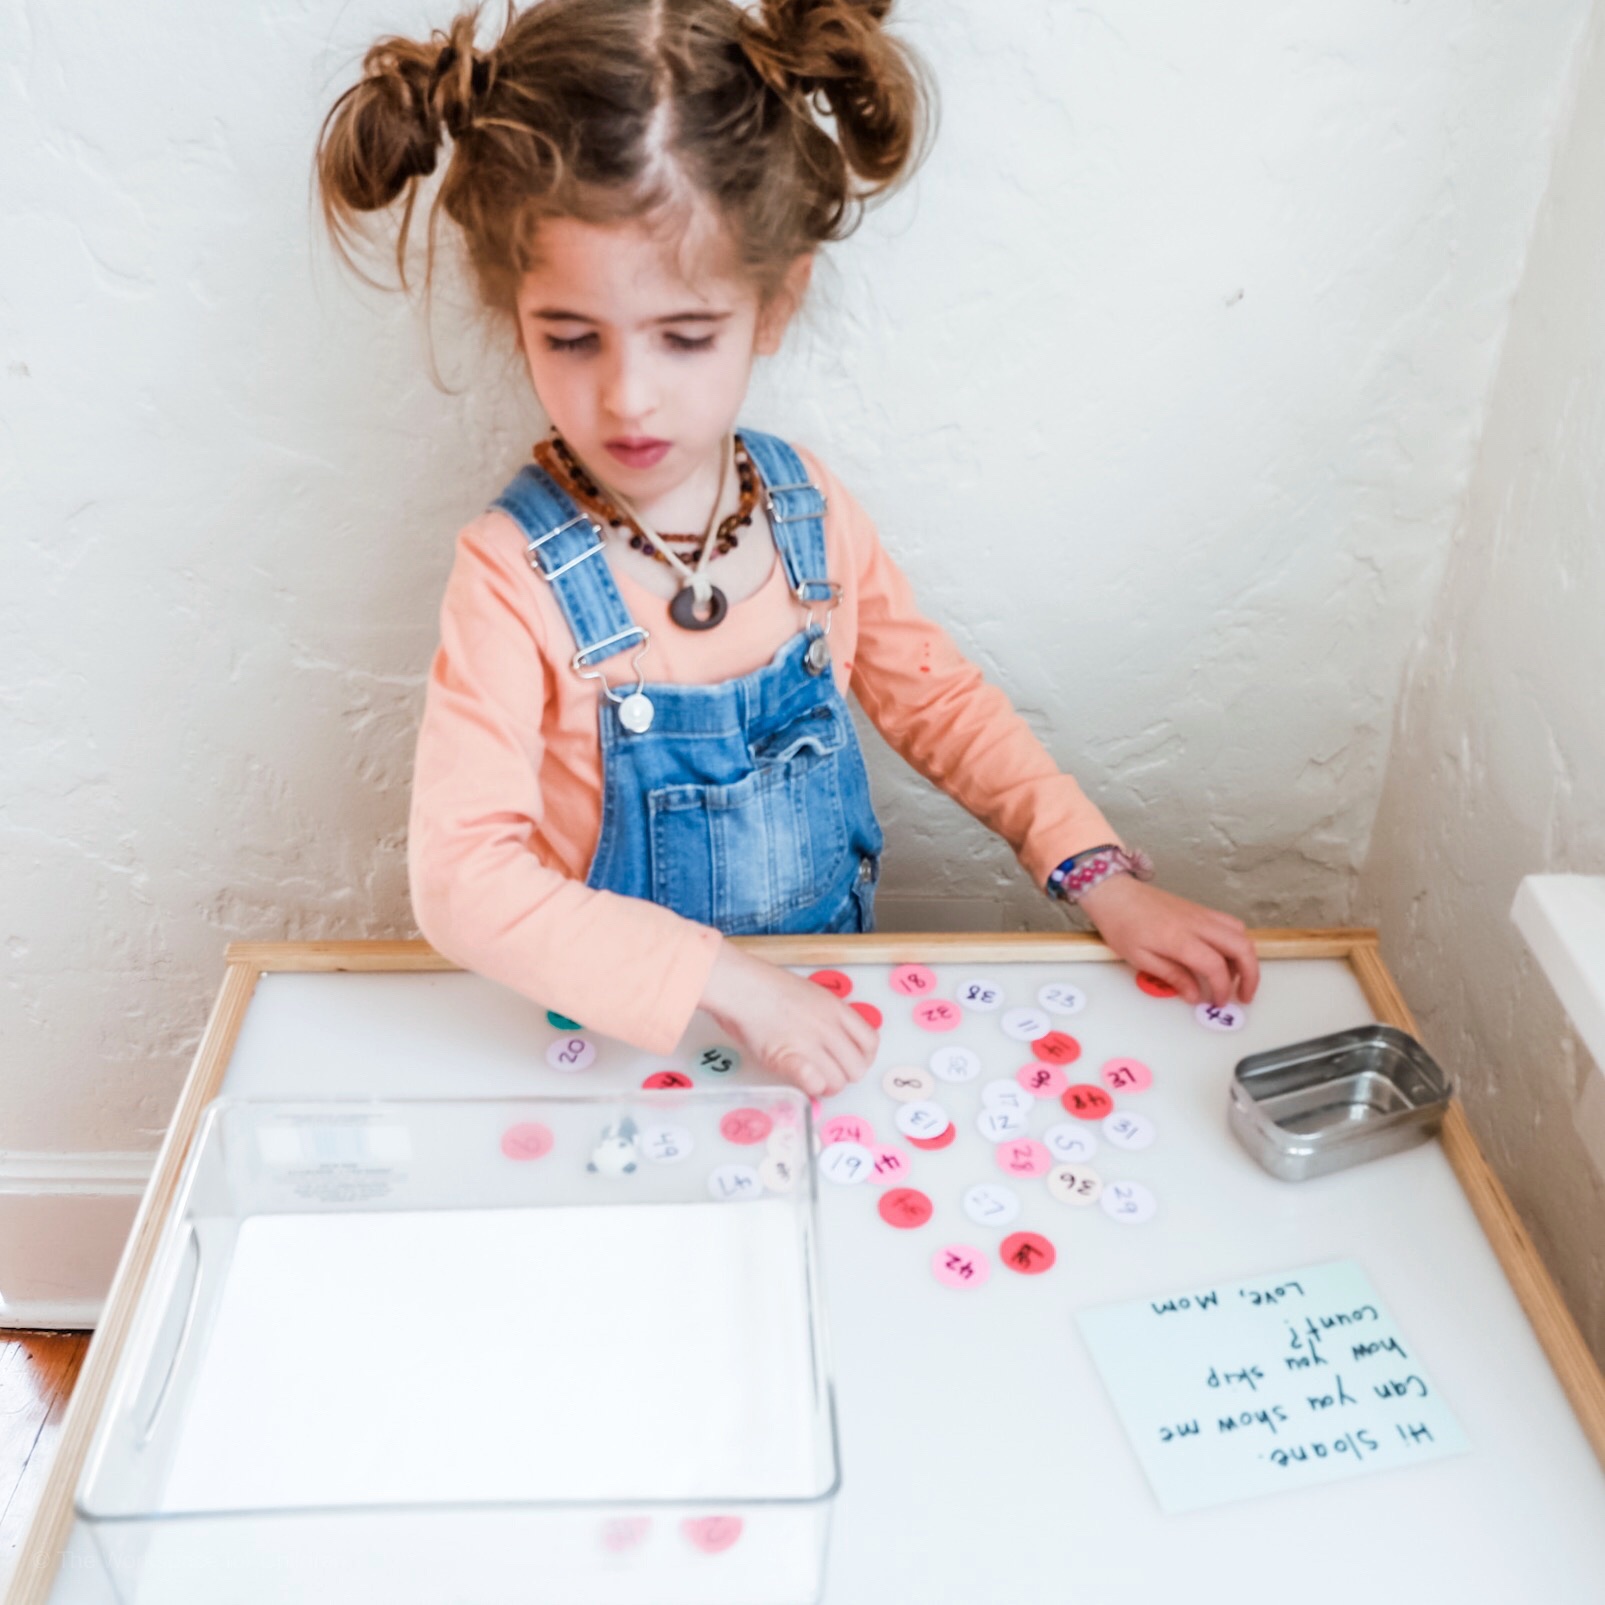
My six year old has letters and numbers on the brain. After a bit of a slow-to-warm-up phase, she’s loving kindergarten. Recently, her class has been learning about skip counting. Sloane has taken it to heart and I hear her skip counting her toys, singing rhymes about skip counting in bed at night and using her fingers to figuring it all out. The other day, as I sat and procrastinated emptying the dishwasher and switching the laundry, an idea popped into my head and a skip counting activity was born.
Table Salt
A Shallow Tray
Cardstock or Index Cards
Black Marker
I had punched a lot of circles last week for another project the were working on, so I pulled those out and labeled each circle with a number from one to fifty.
Then I poured some salt in our tray to make a skip counting base.
I set it all out on the table and left it to see what Sloane would do.
After some initial frustration because she couldn’t locate the numbers she was looking for, it was a hit. She was able to demonstrate a visual representation of skip counting by two’s, five’s and ten’s.
This activity would be a great number sense activity if you added some mini pom-poms for setting up a number line with the corresponding amount of pom-poms. In addition to practicing her skip counting, Sloane enjoyed the sensory aspect of running her fingers through the salt, drawing in the salt and making hand prints. There are lots of great ways to use salt trays to set up an invitation to create. The best part? Salt is a cheap, readily available, and you likely have it in your kitchen pantry. Have you used a salt tray?
Looking for another salt tray activity? Click HERE.
I hope you found this post helpful. If you want to hear more from me, please be sure to subscribe to my blog and join the conversation over on Instagram.
-Lizzie
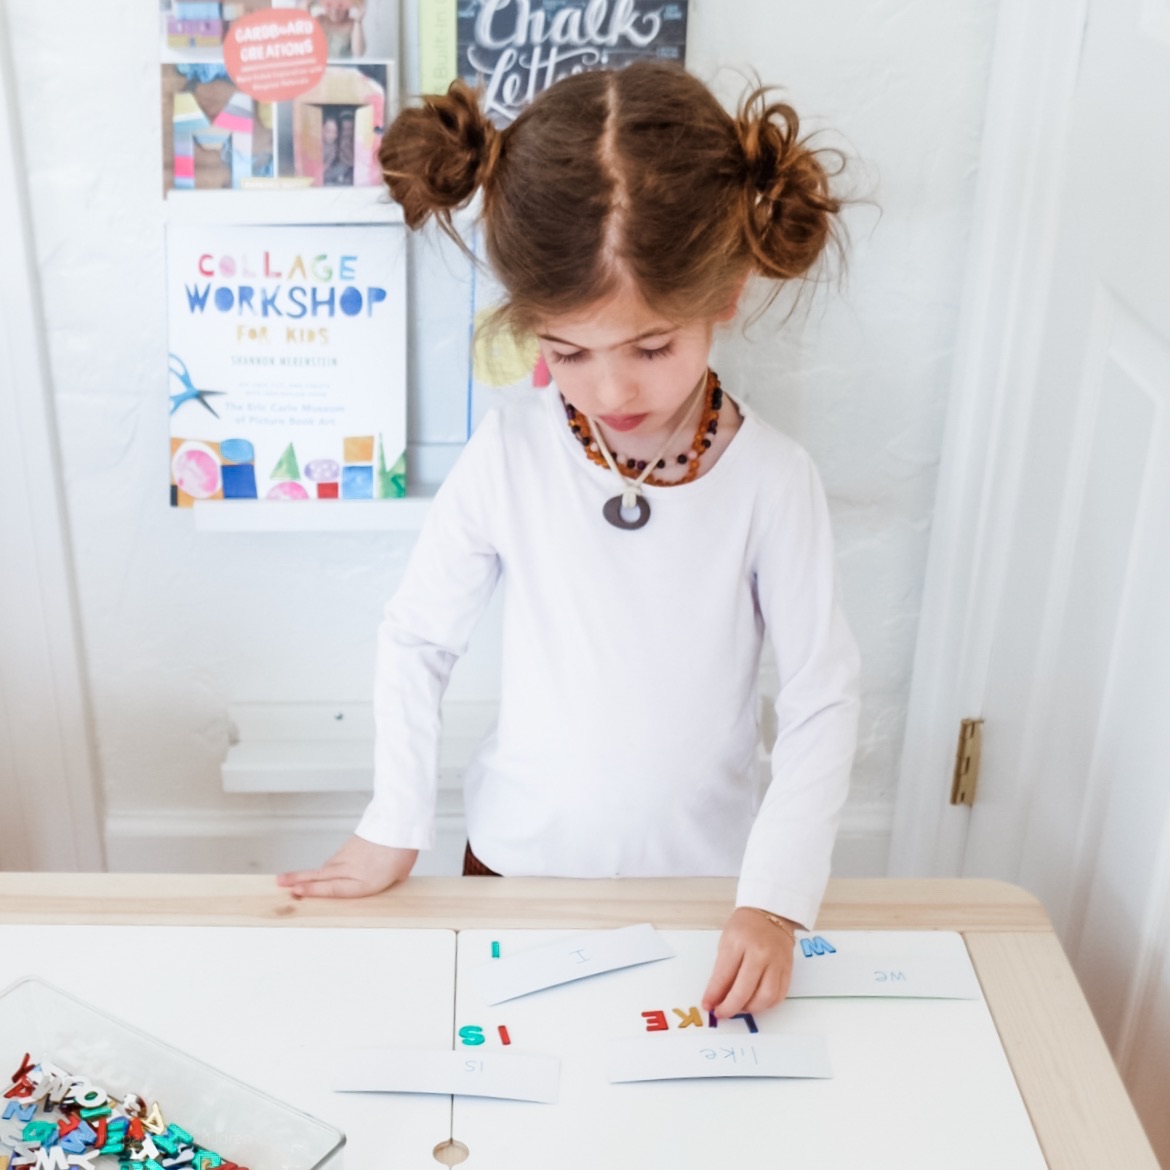
Remember last week when I went on my tangent about reading readiness?
I know that Sloane is feeling ready and excited about becoming a reader so I’ve been pulling out lots of sight word activities. You all requested more activity how-to’s and this one couldn’t have been easier.
Here’s the deal…I wrote her words on little index cards, poured our jar of gem letters into a shallow bin, and set it out to see what would happen.
Guess what? She independently practiced her sight words for twenty minutes…didn’t even look up. She got in the zone and I could see her practicing, testing herself, getting frustrated and working through it, and more. All from this one activity that took me about five minutes to pull together. It was a huge win for me. Have you had any wins lately? We all deserve a little celebration for a win. Drop yours below. It does not have to be parenting related! Just tell me your latest win and how good it made you feel.
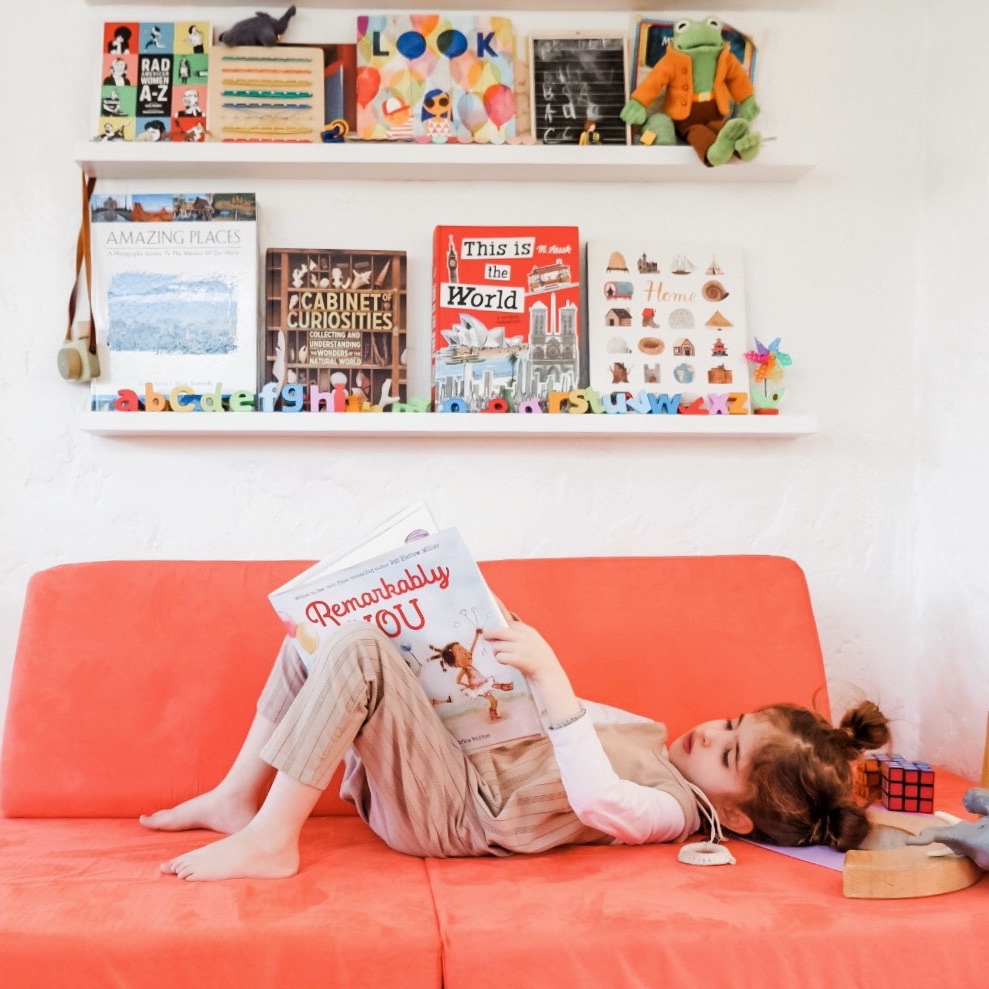
I feel the same way about play as I do about learning to read. I believe that if you are respectful of your child’s need to play and explore at a developmentally appropriate level, you are already WAY ahead of the game when it comes to reading readiness.
First, know that reading and writing readiness is DEVELOPMENTAL. It is different for every child. Like many of you, I need to remind myself this very often. It is so hard not to compare your child to siblings and peers. I’m speaking from my own direct experience. I struggle with this almost daily.
Having a print-rich environment is always a good idea. Lots of books,magazines, signs, and opportunities to see print as meaningful. I bet if you look around your home, you already have this. See? Told you that you are already ahead of the game!
Show your child that his or her words matter. This means writing down what they say, listening carefully when they are telling you a story, or when they want to sing you a song. For little babies, this includes sounds and verbalizations.
Sing! Lots of us sing to our little babies, but then we begin to feel silly as they get older. Don’t stop singing! Make up funny songs, silly words, or even sing what you are about to do. All of this word play is tremendously helpful in growing our children up to be confident learners.
Show your child that his or her mark making, scribbling, invented spelling matters. Do this by turning your entire attention to their work. Listen and look. Do not put your own spin on it, just listen and nod encouragingly. Instead of asking what they drew, just notice details aloud and then see what THEY say about their work. Listen carefully.
Show your child that YOU read and write every day. Think out loud when you are writing. Model your thinking. Get in the habit of doing this (it feels super weird at first but is a real game changer with all kinds of learning with children).
Write and draw what they say. When they are telling you a long story, made up or true, grab a pencil and let them watch you write it all down. They can revisit it later. Maybe they will even illustrate it. Don’t make it hard though, or you’ll never do it. Any old scrap of paper will do.
Give your child access to books and open ended art materials. This can be as simple as crayons and blank paper.
Label items that your children already know. When Nate was little, I made labels with letters or words on familiar items like the milk pitcher and his bed. He would “read” the words to these very meaningful objects and see himself as a competent and capable learner. (Hmmm, maybe I should do this for Sloane.)
Place value on time spent with books and stories.Spend time reading separately but together. Sometimes we all sit and read together, but silently, each in our own books. Yes, small children can do this. It takes practice and modeling.
Keep note pads and paper everywhere. Write and draw your child notes. Even when they are small. I like to leave a note under their pillow, or in the bathroom. It’s okay if they cant read yet! It is a fun surprise to discover and you can read it to them. Show your children that print and marks are important and necessary.
Most importantly, DO follow your child’s lead. If he’s not ready, he’s not ready. Don’t forget…Kindergarten now is what first and second grade was in years past.
Develop a love of learning in general and all will be well. Always encourage risk taking, question asking and mistake making.
Of course, there are apps and reading programs that will teach your child to memorize words and letters from a very young age, but they lack relevance. In order for your child to learn the love of reading and writing that will last a lifetime they need meaningful, rich connections to the work they are doing. This happens over time. This happens with intention. This happens when we value our child’s individual development and life experience.
Over the next few weeks, you might see me working with Sloane on her literacy journey. She is “there”. She is ready. I know this because I see her thinking constantly about sounds and letters. I see her making sense of text in context. She’s sounding out street signs, menu words, etc. She’s beginning to label her own pictures and she’s spending lots of time reading to her dolls and stuffed animals.
Sloane is six. Nate was developmetally ready when he was four. Ruby was probably five and a half. Guess what? It doesn’t matter. Look around at your friends. Do you know how old they were when they said their first works? When the took first steps or mastered the potty? Nope. Because it doesn’t matter in the long run. So try, as hard as I know that it is, not to RUSH reading and writing. Enjoy the journey. And when you child wants to read to YOU at bedtime? Grab a big glass of wine… it takes A LOT of patience and time ;)
I hope you found this post helpful. If you want to hear more from me, please be sure to subscribe to my blog and join the conversation over on Instagram.
-LIzzie

Last week we had the pleasure of taking a vacation with the kids to Playa Mujeres, Mexico. Before we ever book a trip, my husband and I set some intentions. We decide if we want to do a trip or a vacation. A trip is where we know it will be a lot of work on our end, and that we will plan on sight seeing, adventuring, and WORKING. We go somewhere we’ve never been, eat the local food and push ourselves and our children to embrace a new landscape. OR, we decide that we want to freeze time for a second, relax, and just enjoy being together. That means we stay mostly in the resort, say yes to late bedtimes, lots of ice creams, and night swimming. We lose all sense of day and time and just BE with the kids and with each other. This trip was most certainly a vacation. Sloane just turned six and still has trouble keeping up with Nate and Ruby. It would not be fun (for anyone) to drag her around a new city or time zone. We wanted something simple, relaxing and fun for everyone.

WHERE WE STAYED:
We chose Playa Mujeres because the flight was not long, it has good proximity to the airport and the weather is amazing. We used a local travel agent, Vacations by Heather, and she helped us a find a resort that was in our budget. We stayed at Dreams, Playa Mujeres. The room was clean and spacious, the view was beautiful and food was good-enough. I like staying at an all-inclusive with the kids because they can eat as little or as much as they like, whenever they want. Takes the pressure off. It also helps us to budget and stay on track, which means less stress for us.

BE PREPARED:
I did a ton of front-end loading before we left. I packed our favorite travel art supplies, snacks and toys in easily accessible pouches for the airplane, restaurants, and pool side. When were in the airport and the kids got antsy? Boom. Out came Magnetic blocks. When my girls needed some quiet time and I didn’t want to leave the pool? Out came my pouch filled with watercolor paper and Ooly travel watercolor kit. Masterpieces were made and I didn’t need to turn away from my book and my cocktail.
Also? We brought devices. The children were allowed to use them on the airplane, and for a little while each day while my oldest babysat in the room and my husband and I snuck downstairs for a quick kid free cocktail.
WHAT WE PACKED FOR THE AIRPLANE (click the image for the link):
WHAT THEY WORE (click image for links.):
If you liked this post, you might want to check these out as well:
HOW TO TRAVEL WITH YOUR KIDS AND ACTUALLY RELAX
HOW TO PREPARE YOUR KIDS WHEN YOU TRAVEL WITHOUT THEM
This blog post was not sponsored in any way, but does contain some affiliate links. Thank you for supporting The Workspace for Children. -Lizzie
When you think of art with children, you probably think about a “craft”. With crafting, there are specific instructions, materials, and a desired outcome. There is a certain age range for a project and there is a beginning, middle and an end.
When I think about art for children, I think about the process. I think about materials that offer a range of experiences, and how children in different stages in their development will interact with the materials.
On most afternoons in our home, I set out a snack and a simple invitation to create. When the children arrive after school (often with friends in tow), I like to create an atmosphere where they can relax and unwind from a long day. Even if it is only for a few moments before we all rush off to the next thing, I want them to feel a moment of calm and connection . This simple activity takes only moments to set up, but provides hours of creating for a large age range of children. It is not messy and can be “grazed” on, as the children see fit. There are no directions. The children interact with the materials and create in any way they want.
HOW TO SET UP:
First roll out your butcher paper and cover the table. Tape it down for stability. Next, Find a large tray or book and trace rectangles onto the paper. Why? Sometimes a defined space is more welcoming for children to dive into than a large blank slate. It also just makes for a unique, open ended canvas for creating. Set out your paints and oil pastels and a jar of water and brushes. Keep a towel handy for any spills. Prime your paints by pouring water directly onto the tempra cakes. Allow your child to experiment with the materials. You do not need to give instructions or micro manage the work they are creating. In fact, claim a rectangle for yourself and get lost in the oil pastel. They are so satisfying to rub across the paper. Let your child discover the paint-resist on their own. You do not need to rush in and show them. They joy is in the discovery!
PRO TIPS:
Teach your child to swish their brush five times around the paint cake in order to get a rich and vibrant swash of paint.
Prime your paints by pouring water directly onto the cake prior to use
Put on some chill background music to set the mood. We love John Mayer, Amos Lee, Elizabeth Mitchell, Jack Johnson, and Ray LaMontagne.
Let your child work at his own pace. He might work for a few moments and wander away, then return again in a little while.
Use materials you already own. You can adapt this activity multiple ways to fit your needs. This does not need to be complicated to be engaging.
Read more posts like this one below:
I hope you found this post helpful. If you want to hear more from me, please be sure to join the conversation over on Instagram.
-Lizzie
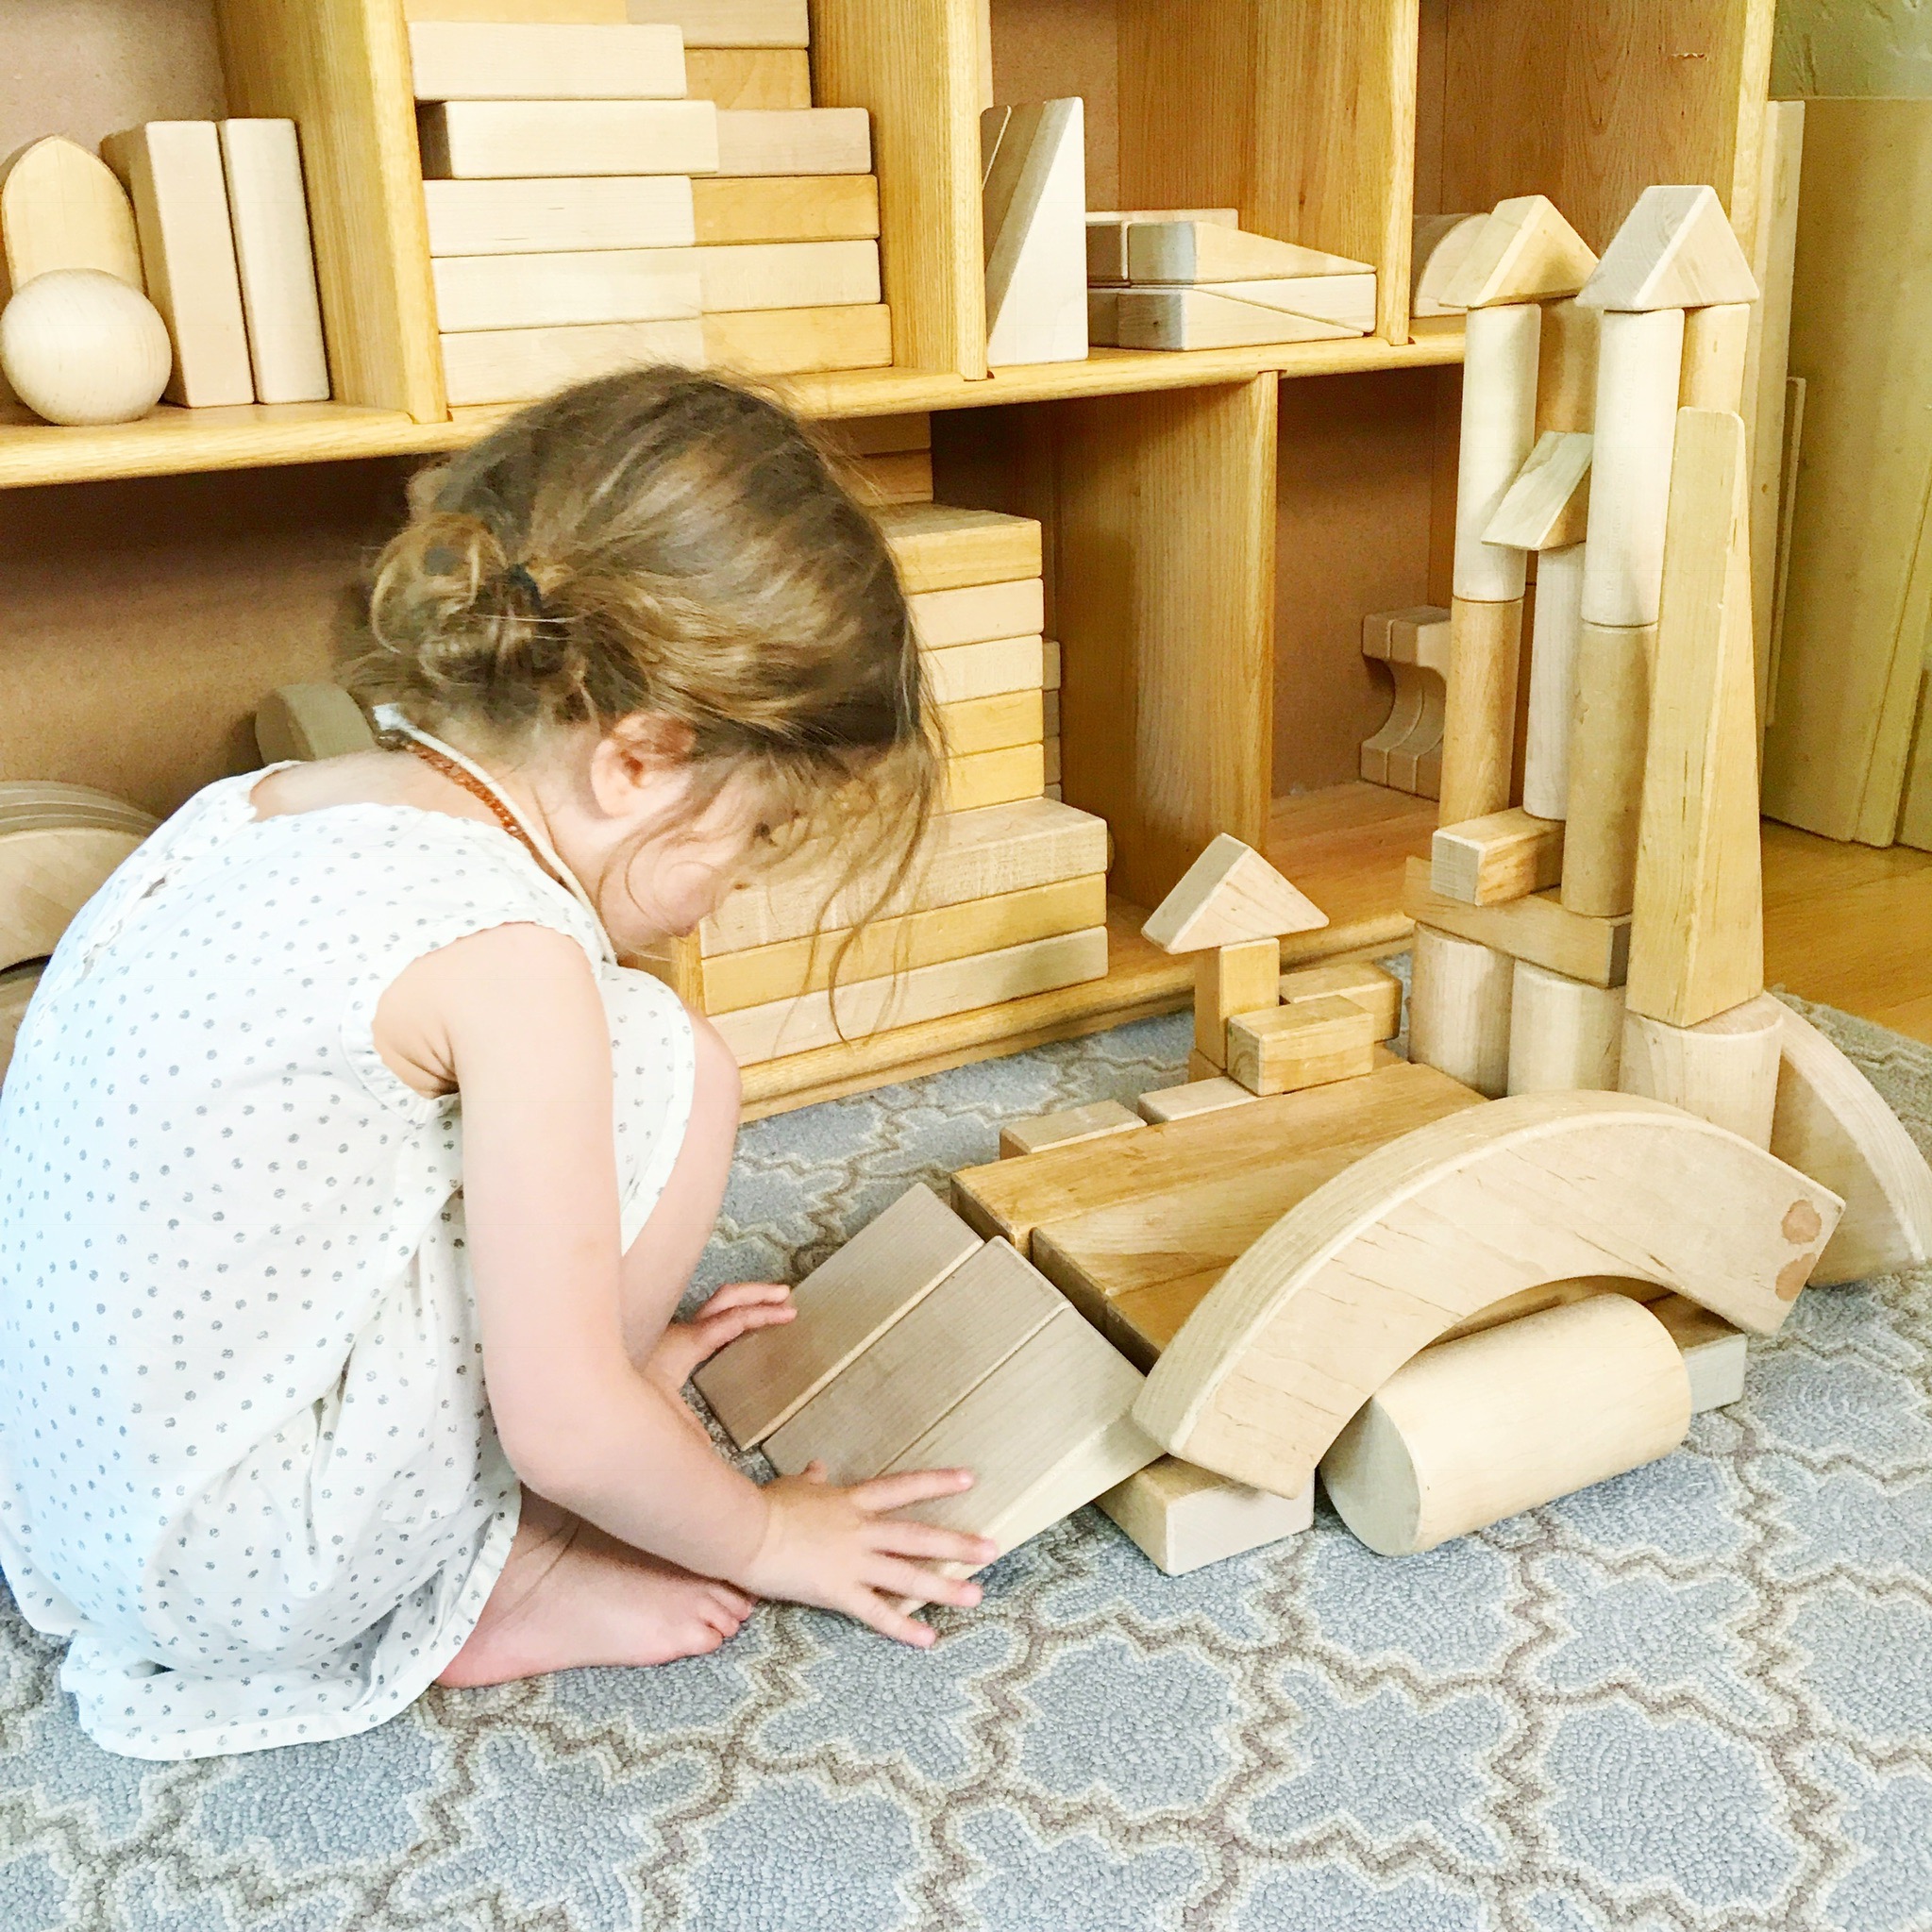
I love when we all chat about blocks. They are my absolute favorite item for PLAY. Lots of you are purchasing them for your home and classroom. They are certainly an investment, and I want to make sure that your children are actually using them.
Below you will find a simple guide to encouraging block play at home or in your classroom. Three simple steps. If you decide to follow them, let me know what works and what does not.
Edit Your Space
Organize The Materials
Hang Out With Your Blocks
Walk out of the room where your blocks live and then walk back in. What is the first thing you feel when you walk into the room? Is there a designated space for block play? How is that space defined? Is the flooring sturdy and even or is it covered in a lumpy, uneven carpet?
My first bit of advice is to move some things around to make a designated area for building. There are two reasons for this. One, it shows your child that you value block play. By creating a physical space designed for building, you are helping your child to focus on creating without distraction from his or her thoughts. Think of it like this.. Do you have a designated space where you work? Maybe a desk or a table that holds your computer, important documents, and some reference books? It's easier than just plopping down in the middle of a chaotic, messy room and pulling out your computer, right? Same thing with building and playing.
This space does not have to be large, just make sure it's big enough for your child to move around and build without getting in her own way. If there are little siblings in the picture, it might help to put this space in an area that is protected from unsteady toddlers or speed crawlers. Maybe you could put a small block shelf in your child's bedroom or perhaps in an area of the house that his little sibling cannot access. (My sister put her block area in an enclosed pen to keep the little ones out and the builders building! Genius.).
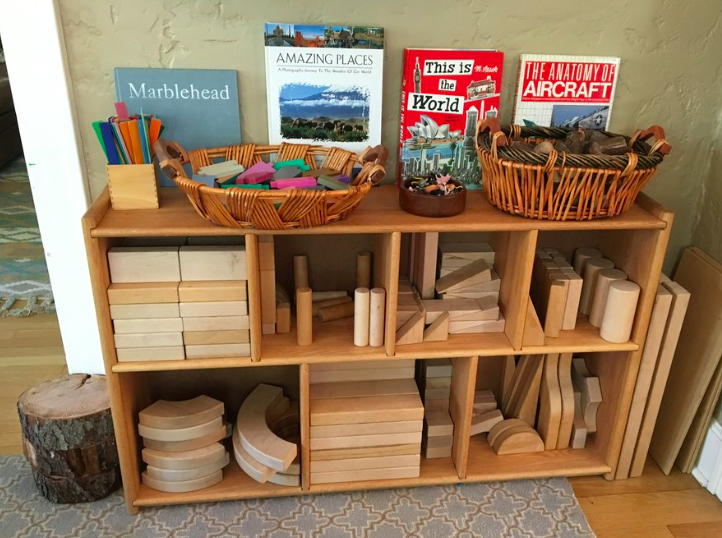
How do you store your blocks? Are they all dumped into a bin, stuffed behind the trucks and puzzles? You are not alone. I think most homes have an abandoned pile of wooden blocks somewhere in the playroom. I want you to pull them out and sort them by shape. Your child can help you or you can grab a coffee and go it alone while listening to an awesome podcast. I'd go the podcast route, but that's me.
Once you have them sorted by shape, decide on a shelving system. My father-in-law built us a custom shelf to house our blocks (love him so much). You can use a shelf designed for blocks like this one, or use one that you already have. Better yet, check out your local Facebook swap sites for an IKEA hand me down. However you decide to obtain a shelf, just get one. Trust me, it makes all the difference in the world in how your child will use the blocks.
When you have your shelf in place, lay out the blocks according to shape and size. You can organize them in a manner that makes sense for you and your child. I try to make sure the larger, heavier blocks are on the bottom, but I'm not sure it really matters. The most important thing is that each shape is visually represented and can be easily accessed by the child.
Huh? Yup. Just do it. (read on)
The hard part is over and all the really great learning and engagement is about to happen. Invite your child into the space that you have created. Show her how you've arranged the materials. Ask her what she might build? Will it be a house for stuffed animals or a parking garage for her race cars? Will she build flat or will her building be tall?
With reluctant builders, I might 'pre-build.' That means I might lay out a very simple structure and ask the child how he can add to it. Then follow his lead. He adds a rectangle, you do the same. Try to mirror their block building behavior. Once they get going, you can slowly step back and let them go. Remain interested, but do your own thing. You want to encourage independent play.
When I notice my children haven't been building a lot, I do one thing and it works EVERY TIME. I sit in our block area. I just sit there quietly and read on my phone or read a book to them. They usually want to go wherever I am. If I am in our block area, that's where they will be. If those blocks are organized and displayed in an inviting fashion, they can't resist them. And that, my friends, that's where the magic happens.

LANGUAGE PROMPTS TO ENCOURAGE BLOCK PLAY:
Which shapes will you use first?
How can you use these squares to make a long, flat line? How can you use them to make a tall, standing up line?
Which blocks would make a sturdy base for your building?
How can you make a house for your lovey? Will it be tall or will it be down low? Will it have a roof or a door or will it be open?
Can you make a pattern using the blocks?
Which block do you like? What do you like about it? How can you use it in a building?
MORE TIPS TO ENCOURAGE BLOCK PLAY:
Snap photos of your child's block building on your phone. Print them out and bind them together with a binder ring and a hole puncher.
Hang the photos around the block area to inspire your child.
Add a small basket of people and a small basket of cars to the block area. See how it changes the play.
Encourage your child to make signs for his or her buildings with a basket containing small pencil and papers. Just remind them not to write on the blocks.

I could write about the benefits of block play and how to encourage block play for hours and hours. Do you want to pick my brain? I want to know WHAT you all need help with when using blocks in your home or classroom. Join the conversation over on Instagram, where I will be answering all of your questions.
Our collection has been built over the course of ten years. Some of ours are from my own childhood. We’ve also added at birthdays and holidays. Wooden blocks are expensive and I do not recommend that you buy a whole ton at once. Your child will be overwhelmed, and you will be out a lot of money .
Here is a link to a great starter set of wooden unit blocks: CLICK HERE
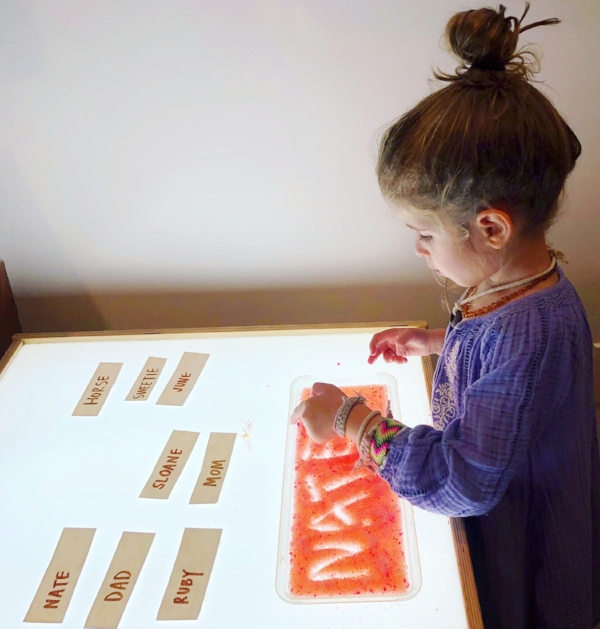
Inspired by one of my favorite accounts, @mamapapabubba, I made Sloane this simple salt tray to practice her writing. Want to know how? It took 2 seconds (well, not really, but it felt fast and easy😜)
1. I poured salt in 2 small bowls.
2. Added a squirt of neon watercolor into each and mixed it.
3. Let dry (I dried mine in a low oven because I’m impatient.) 4. Mix the colors together on a clear tray and put it on the light table 💫
It was pretty impossible to resist. All three kids were writing and designing (and fighting and elbowing for space around the tray). How will you inspire learning in your home or classroom today? .
Everything you need is linked RIGHT HERE in my Amazon Shop
Want to know more about salt tray learning? Pop over to Jen’s Blog to learn more.
Happy Playing!
-Lizzie

Image sourced from Pinterest
My husband and I recently had the opportunity to take a quick trip down to Mexico without the kids. It was blissful. My mom and my in-laws teamed up to conquer our crew and make sure everything ran smoothly in our absence. My kids are five, eight and ten, so leaving them in someone else's care is WAY easier than it was just a few years ago. But, as I packed them up, I remembered all of the tips and tricks I used when they were tots, and I am going to share them with you here.
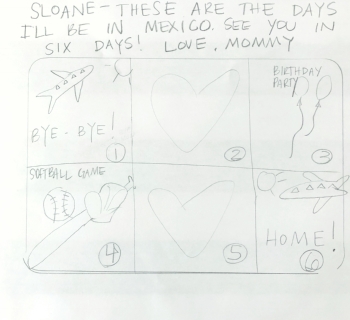
TIP ONE: Create a simple picture calendar (see photo). Show your child exactly when you will leave, and when you will return. Even very small children can benefit from the comfort of knowing "what will happen next". A calendar of your whereabouts gives them that peace of mind.
TIP TWO: Leave a note to your child for each day that you are gone. I like to seal them each in individual envelopes to make it more fun. The note doesn't need to to be extravagant. Just a line or two telling them that you love them and that you are thinking of them. You can ask your caregiver to read them a new note at bedtime each night.

Image sourced from Google
TIP THREE: Make a date to FaceTime or Skype (Put it on the calendar). This is especially helpful if you are going to be in a different time zone. Keep your phone call short, just a few minutes is ideal. Just enough to see your littles and let them see you. Exchange a few, "I love you's," and one or two exciting things. You know you child best, so if you think that they can't handle seeing you, skip this tip! If you think you will have the time, pack a quick bedtime story in your suitcase. You can read them their favorite book over FaceTime!
Traveling away from your children can be anxiety producing, and not without hiccups. But if you have the opportuity, get out of your comfort zone, and do it!! You will not regret it.
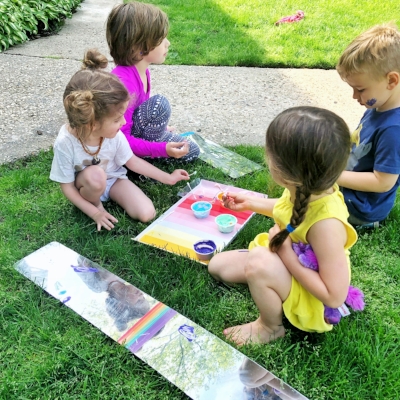
Do you want a simple, easy way to WOW your kids? This face painting activity is so much fun for an outdoor playdate or even a birthday party. It is so simple to throw together with a few supermarket ingredients that you probably already have on hand.
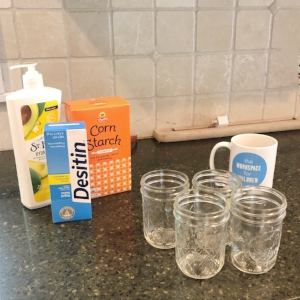
We used cornstarch, lotion, and diaper cream (zinc oxide). Mix it up until you get a thick, smooth consistency and add your food coloring! We used gel colors, but any coloring will do.

I loved that the white paste gave a beautiful pastel hue to the paint. I put our body paint in small containers with q-tips for application. Have some baby wipes nearby to wipe little hands. Put out acrylic mirrors (ours are from IKEA) and you are good to go for an afternoon of fun!
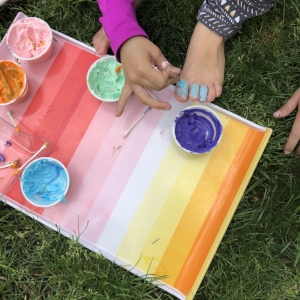
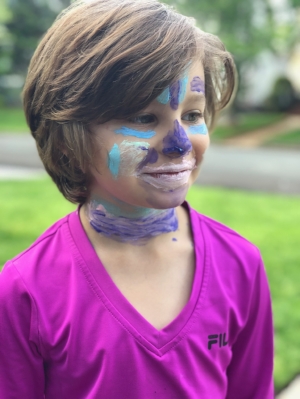
Have you tried this activity before? Do you plan to? Head over to Instagram and let me know if you have any questions or comments about this homemade body paint.
-Lizzie
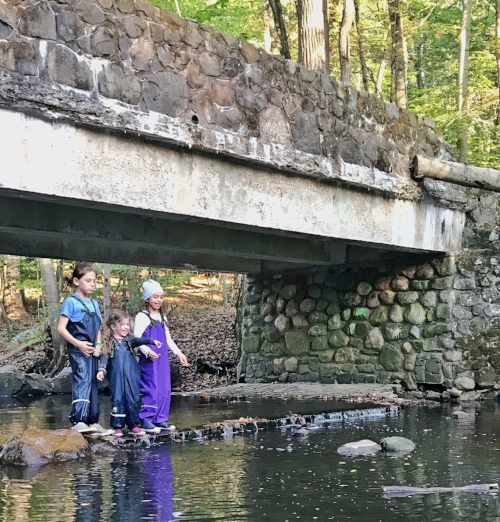
My children and I try to spend as much time in the forest as we can. Winter is actually my favorite time to explore (no bugs), but I know most people find the Spring the ideal time for a forest romp. I'm not an experienced hiker. To be honest, I am not even really the outdoorsy-type. But, I love to get my kids playing outside in nature. We are very lucky to live within minutes of the South Mountain Reservation, with access to deep, dense woods and beautiful trails. My children have a favorite spot in the woods and we almost always go there. A few times I have insisted that we try a new spot or hike a new path, but it never works out as well as when I follow their lead, and take them to their favorite spot.
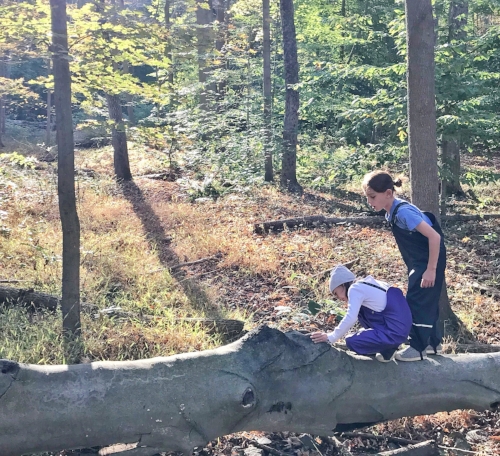
Here's what I've learned over the past few years of regular trips in to the forest with my own kids:
Do you like to adventure into the forest with your kids? Do you have advice for us? Please share in the comments below.
-Lizzie